Korean
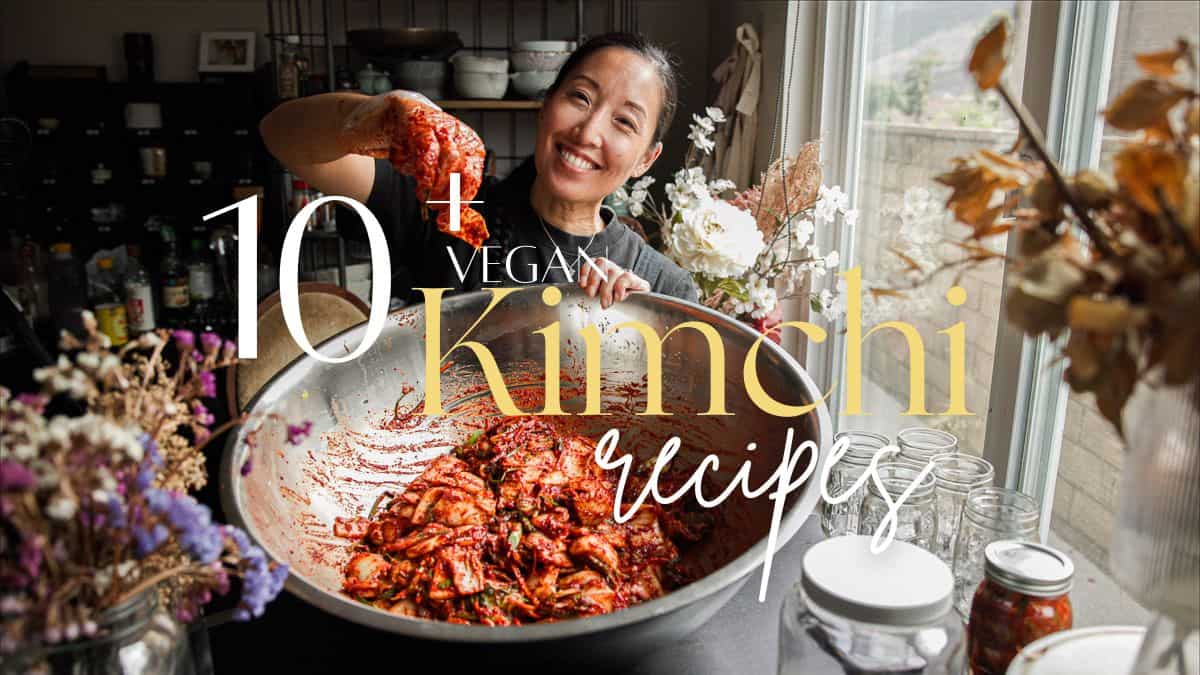
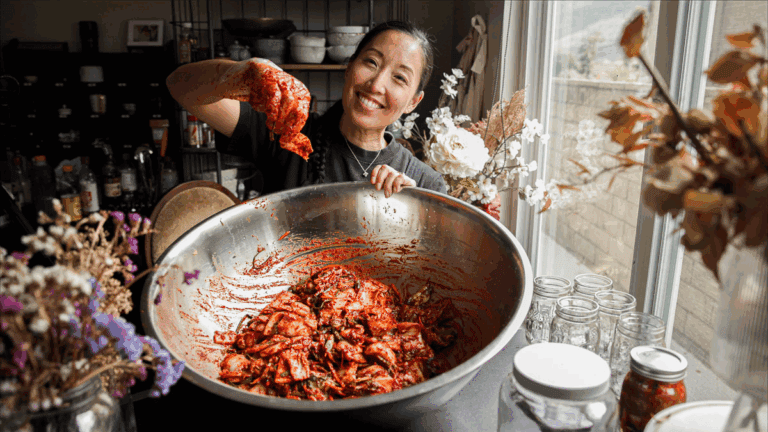
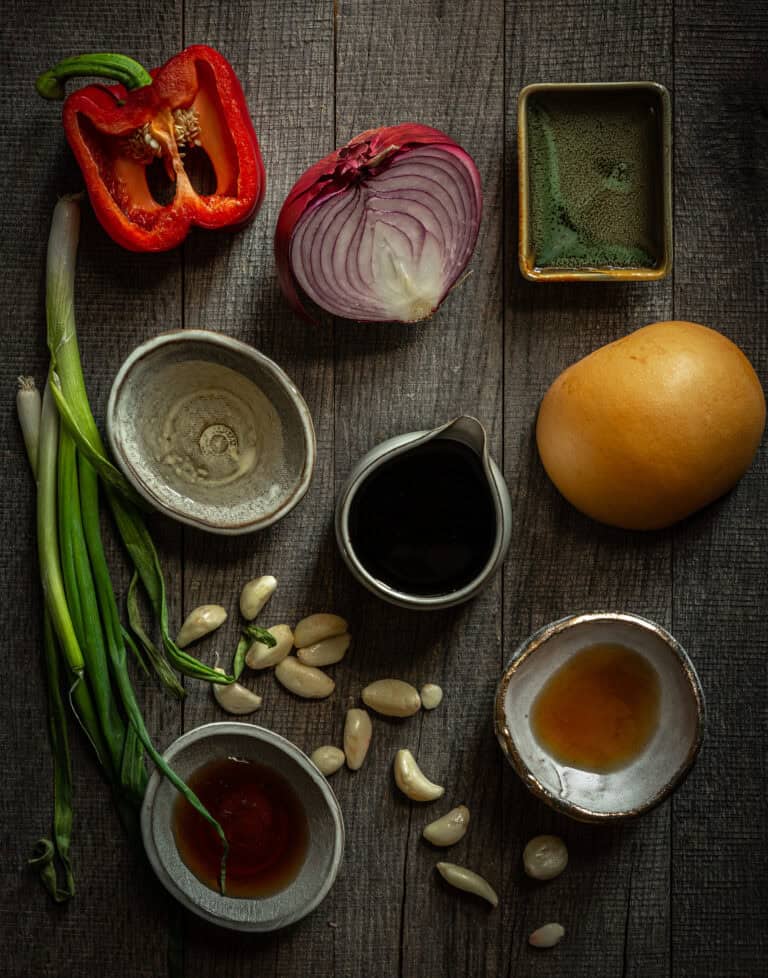
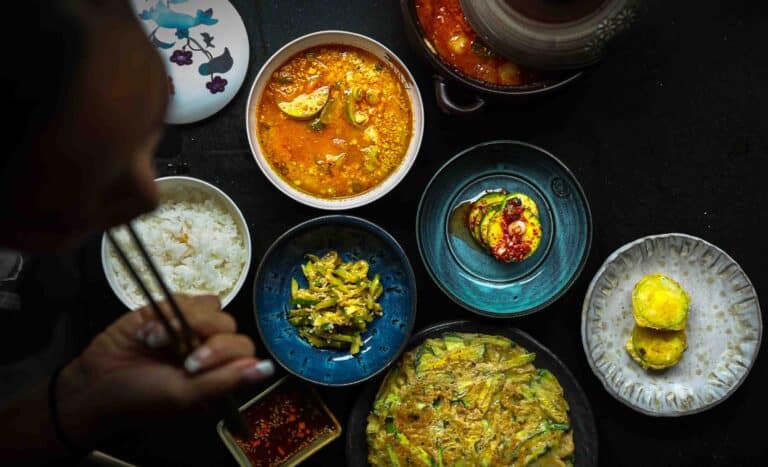
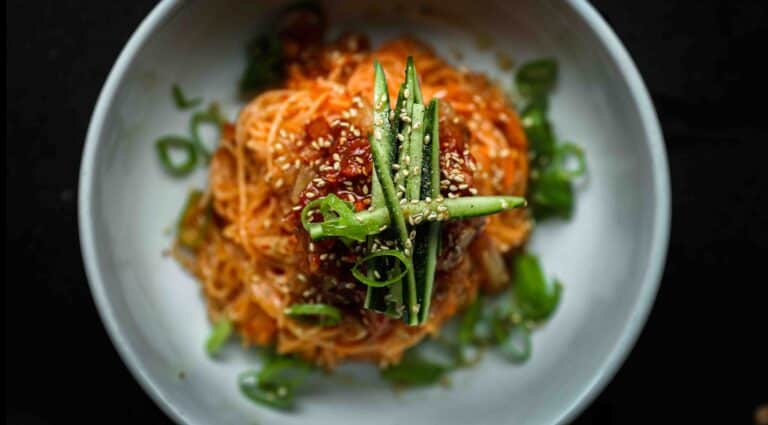
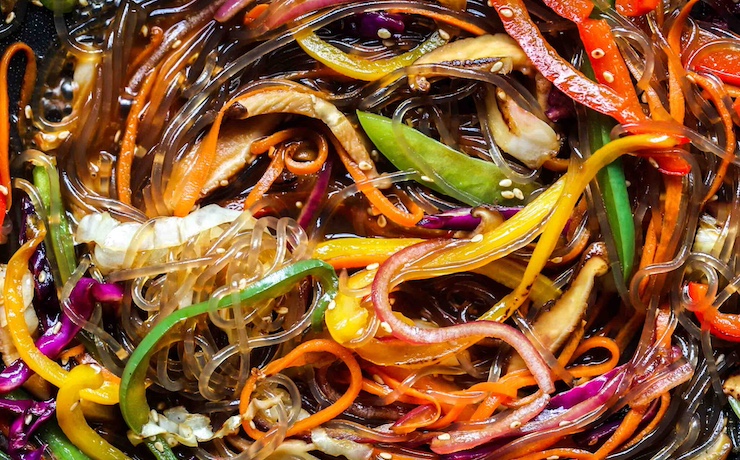
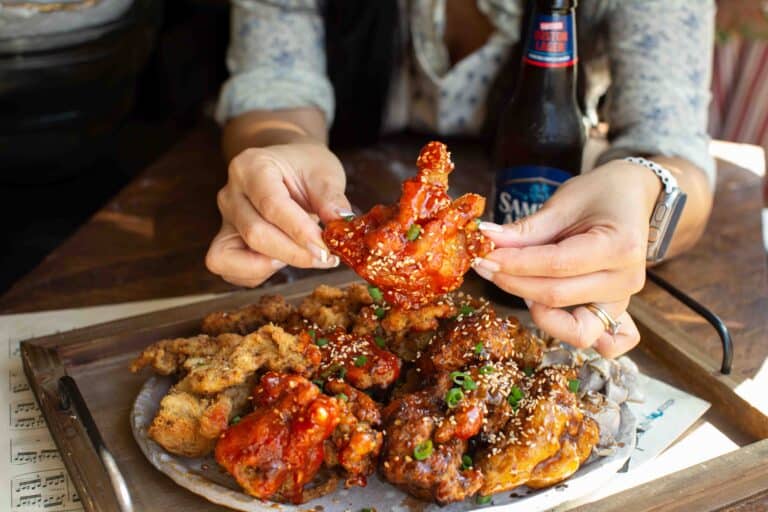
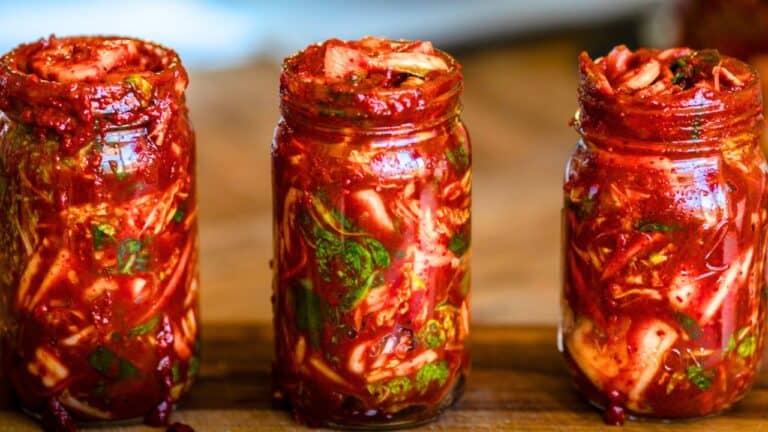
It’s that time of year again: Kimjiang!! And thus, I bring to you more than 20 recipes using kimchi!
The Korean Vegan • The Korean Vegan • The Korean Vegan • The Korean Vegan
It’s that time of year again: Kimjiang!! And thus, I bring to you more than 20 recipes using kimchi!


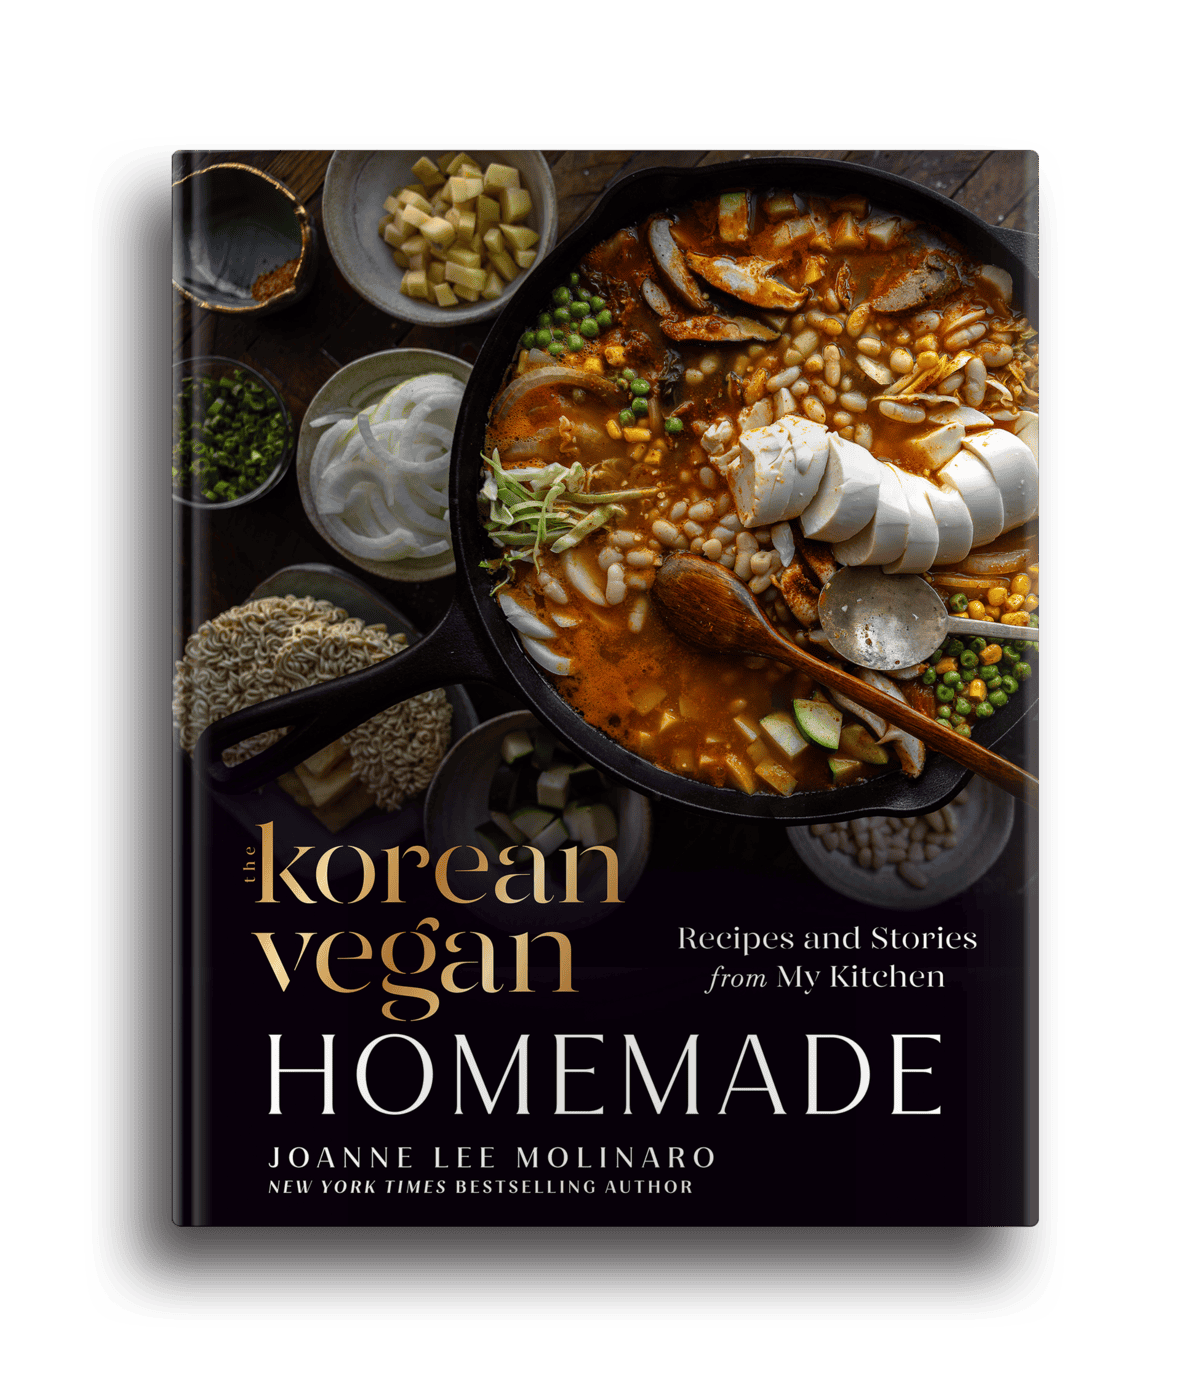
TKV Homemade
© 2026 The Korean Vegan • Accessibility Statement • Privacy & Disclosure Policy
© 2026 The Korean Vegan • Accessibility Statement • Privacy Policy
STORIES & RECIPES
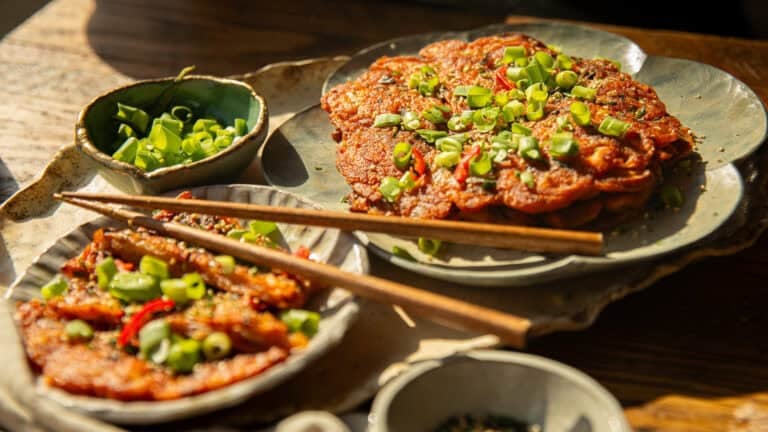
Sign up now for all things KIMCHI, including my Kimchi Mac ’n’ Cheese recipe from HOMEMADE!
– Joanne
STORIES & RECIPES
Sign up now for all things KIMCHI, including my Kimchi Mac ’n’ Cheese recipe from HOMEMADE!
– Joanne