Homemade Vegan Dumplings Recipe – Kimchi Mandu.
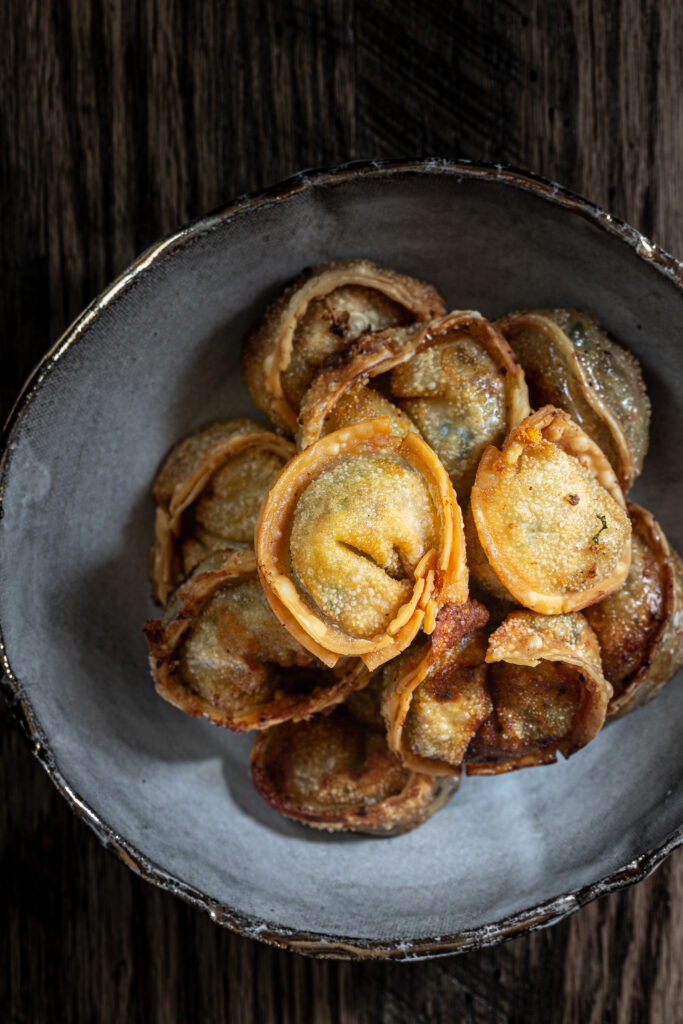
Comforting. Flavorful. ADDICTIVE!
This homemade vegan dumplings recipe is one of my favorite things to make year-round. They are so flavorful and are the quintessential comfort food. Whether it’s my birthday, a special dinner party for friends, or a potluck around the holidays, these kimchi vegan homemade dumplings are my secret weapon for making an impression!
So, buckle up, stretch those fingers, and get ready to wrap and roll!
Disclaimer: Some of the links in this post may be affiliate links for products I use and love. If you make a purchase after clicking one of those links, I may earn a small affiliate commission, perhaps enough to buy some extra gochujang or gochugaru 🙂
What Is Mandu?
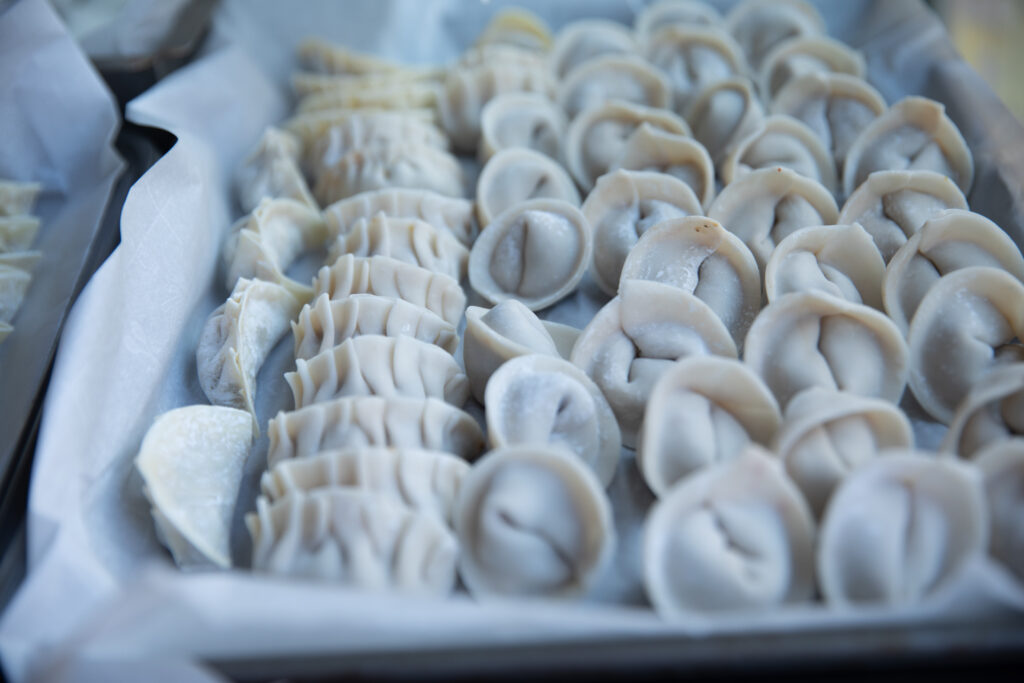
“Mandu” or 만두 is the Korean word for dumpling. Thought to have been imported to Korea during the 14th century, they are typically made with meat. There are many different kinds of dumplings in both North and South Korea, often influenced by regional produce or popular ingredients that make up all the different fillings.
Generally, Korean dumplings come in three varieties, named after the different ways they are cooked: (a) “goon mandu,” which refers to fried dumplings; (b) “jjin mandu,” which refers to steamed dumplings; and (c) “mul mandu,” which literally translates into “water dumplings” and refers to boiled dumplings.
But what about gyoza? Or potstickers? Are those dumplings too? Gyoza, sometimes thought to be interchangeable with potstickers, are also dumplings; however, they are usually steam-fried. Sometimes referred to as pan-fried dumplings, they are fried on one side over medium-high heat and then steamed by adding a little water to the pan.
Although mandu is traditionally prepared with meat, I’ve been eating vegetarian dumplings or vegan gyoza for decades. I just didn’t know it! Asian markets often have “vegetable dumplings” or “vegetable gyoza” that are filled with shiitake mushrooms, vegetable protein, or other “accidentally” vegan dumpling filling. Though they were often not labeled as “vegan,” a quick review of the ingredients list on the packaging revealed they were totally vegan and thus appropriate for a plant-based diet.
These days, though, you can find vegan dumplings that are specifically labeled as “vegan” in many non-Asian grocery stores. In fact, a few months ago, a friend of mine snapped a pic of vegan kimchi dumplings in the frozen foods section of Lassens, a specialty grocery store here in SoCal (definitely not a Korean grocery store!).
Dumplings or mandu are usually served around the holidays. For example, the eponymous tteok mandu guk or ricecake and dumpling soup is a dish that many Koreans enjoy for the Lunar New Year (you can find a recipe for this soup, along with a slightly different vegan dumpling recipe in my James Beard Award winning cookbook!).
I like to make dumplings for holiday potlucks–you can make them in advance (which also makes them perfect for meal prep!), they’re very portable, and you don’t need to cut them up to serve them.
Why You’ll Love This Vegan Dumplings Recipe.
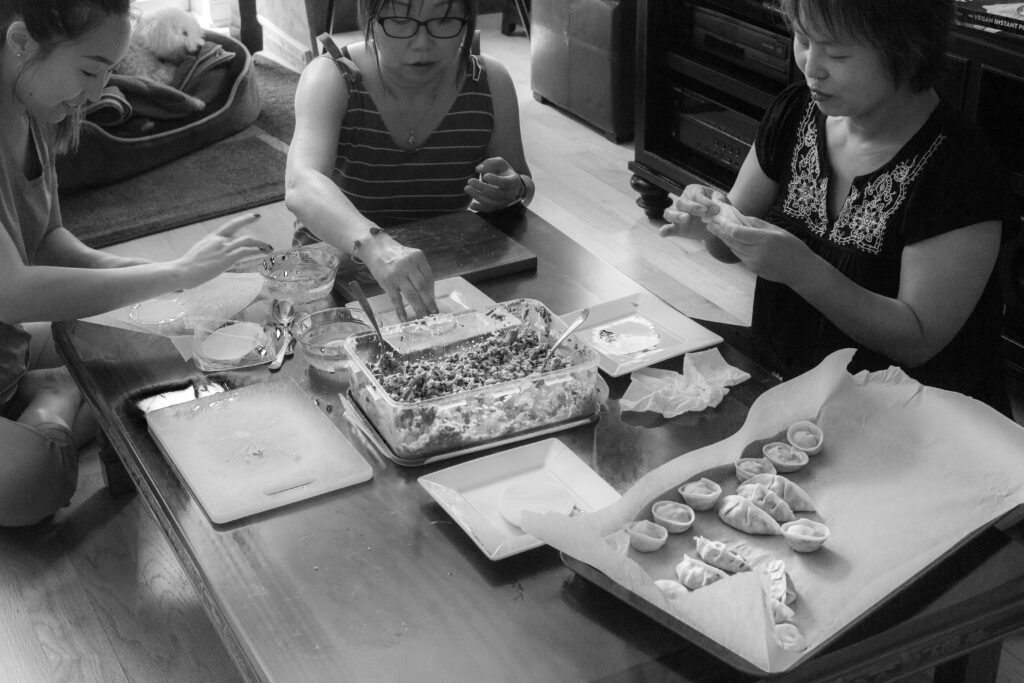
I’m not making this up–this vegan dumplings recipe comes straight from my grandmother, to my mother, to me. It is thus a true “family recipe.” As you may already know if you’ve read my cookbook, both my grandmothers are from what is now known as North Korea. My maternal grandmother made dumplings all the time, often recruiting her daughters to help with all the folding. She loved sharing her homemade dumplings with her neighbors.
In North Korea, it is very typical to add lots of kimchi to the dumpling filling. Kimchi adds a ton of flavor and also uses up an ingredient that’s in abundance. What’s not in abundance in North Korea? Meat. Sure, if you go to a fancy restaurant or you’re putting together a birthday dinner, families might bust out their small reserve of meat to make dumplings. But for everyday? You just double the amount of tofu! That is what my grandma did–skipped the meat, used tofu, and plenty of kimchi.
This vegan dumplings recipe will do just that: skip the meat, use extra firm or super firm tofu, and stuff the wrappers with a LOT of excellent kimchi. And don’t worry: this recipe will provide you with step-by-step photos so that you can master the folding technique, even if this is your first time making homemade dumplings!
Key Ingredients & Notes on Substitutions for This Vegan Dumplings Recipe.
This vegan dumplings recipe has fairly simple ingredients. However, the following are some recommended substitutions to certain ingredients for this vegan dumplings recipe:
- Vegan Kimchi. The undisputed star of this vegan dumplings recipe is kimchi. Therefore, get your hands on some really good store-bought vegan kimchi or, of course, make your own! You can find a recipe for traditional “tong kimchi” in my cookbook or you can make “mak kimchi” (“easy kimchi”) by following the recipe in a previous post!
- Extra Firm or Super Firm Tofu. Dumplings often run the risk of getting too soggy if the filling is too wet. Therefore, steer clear of anything below “extra firm” when picking out your tofu. My recommendation would be to use super firm tofu, but if you can’t get your hands on that, you can use exta firm tofu that’s been pressed for at least 10 minutes.
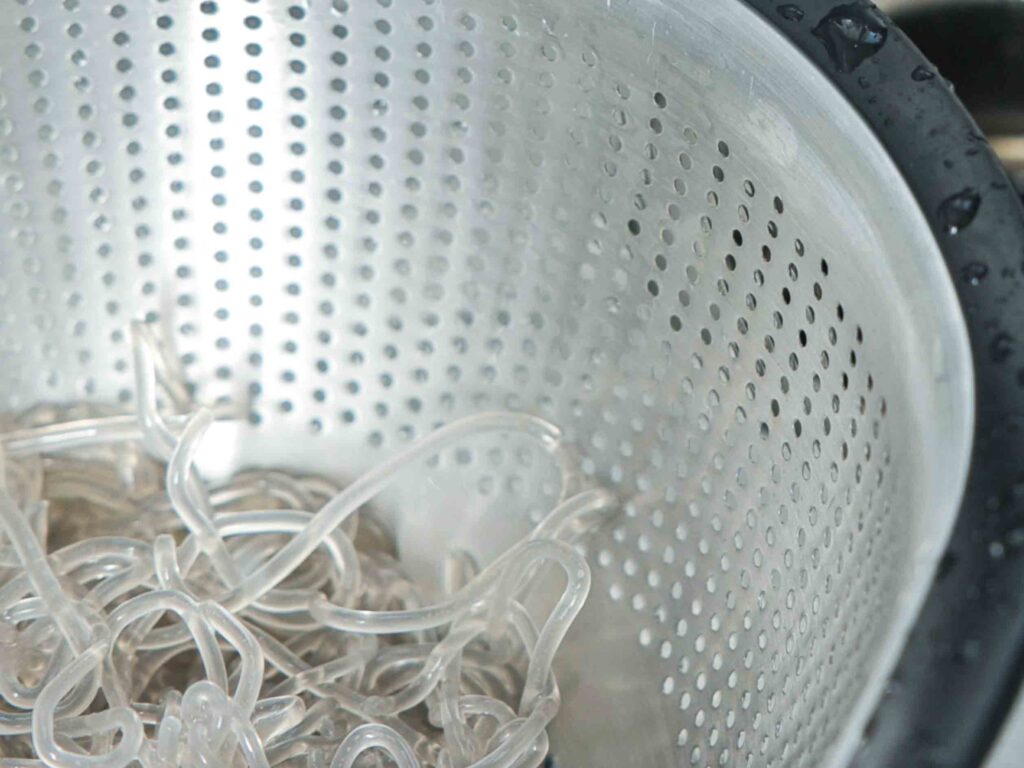
- Glass Noodles. My mom always warned me that using glass noodles (or Korean sweet potato vermicelli) would make stuffing the dumplings extra difficult. BUT THEY ARE WORTH IT!!! Trust me on this–these noodles provide such a fancy vibe to your dumplings so don’t skip these! If you can’t get your hands on these glass noodles, though, you can also use angel hair rice noodles. Do NOT get thick noodles for this dumplings filling recipe, as that will provide for an imbalance of textures.
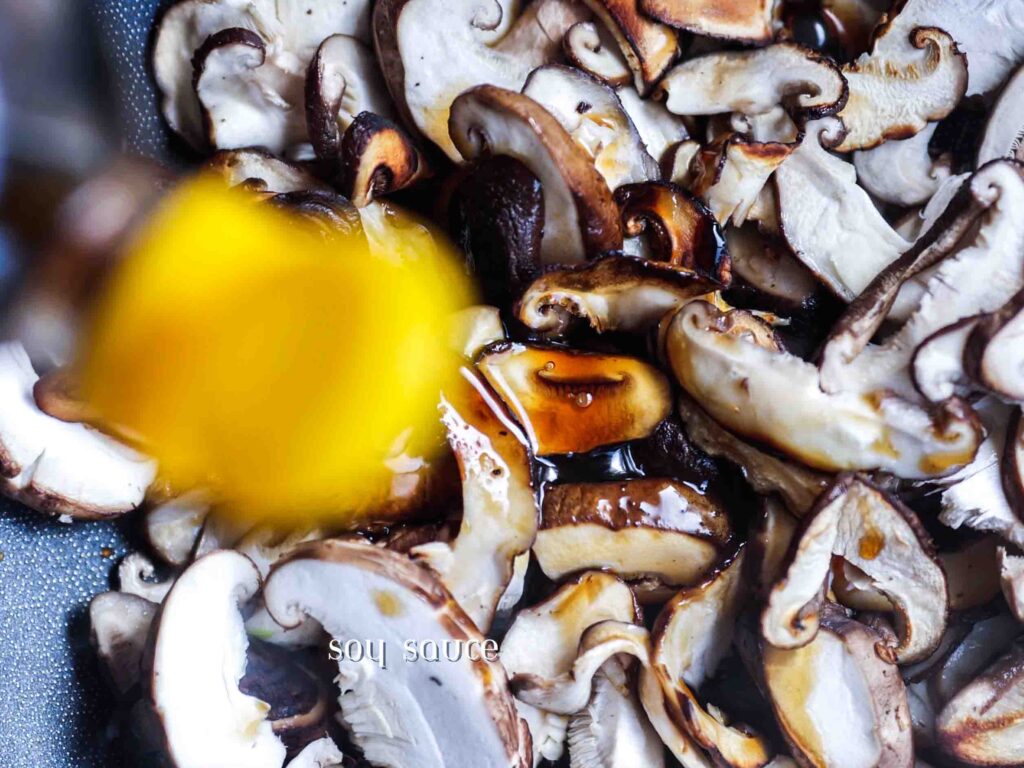
- Soy Sauce. Soy sauce will add deep umami to the vegan dumpling filling, so get your hands on a good one the next time you’re out shopping for Korean ingredients. If you are allergic to soy, there are some great no-soy alternatives, including this no-soy, gluten-free seasoning sauce. You can, of course, also use coconut aminos.
- Sesame Oil. Toasted sesame oil (not the cold pressed kind) will add just a touch of richness to this vegan dumplings recipe. A little goes a long way, so you won’t need a lot. You can find my favorite Korean sesame oil here. If you don’t have sesame oil, you can simply add some toasted sesame seeds.
- Dumpling Wrappers. This vegan dumplings recipe calls for store-bought wrappers. Here, I would try and head to your local Korean grocery store, as they will have Korean dumpling wrappers that come in all sizes. Korean dumpling wrappers are made with flour and rice flour, giving your dumplings a little “chew.” My recommendation is that you pick up some “Wang Mandu Pi” or “King Sized Dumpling Wrappers”–this will make wrapping and folding much easier, especially if you’re relatively new to this. If you can’t find Korean dumpling wrappers, you can also use wanton wrappers, though those are often much smaller and more challenging to work with. What about gluten-free options? Thus far, there still aren’t any good store-bought dumpling wrappers that are also gluten-free. Unless you want to make your own homemade dumpling wrappers, your best bet is to use the recipe for the dumplings filling with rice paper or spring roll wrappers. I do that all the time, since you can steam or fry them, like you do with mandu.
How to Make This Vegan Dumplings Recipe.
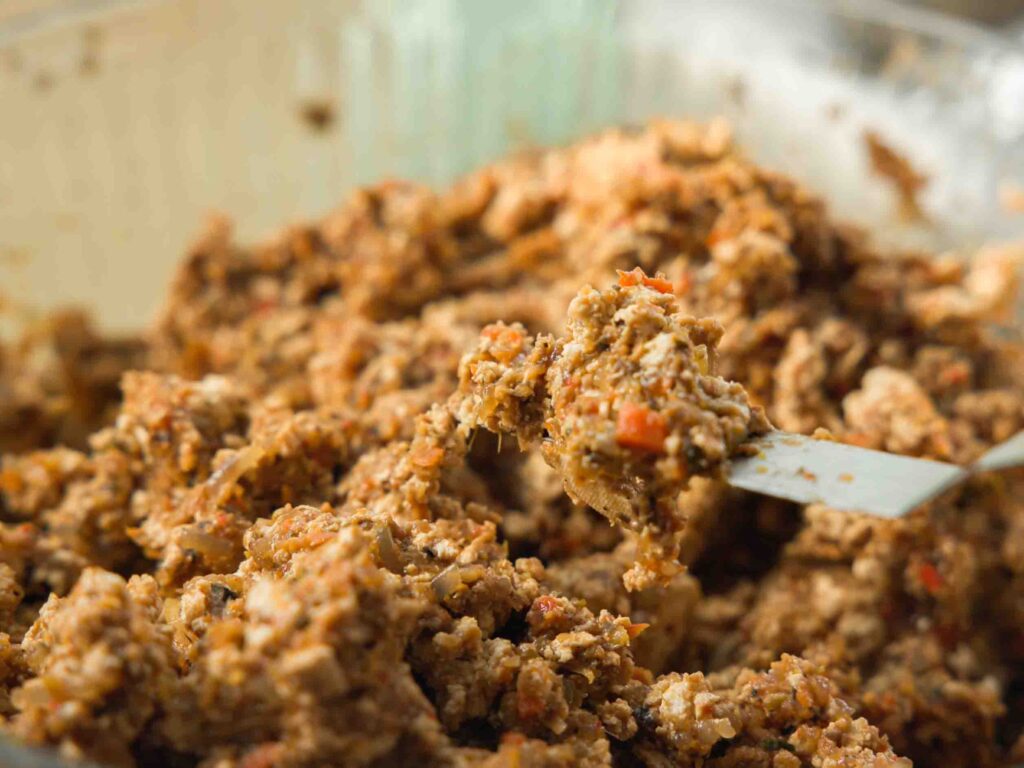
Kimchi Tofu Filling for This Vegan Dumplings Recipe.
Your vegan dumplings are only as tasty as your filling. Therefore, this vegan dumplings recipe starts with an absolutely outrageously delicious filling–one that you honestly don’t even need to put into dumplings. I ALWAYS make a little extra just to dump on top of a bowl of rice. It’s full of clean and healthy ingredients that pack an excellent amount of protein, probiotics, and fiber. What’s not to like, right?
The key to a good dumpling filling is flavor and texture. We’ve got a lot going for us in terms of flavor: kimchi, soy sauce, sesame oil provides a trifecta of umami that gets us pretty far along on the flavorometer. In addition to those three, though, we also use a little bit of red bell pepper to add both sweetness and zip.
In terms of texture, again, the name of the game is to avoid having an overly soggy filling that will release liquids during the cooking process, making the dumpling challenging to cook. At the same time, you want a filling that’s pliable and not unwieldy, so that you can fold you wrappers efficiently and well. With that in mind, let’s get started!
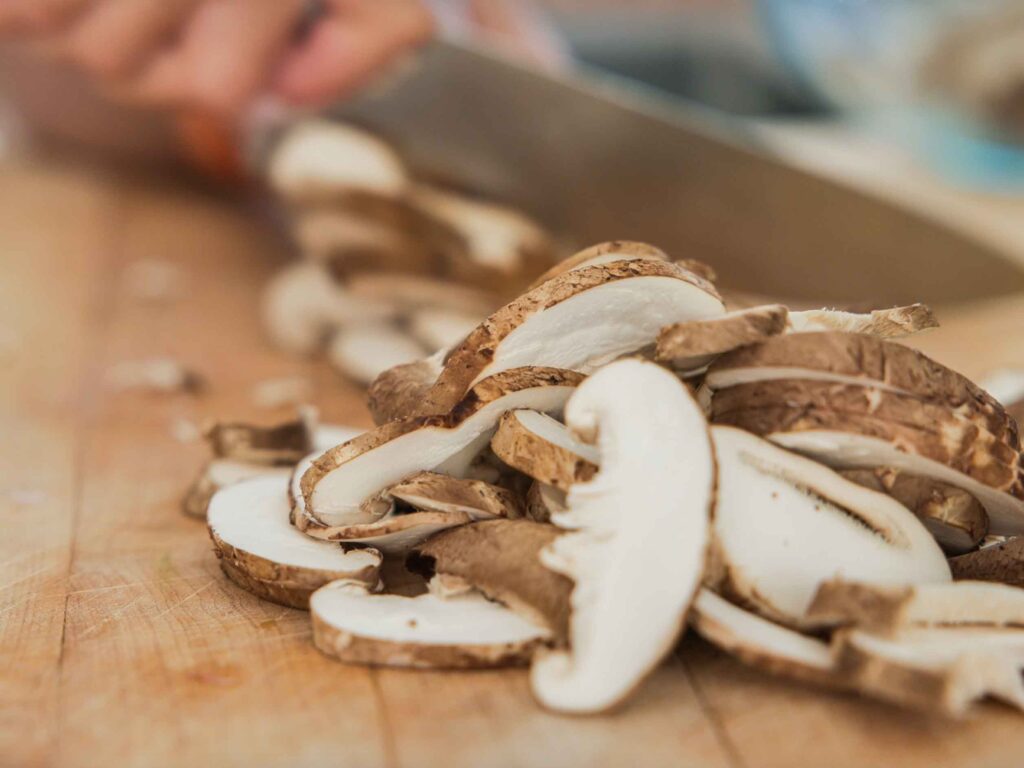
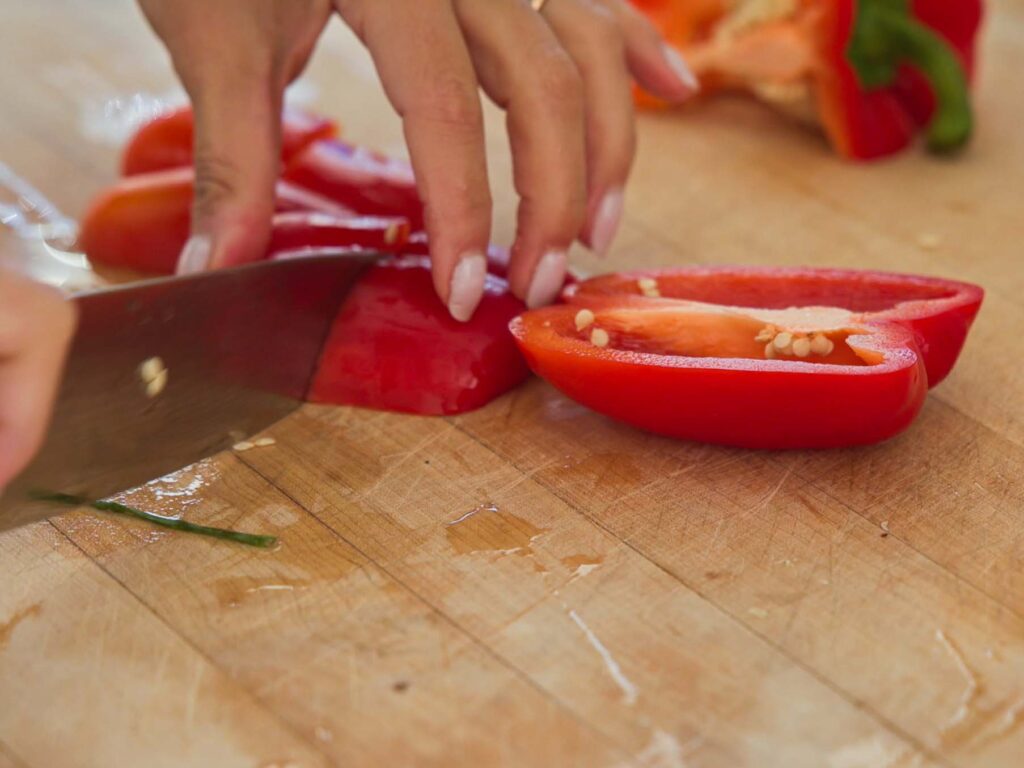
First, because we’ll be using a food processor, there’s no need to finely dice or mince any of these ingredients. First chop your mushrooms: you can use shiitake mushrooms, trumpet mushrooms, button mushrooms, oyster mushrooms–pretty much any kind of mushroom. Rough chop the carrots, green onion, regular onion, celery, zucchini, bell pepper, garlic, and potato. Yes, I said potato! First, cook your mushrooms in a little olive oil and soy sauce separately from the other veggies.
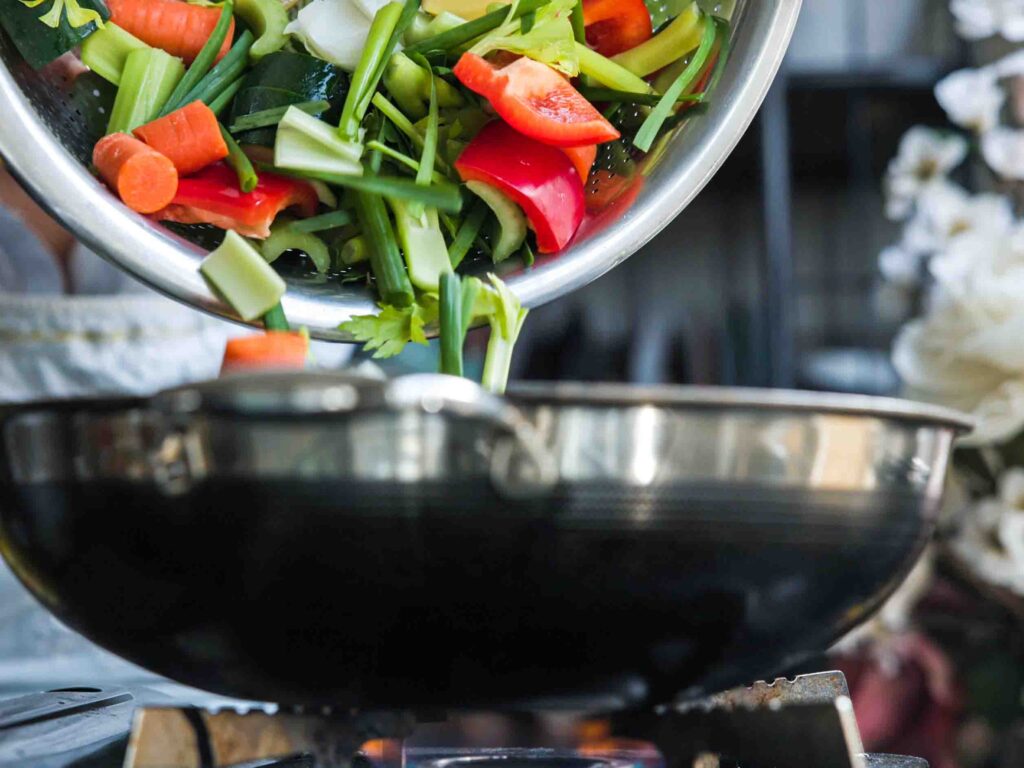
Then, throw your veggies into a large pan or wok with a little olive oil or other vegetable oil. Sauté them for about 3 to 4 minutes, until the onions start to grow translucent. Next, deglaze your pan with soy sauce and reduce your heat to medium. The name of the game, here, is to cook the contents of your pan until most of the liquid from the vegetables has completely evaporated. Depending on how fresh your veggies are, this can take anywhere from 5 to 15 minutes. Be patient!
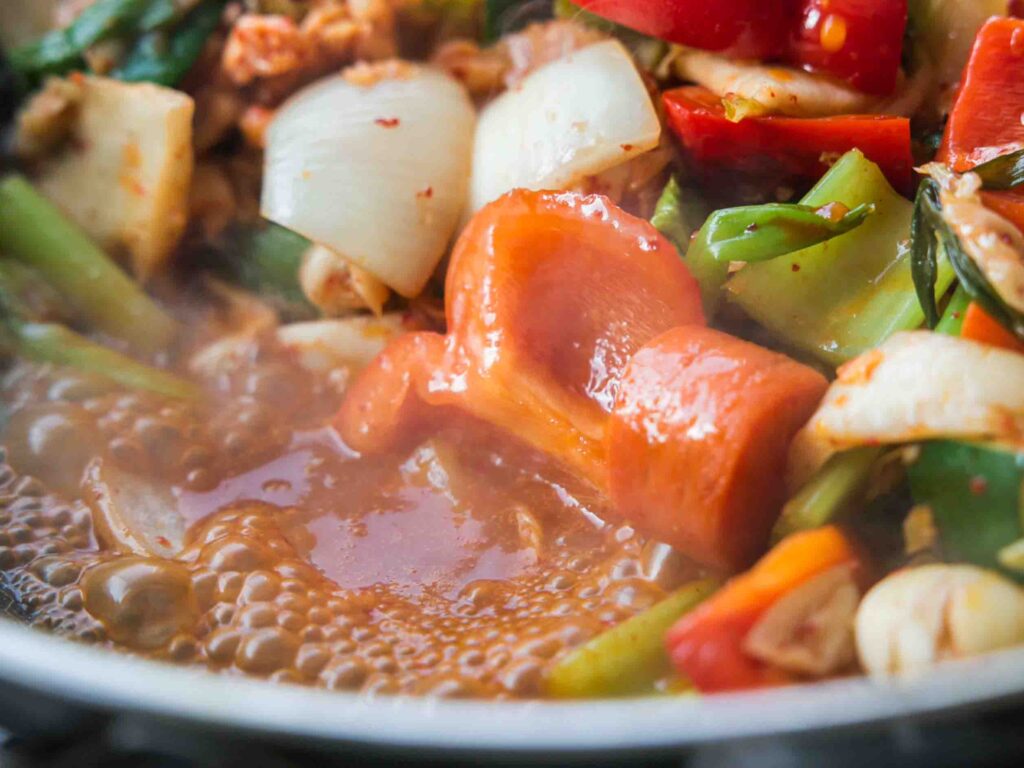
In the meantime, prepare your glass noodles by dropping them in boiling water for about 7 minutes. Then, rinse them under cold water to stop the cooking process. Set them aside (if you’re moving a bit slowly, no worries–set them aside in some cold water so they don’t get too sticky).
Once your veggies have finished cooking, throw them into the food processor together with your cooked noodles. Pulse your ingredients until you arrive at a fairly blended texture–you don’t want a total paste, but you also don’t want something that isn’t cohesive. Place your blended ingredients into a large bowl. Using your hands, mash your tofu directly into the bowl.
Why don’t I place the tofu in the food processor with everything else? Processed tofu tastes different than hand-mashed tofu. And it’s a taste I don’t particularly enjoy.
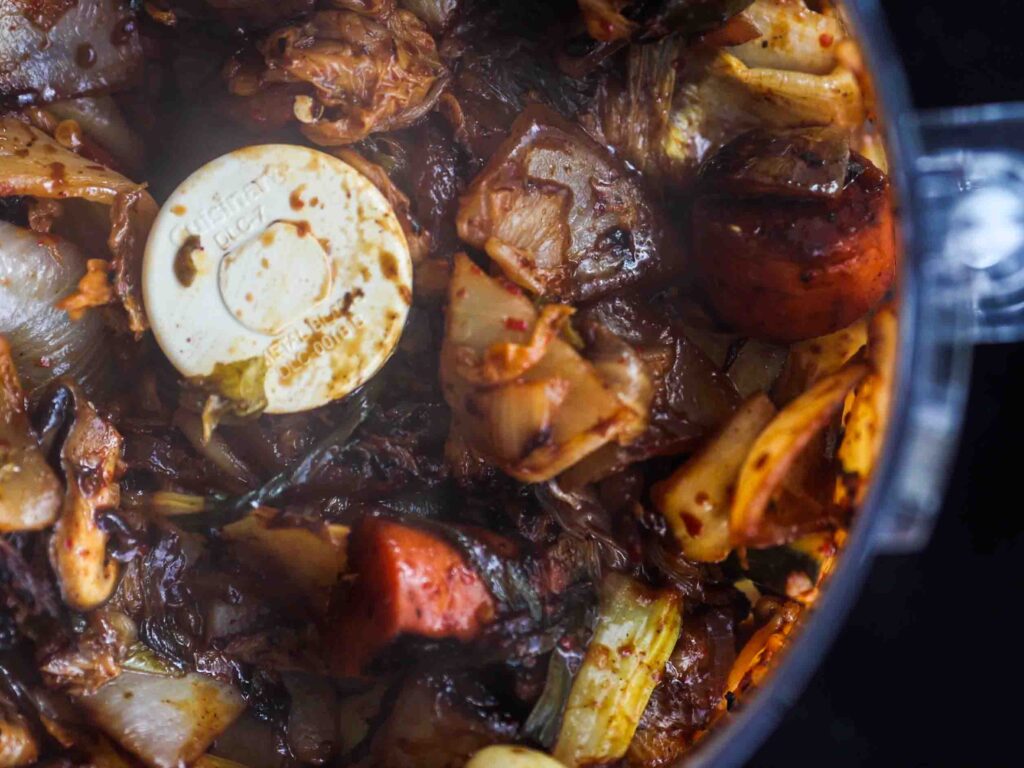
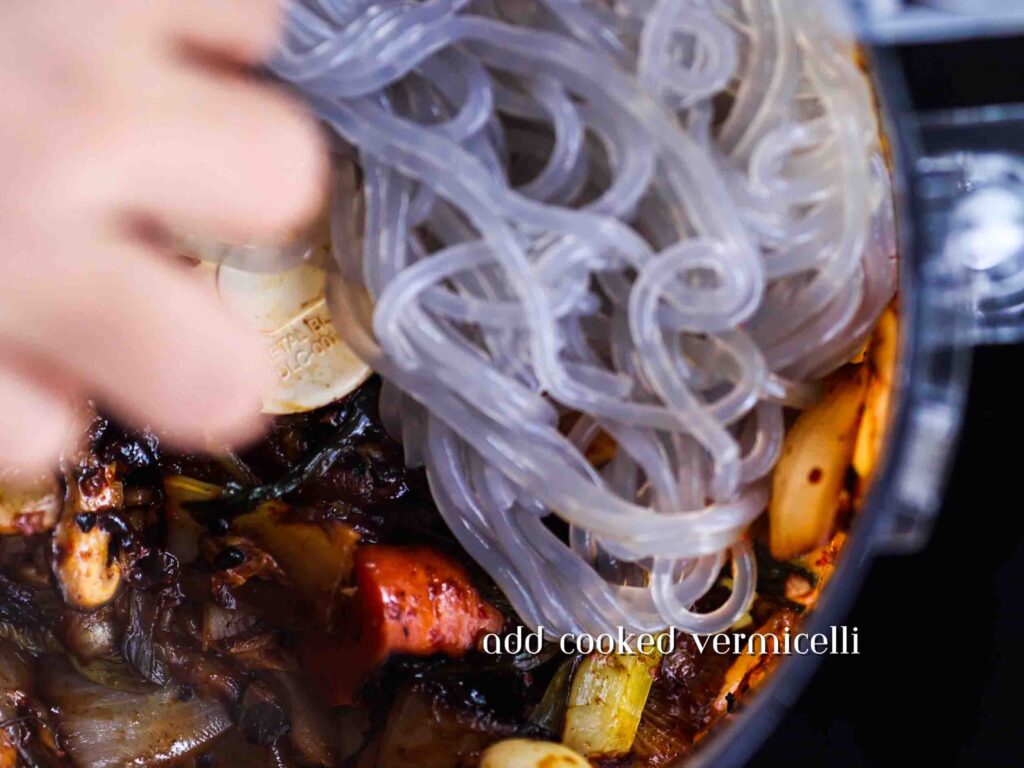
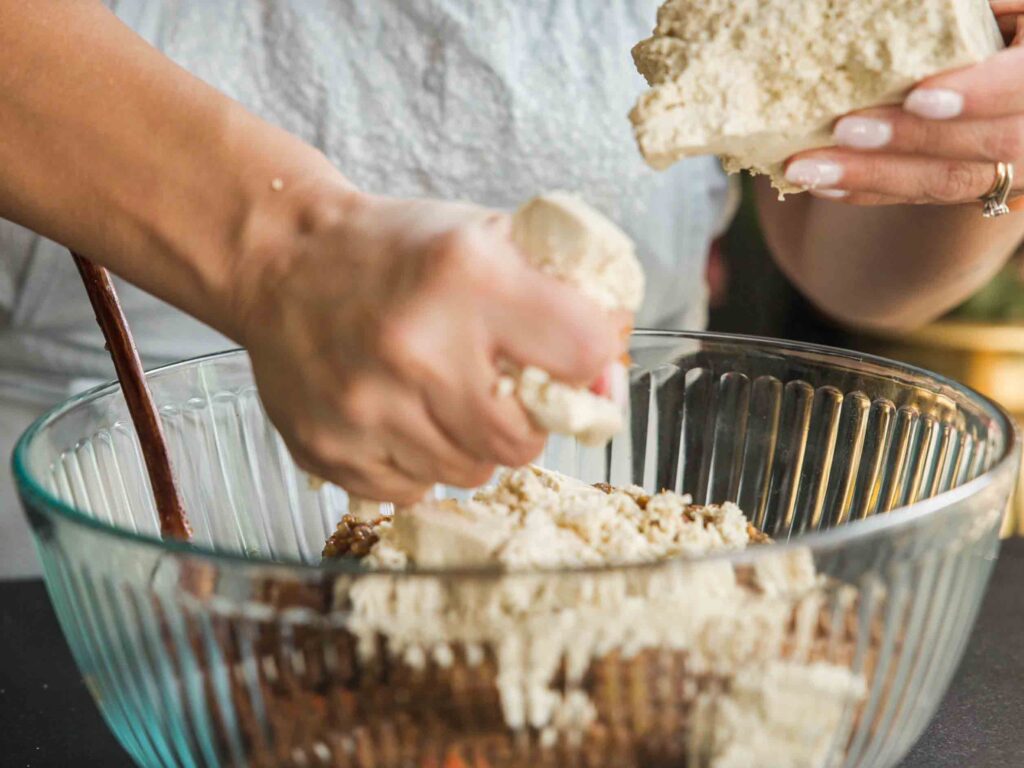
Add a little sesame oil and black pepper to your mixture and mix everything together with your hands or a spoon until well-combined. Give your filling a taste. It should be EXTREMELY flavor forward, bordering on salty. If it isn’t, add a little sea salt. If you want, add a little MSG! Why does it need to be so flavorful? Because when it’s cooked, a lot of the liquid (i.e., flavor) will inevitably seep out.
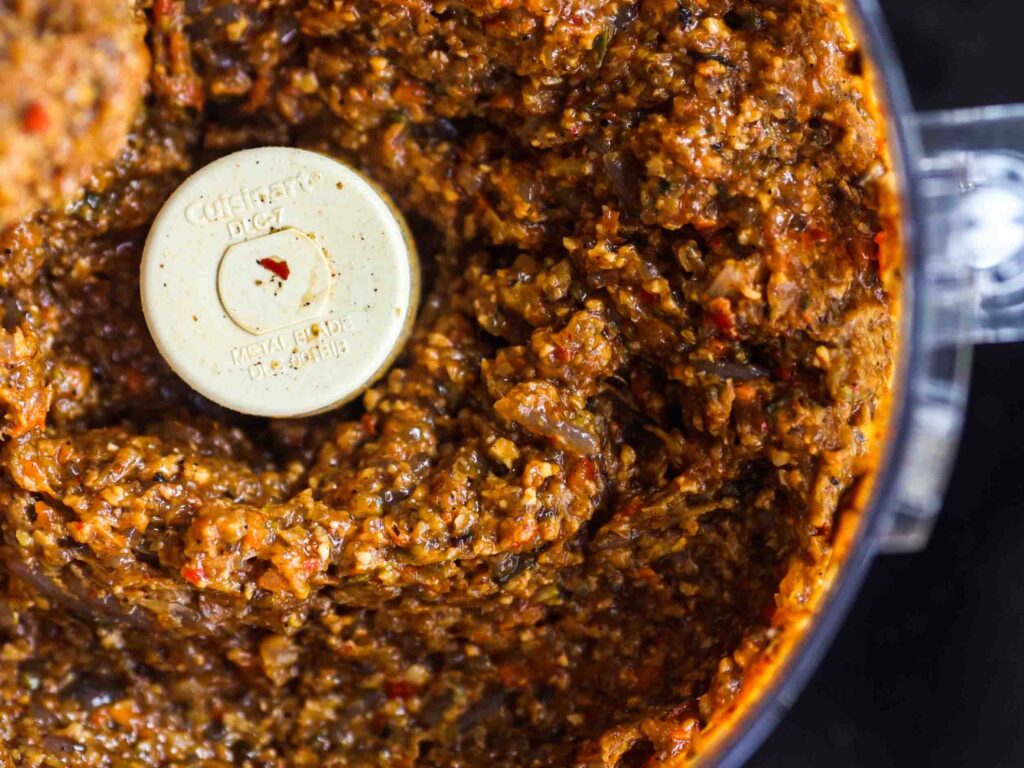
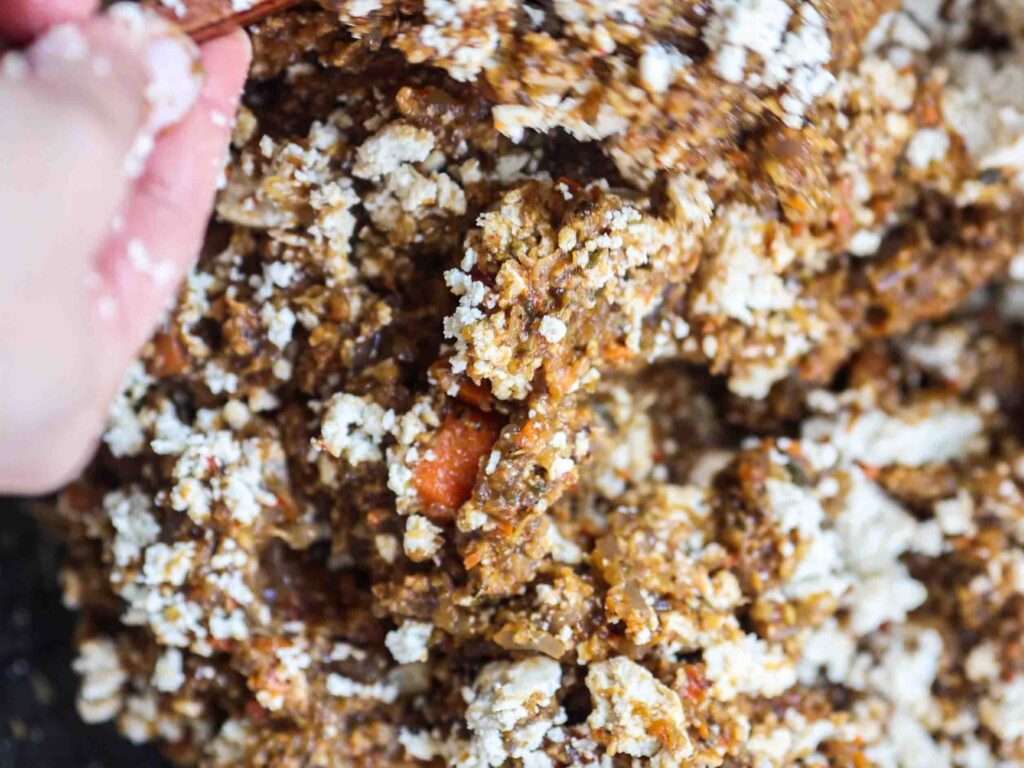
Your filling is now complete. Onto the wrapping portion of this vegan dumplings recipe!
How To Wrap The Dumplings In This Vegan Dumplings Recipe.
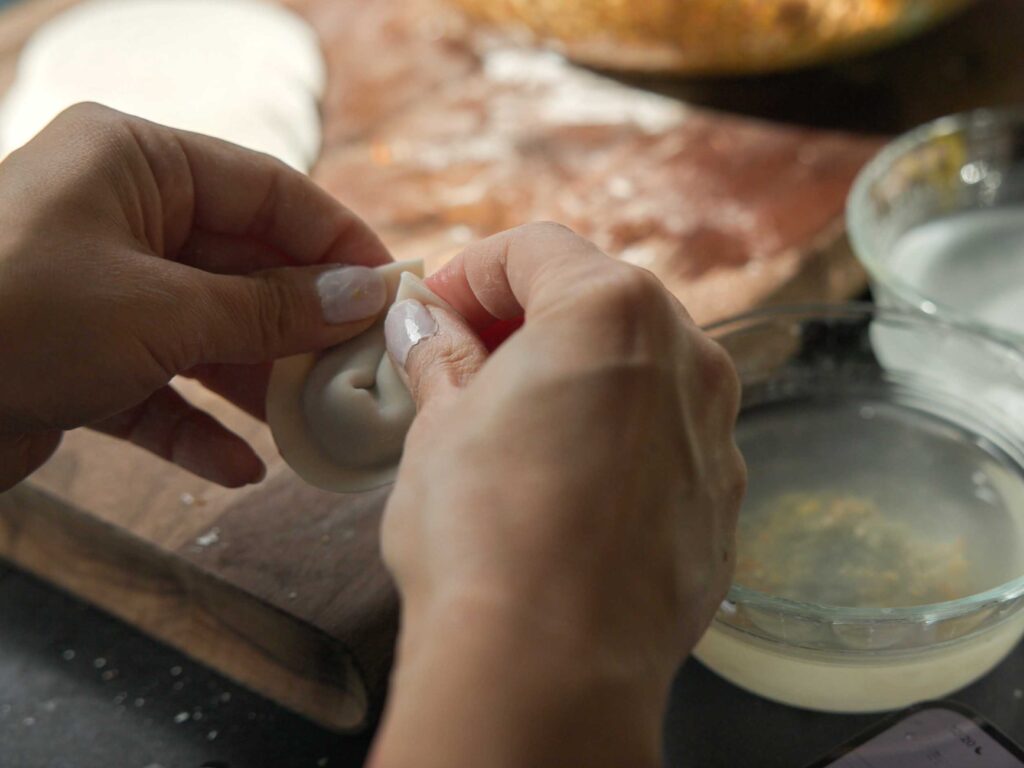
Begin by placing two small bowls filled with a little water in your work space. One of them will be for lining the rim of your dumpling wrapper with your index finger. The other will be to dip your fingers in when they inevitably get caked with flour and filling.
Next, get a couple of large baking sheets and line them with parchment paper. This is where you will place your finished dumplings. You will also want to get some plastic wrap to cover your dumplings as they wait to be cooked–too much exposure to air will harden your dumpling wrappers, which will turn your dumplings excessively chewy and unpleasant even when they are cooked.
Now that you have your work space in order, let’s discuss the three folding methodologies, from easy, medium, to hard.
Easy folding technique: The Half Moon.
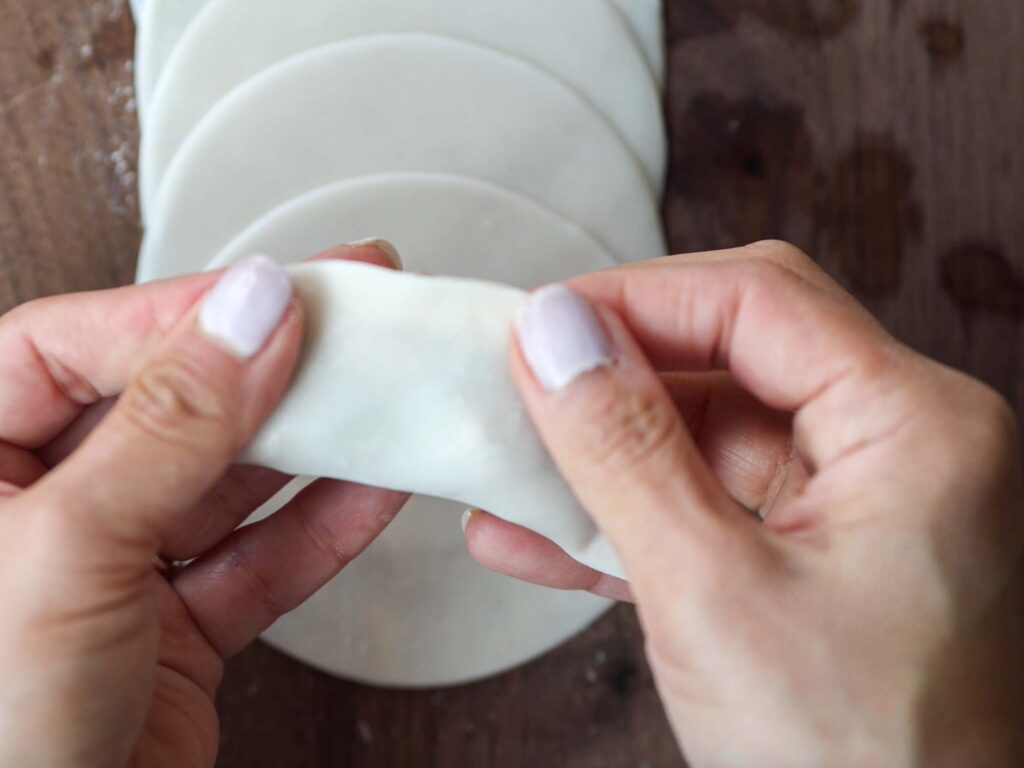
Place your dumpling wrapper in the palm of your hand. Using your index finger, line the rim of the top half of your wrapper with a little water. Next, add 1 to 3 tablespoons (depending on the size of your wrapper) of your filling to the center. Bring the bottom half of your wrapper up to meet the top half to create a half moon. Pinch all along the edges until they are sealed. Done!
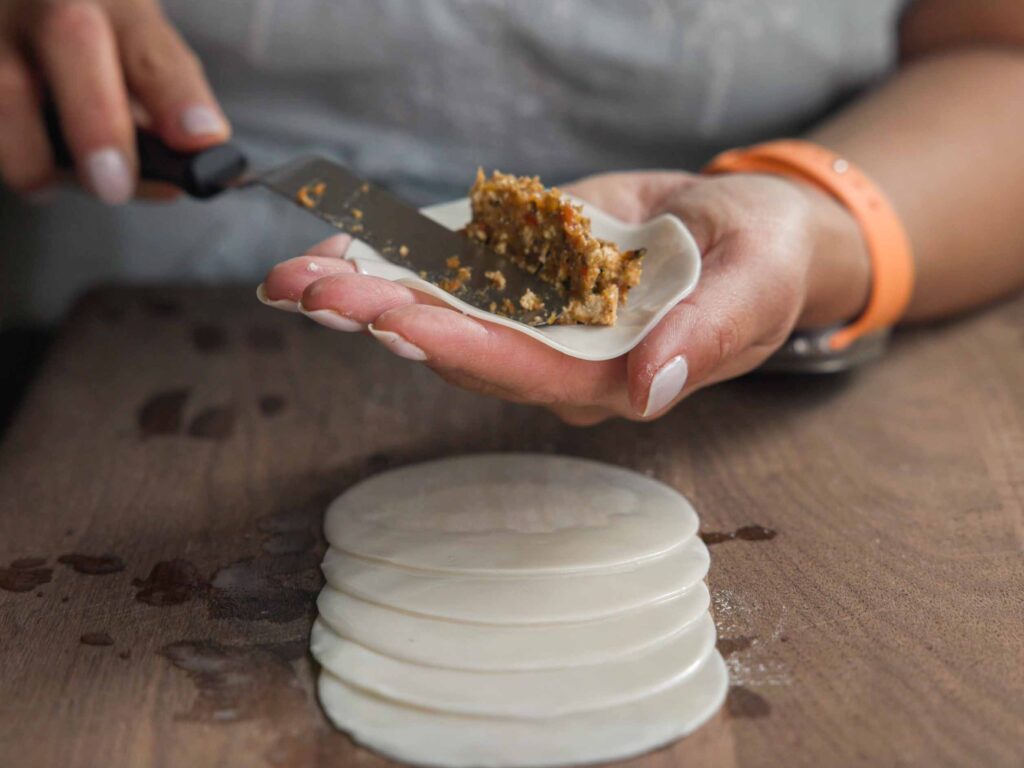
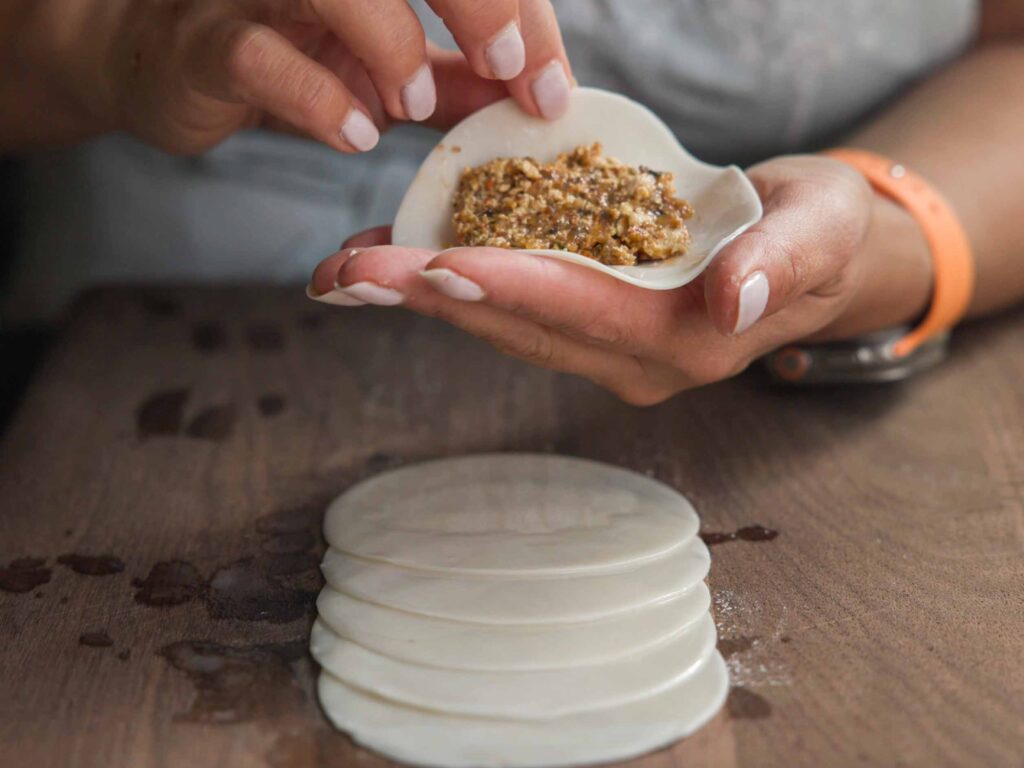
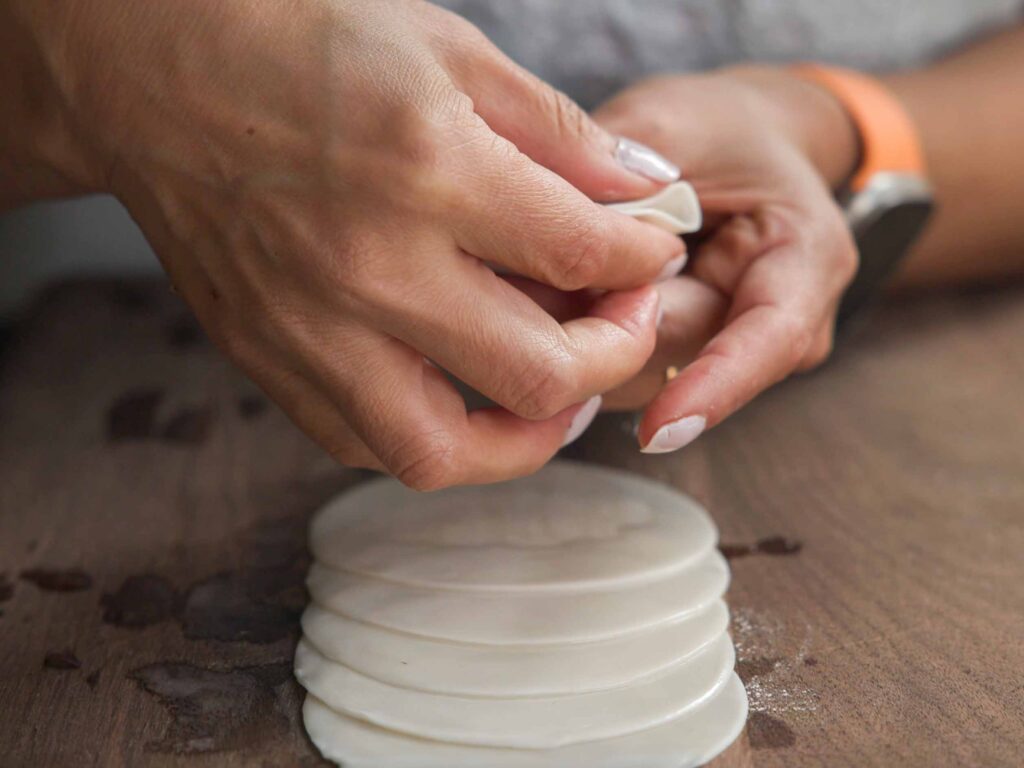
Medium folding technique: The Diaper.
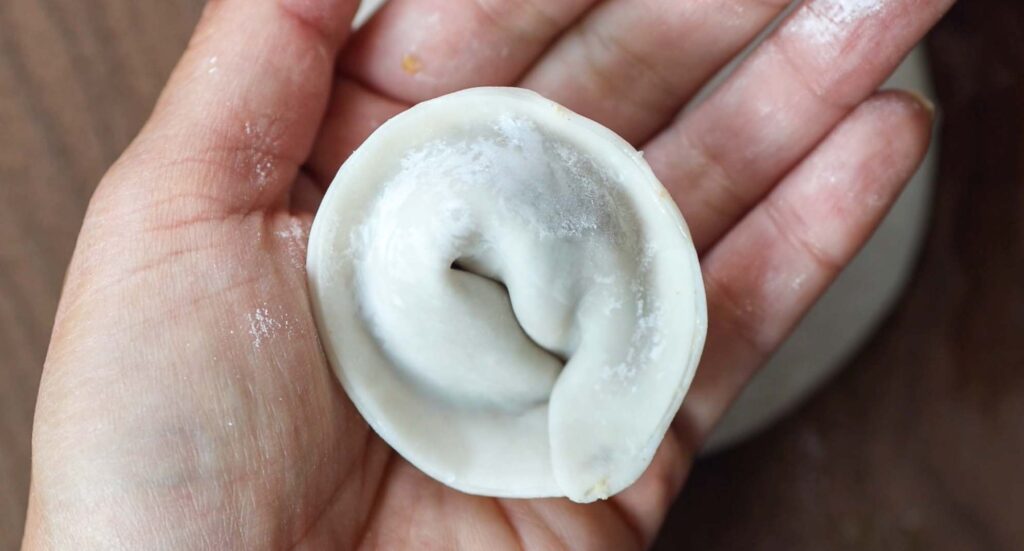
Repeat all the steps in The Half Moon folding technique. Then, slowly and gently bring the corners of your half moon together. Pinch and seal the ends together until you have something that looks like, well, a diaper! Reinforce the rim of your dumpling by pinching them with your thumb and index finger. Done!
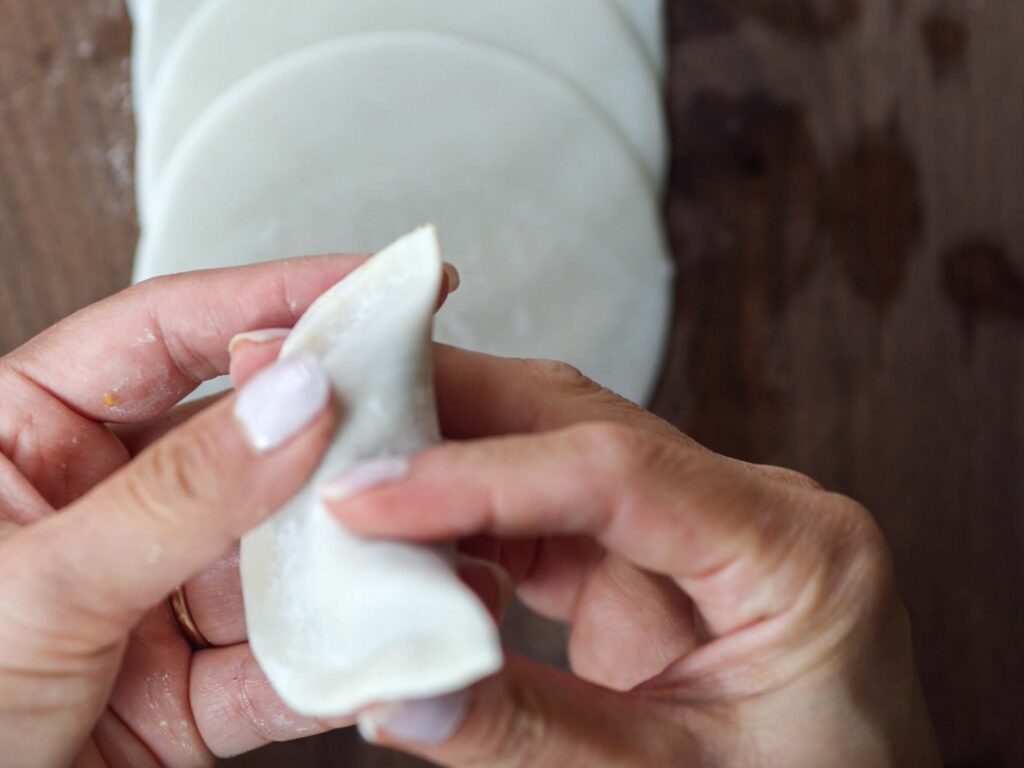
Hard folding technique: The Pleat and Pinch.
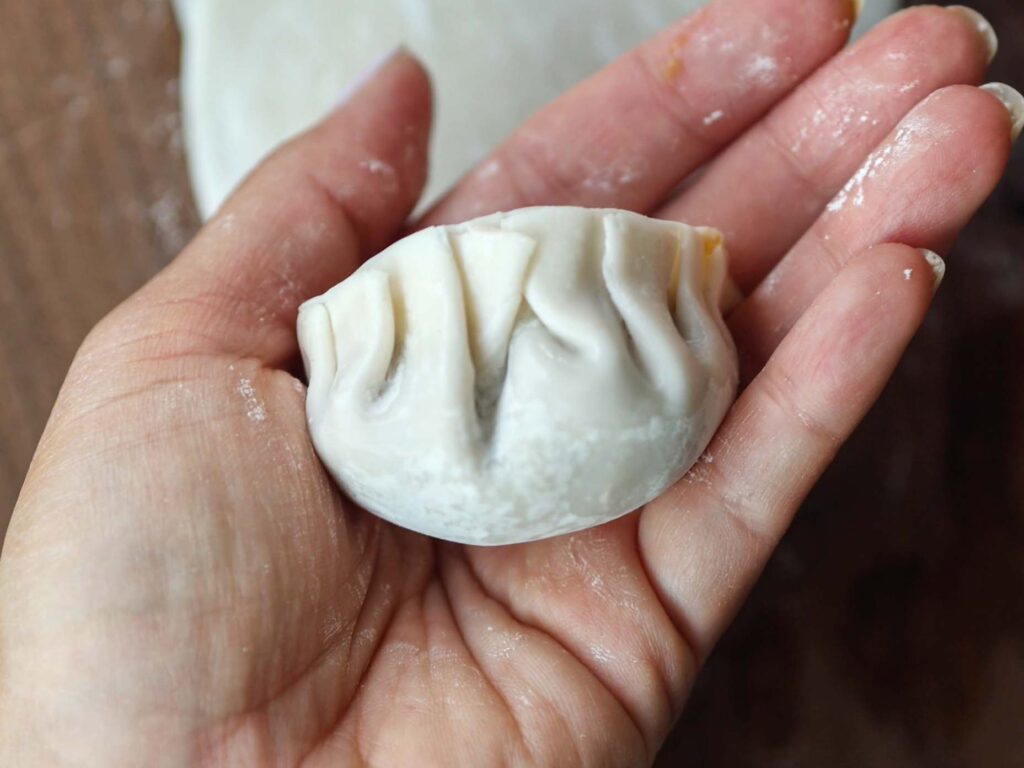
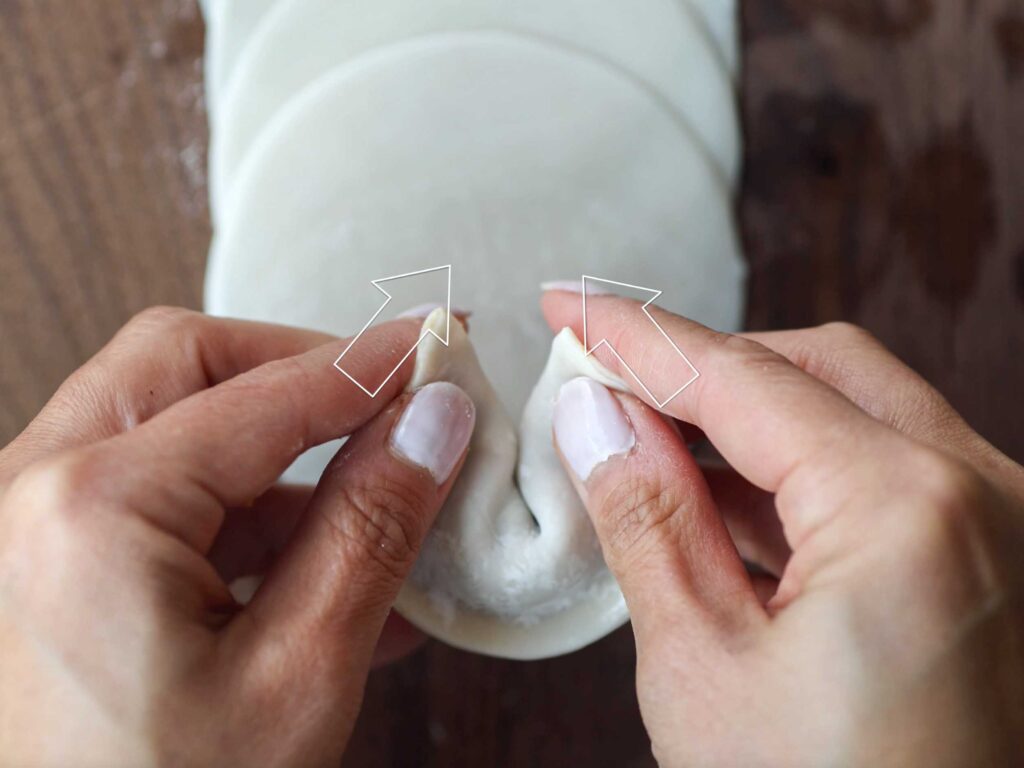
Repeat the steps outlined in The Half Moon right up until you pinch along the edges–don’t do that! Instead, after bringing the bottom half of your wrapper up to meet the top half, only pinch and seal the center of the half moon. Then, starting with the right side first, while holding the dumpling loosely in your left hand, use your thumb and index finger to create a small pleat towards the center. Pinch that closed.
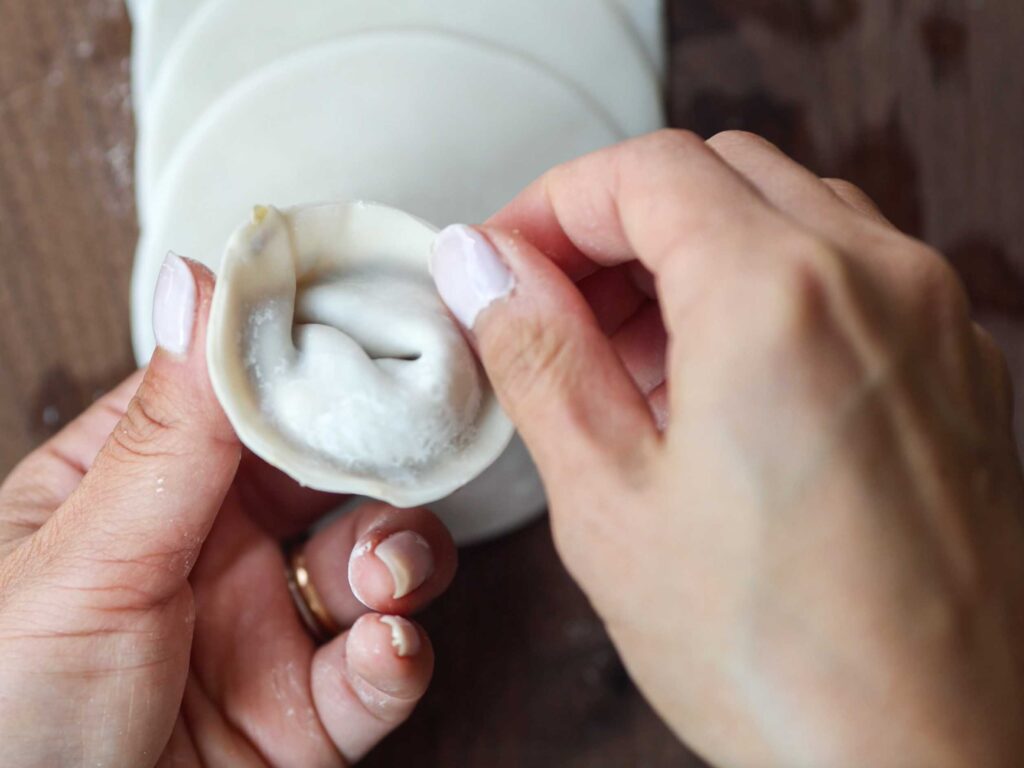
Move farther away from the center and down the slope of the half moon and create a second pleat towards the center. Pinch that closed. Repeat this until you’re able to make 3 to 4 pleats on just the right side and pinch the bottom of the slope closed. Repeat with the left side.
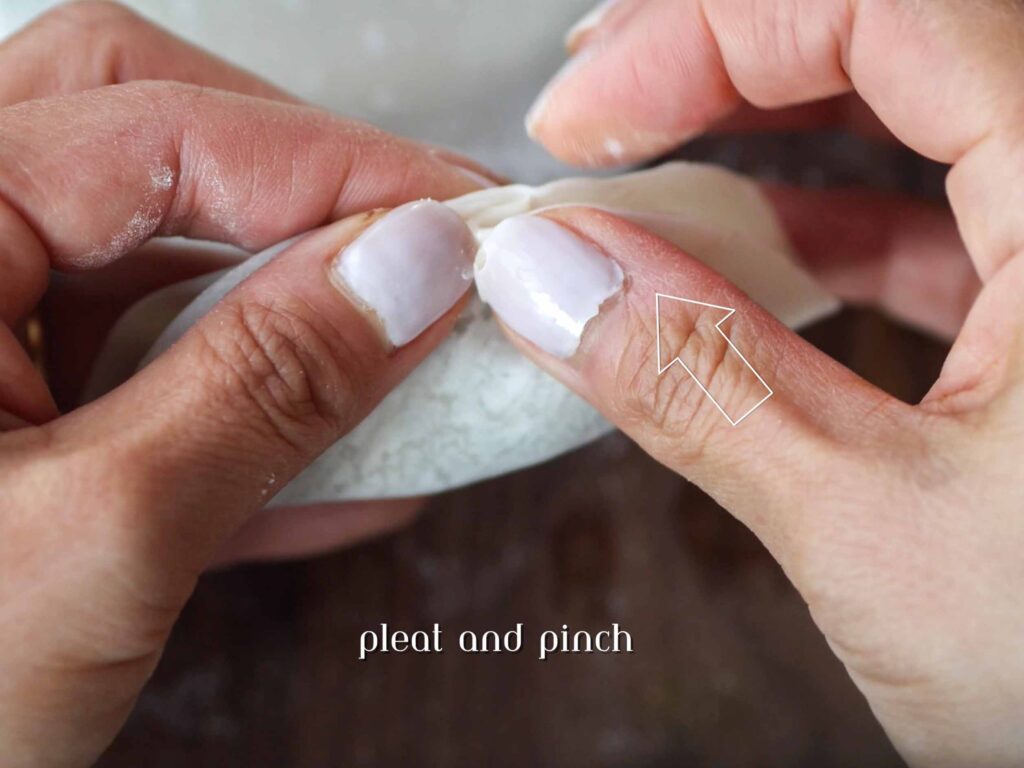
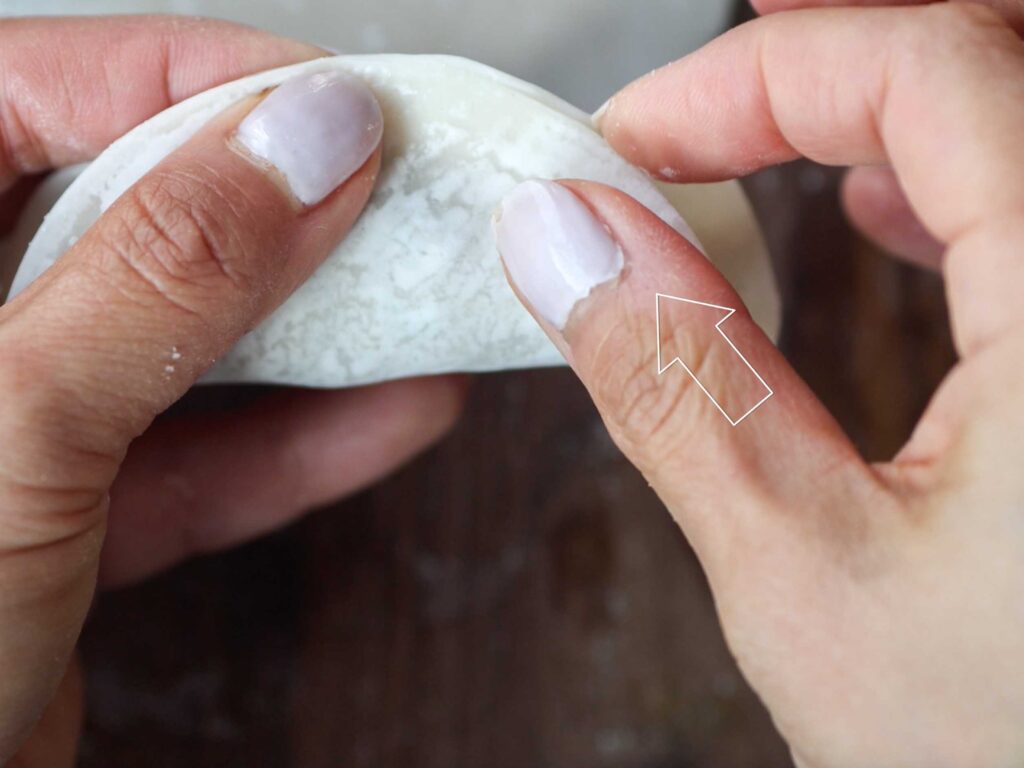
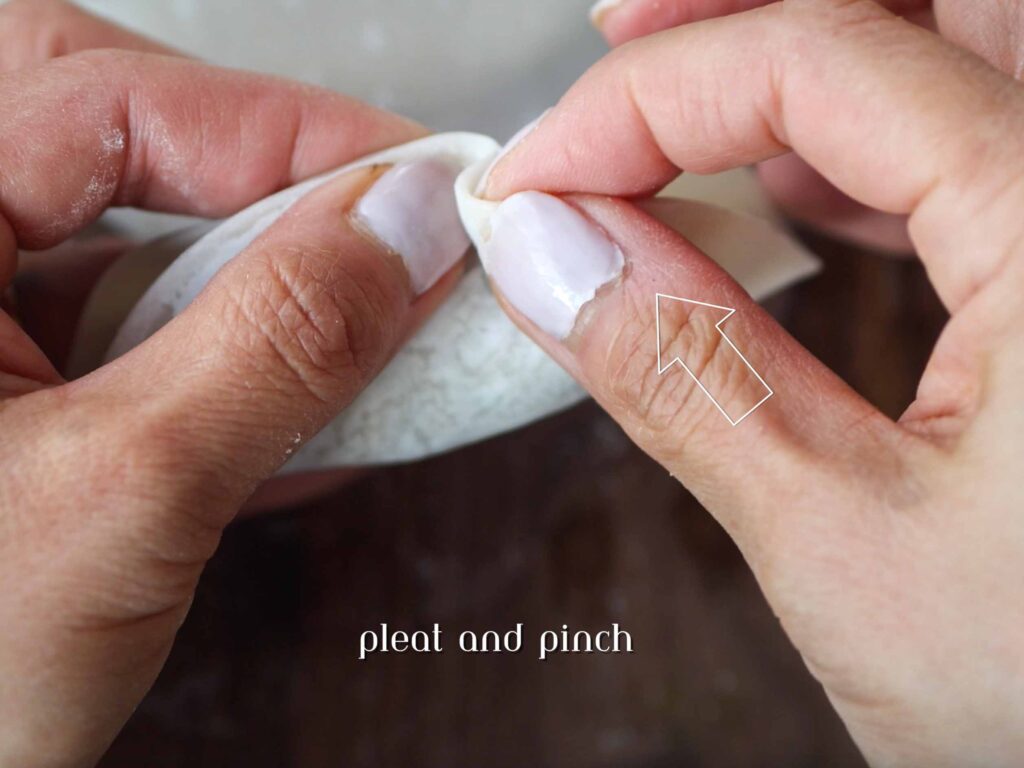
Flip the dumpling over to make sure there aren’t any gaps or holes. Reinforce the pleats by pinching them. Then, gently shape the dumpling so that the corners of the half moon are slightly bent towards each other. Done!
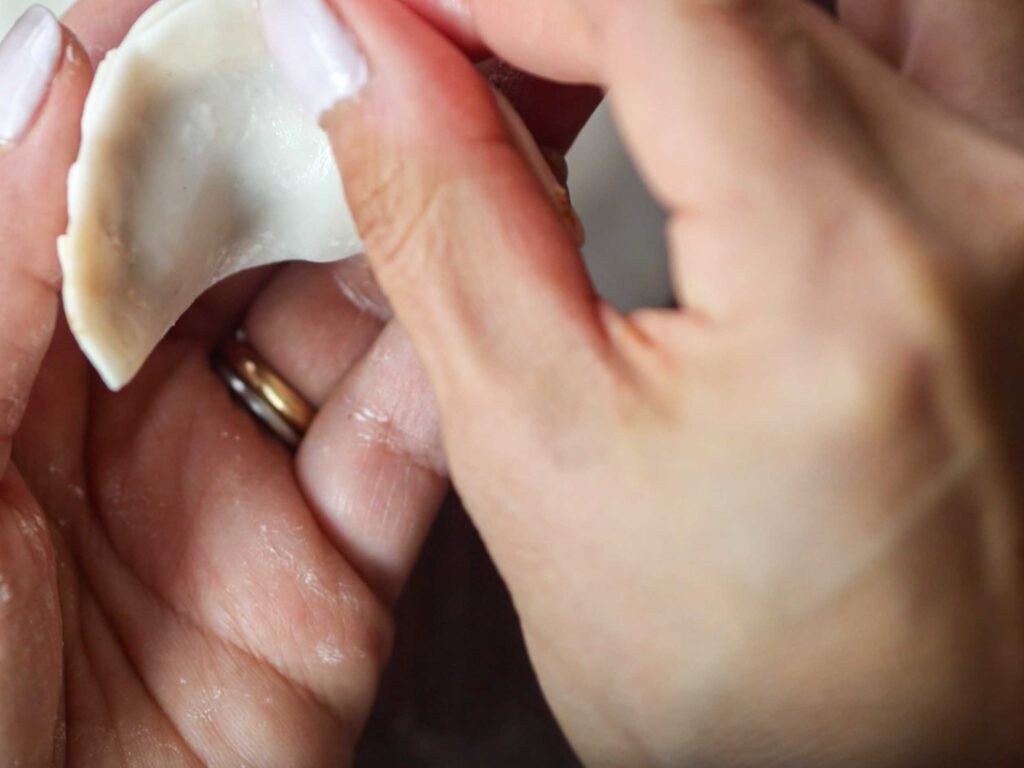
Once your dumplings are done, place them on the lined baking sheet and make sure they are NOT touching each other!!
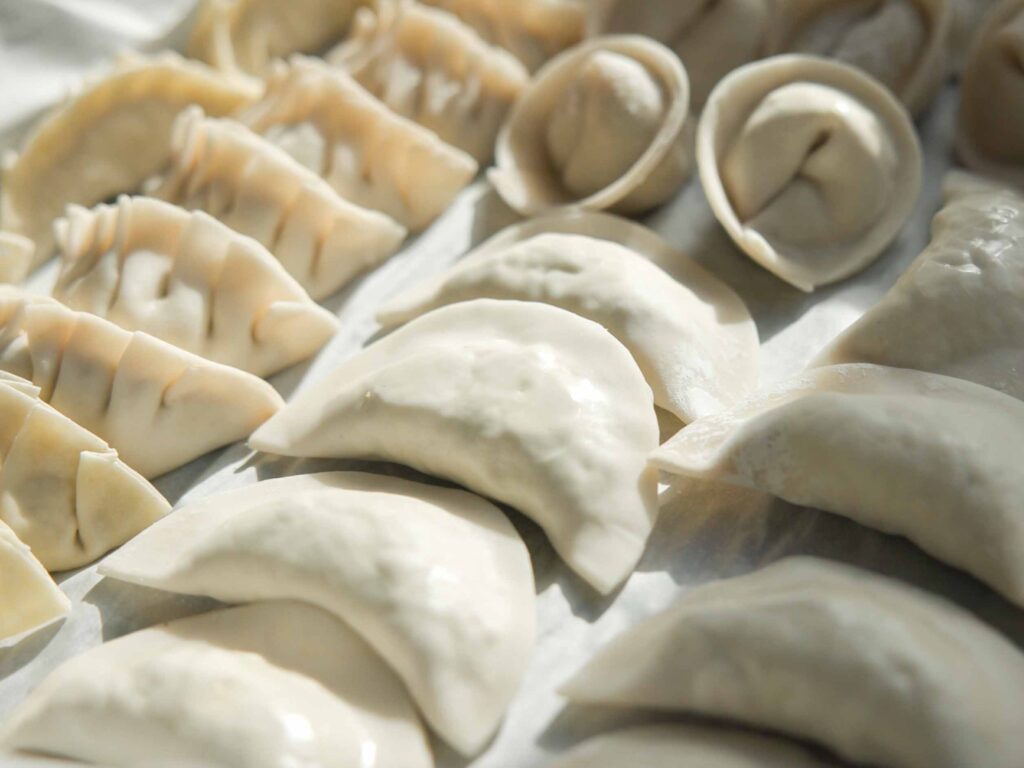
How To Cook The Dumplings In This Vegan Dumplings Recipe.
As I mentioned above, Korean dumplings or mandu can be fried, steamed, or boiled. This vegan dumplings recipe will cover all of these!
2 Ways to Fry This Vegan Dumplings Recipe.
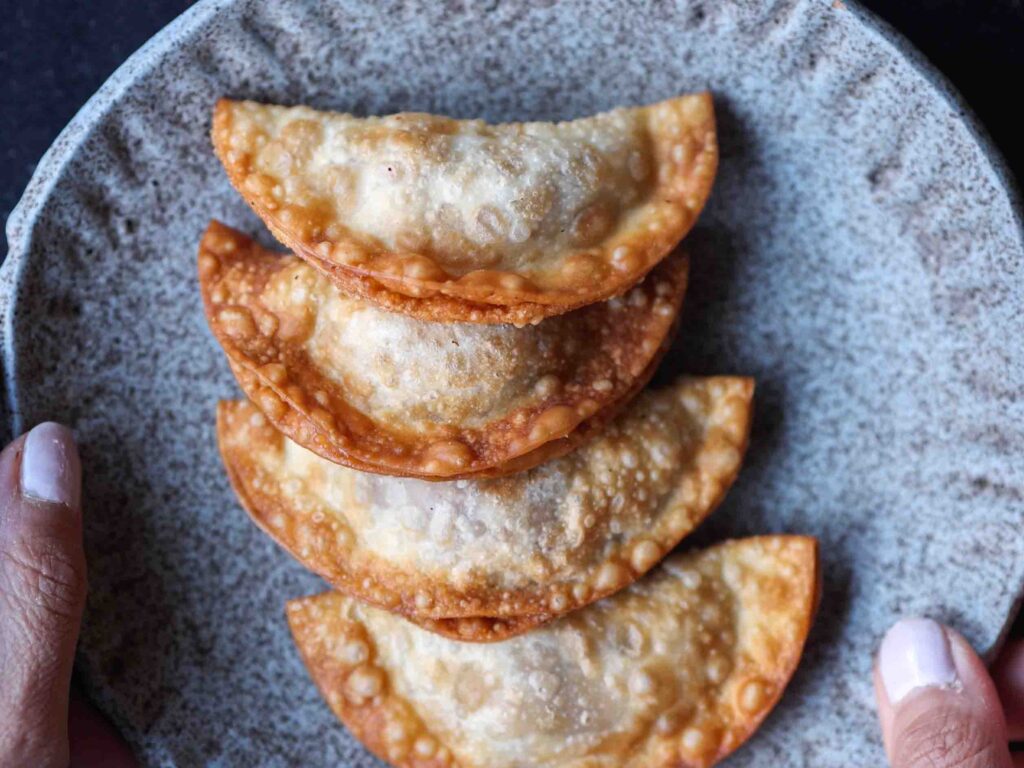
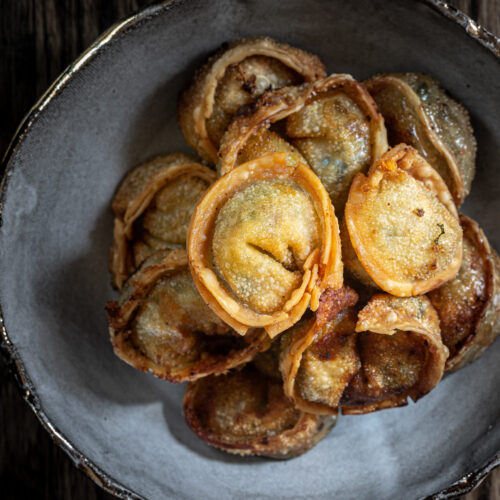
You can deep fry the vegan dumplings by placing your dumplings in oil that has been brought up to 350° F. Cook them in the hot oil for about 3 minutes or until they are golden brown. Remove them and place them on a cooling rack until they have completely dried–at least one hour up to overnight (you should store them in the fridge if you’re going to wait any longer than one hour). Then, cook them in the hot oil again for 1 minute right before serving. This will ensure they are EXTRA crispy! I recommend the Half Moon and Diaper shapes for deep frying.
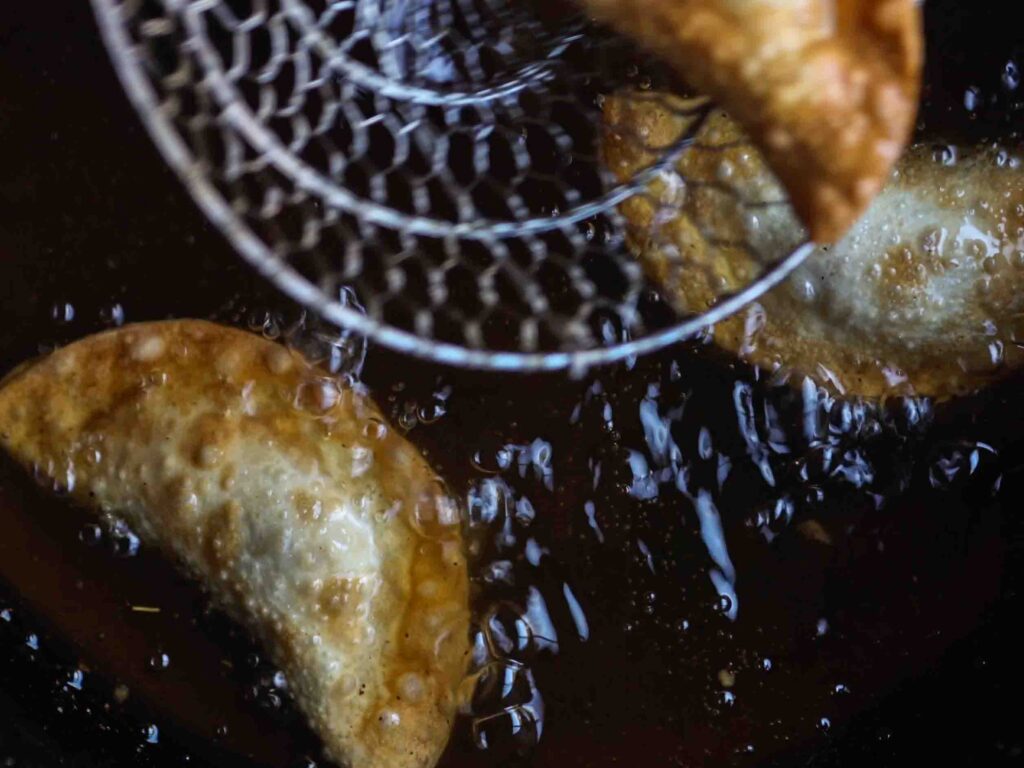
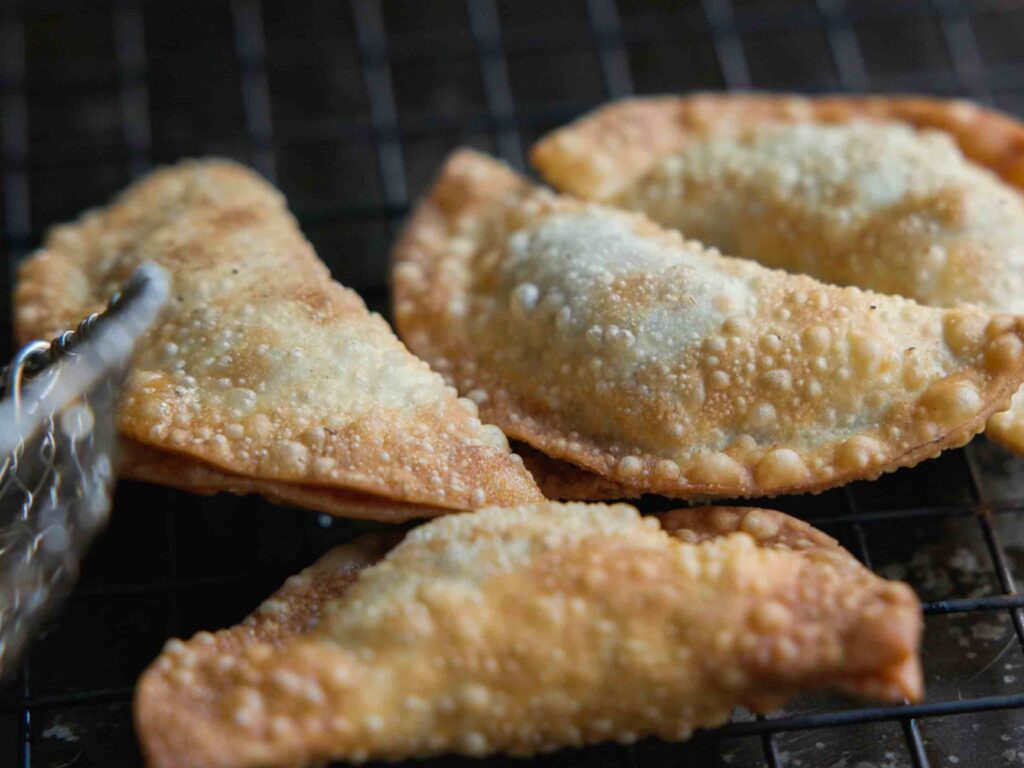
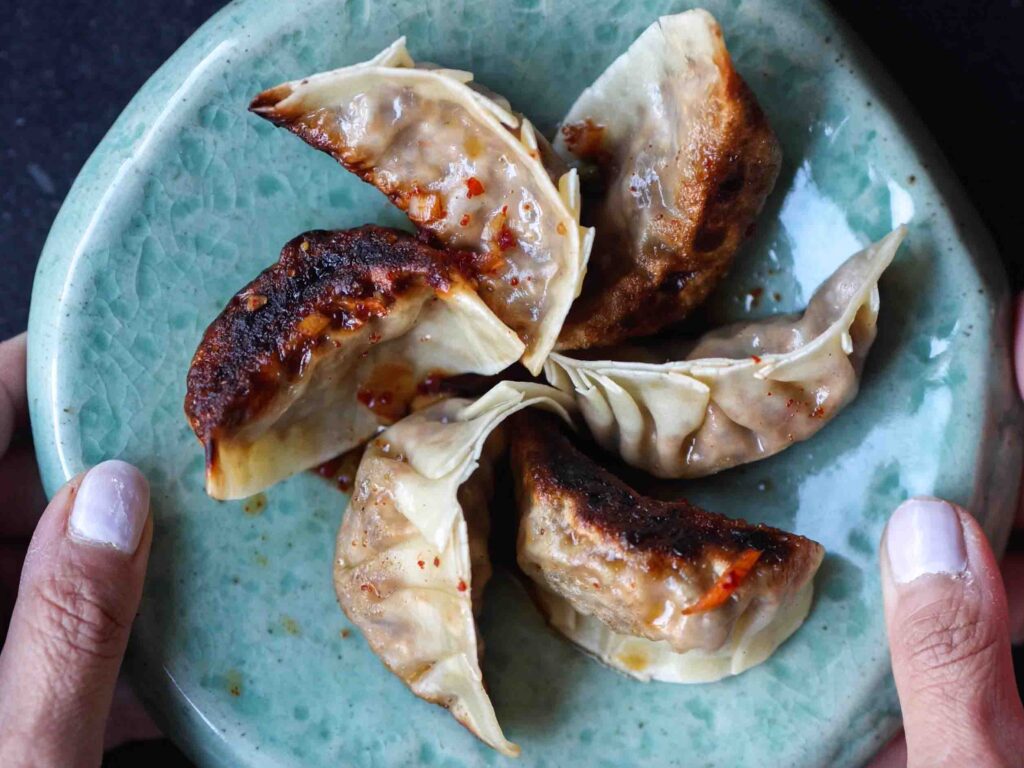
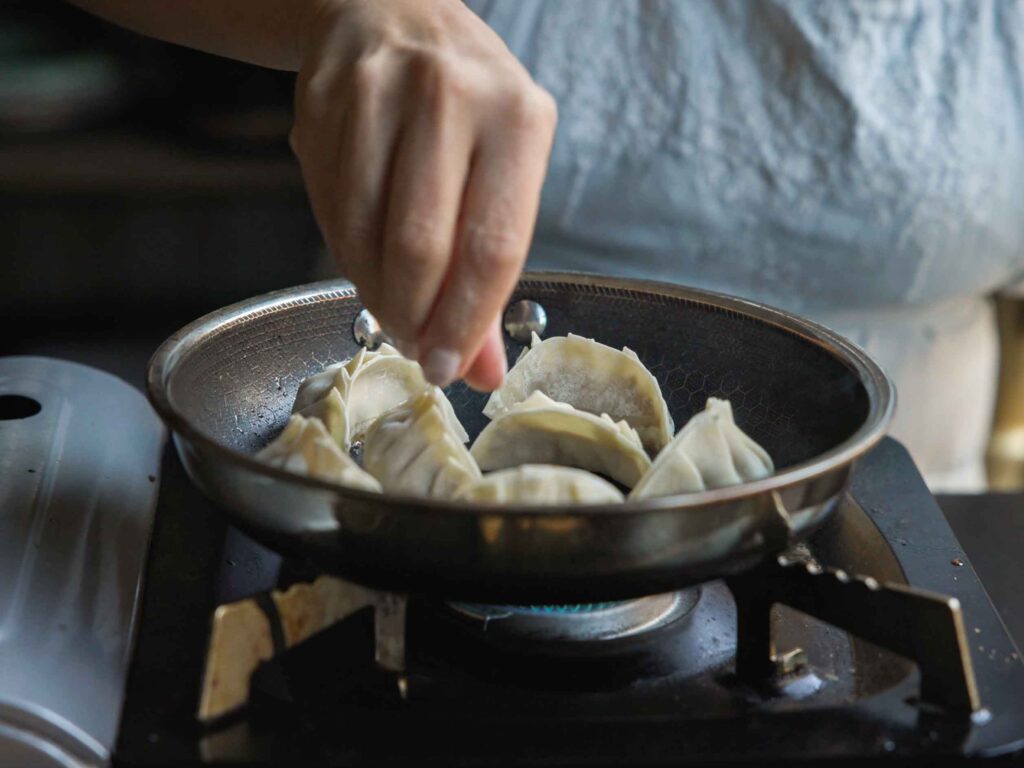
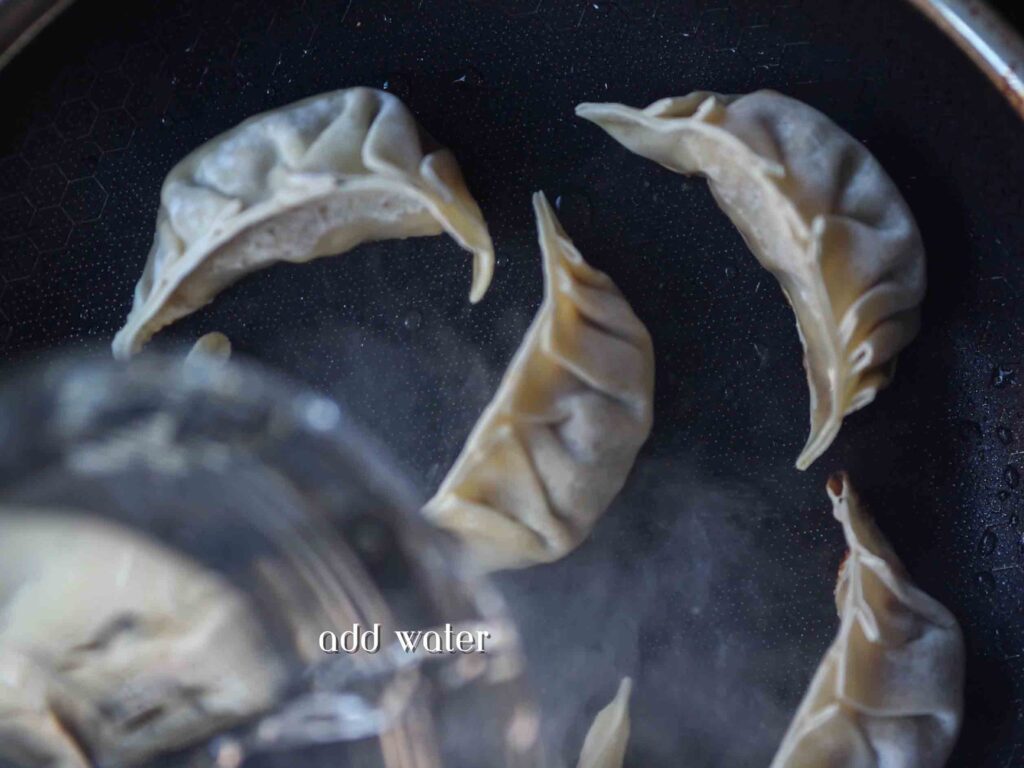
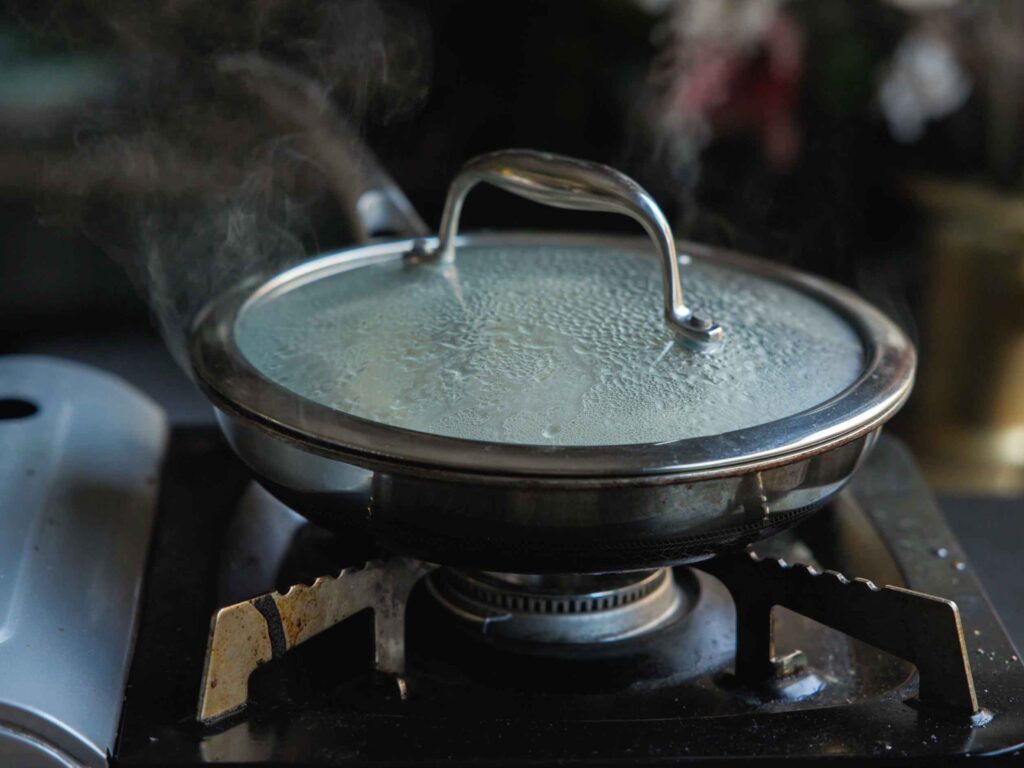
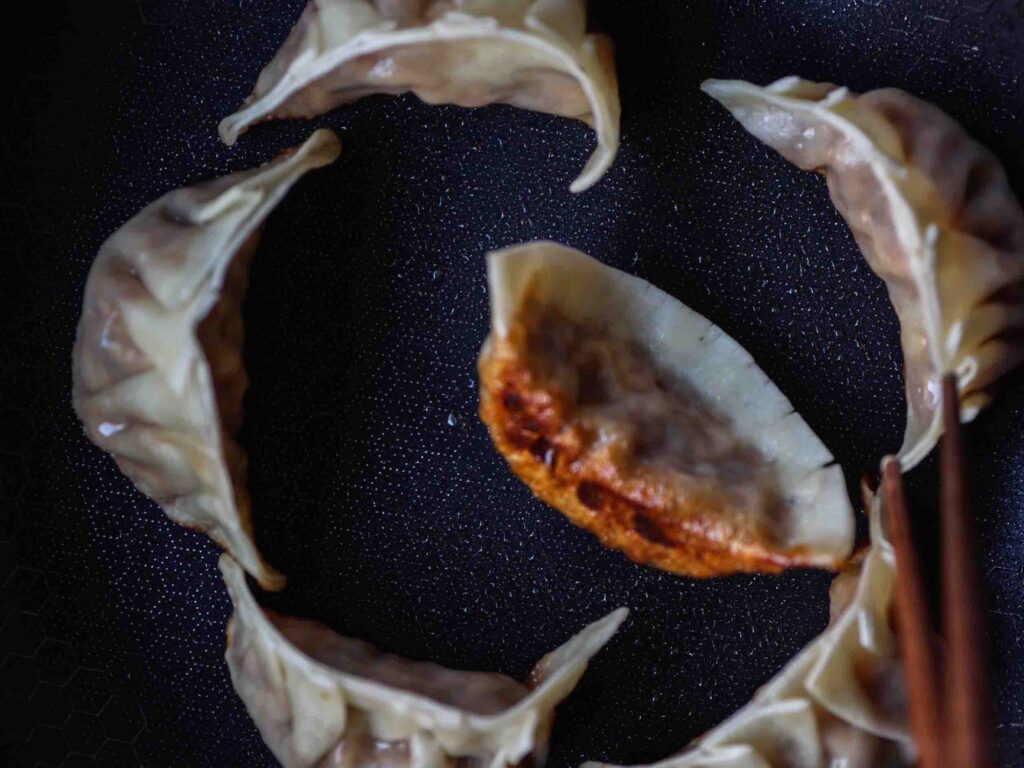
In addition to deep frying this vegan dumplings recipe, you can also cook them as potstickers–particularly if you used the Pleat & Pinch method of folding! Add a little vegetable oil to your pan over medium-high heat. When the oil begins to shimmer, place your dumplings on the pan and cook until the bottoms are browned (about 2 minutes). Add a little water to the pan and quickly cover the pan with a lid. Cook for an additional minute, until your wrappers are cooked through. Serve with your favorite dipping sauce!
Steaming This Vegan Dumplings Recipe.
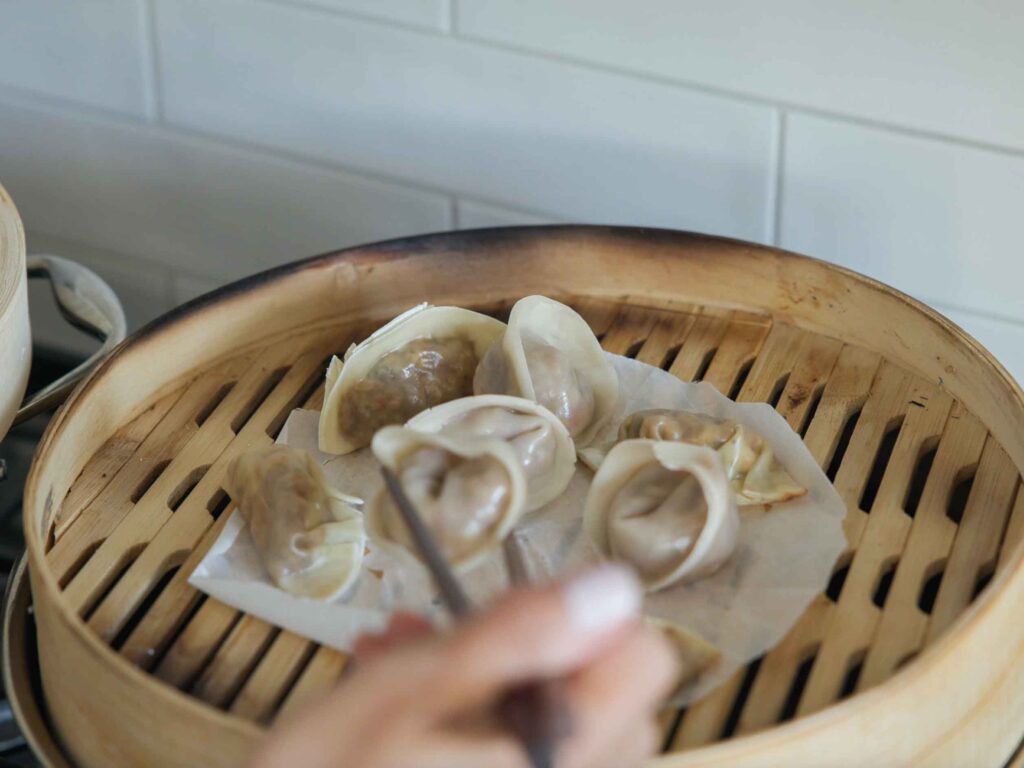
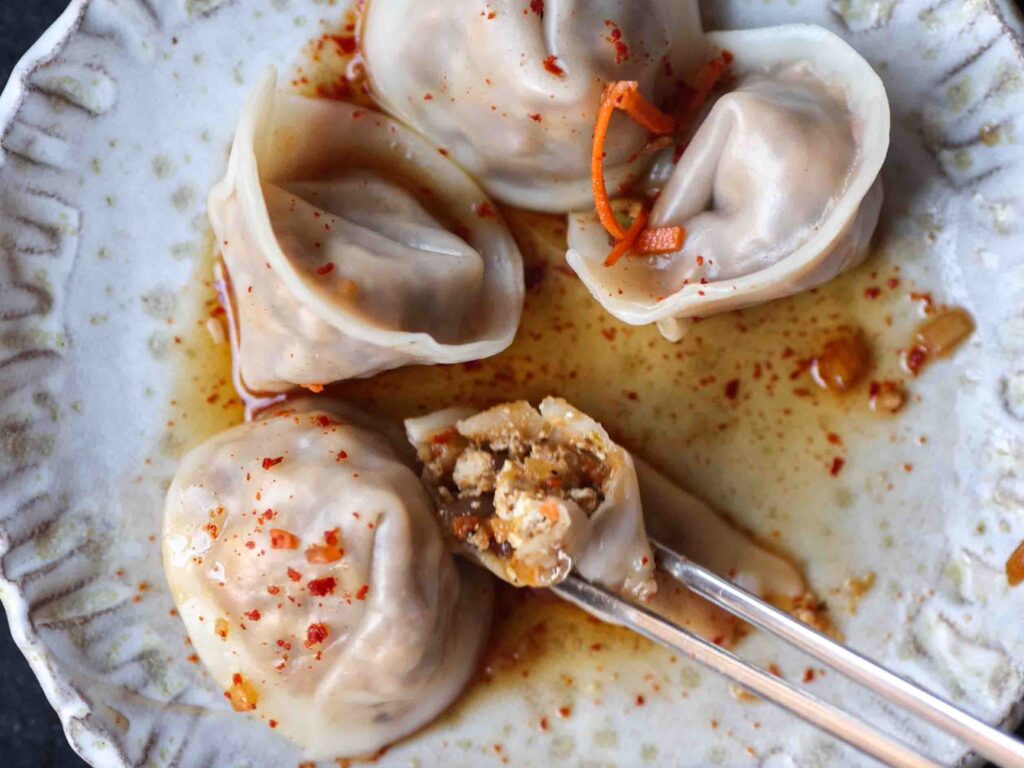
I’ve found that the Diaper shape works best for steaming. To steam this vegan dumplings recipe, bring a large pot filled with about 1 inch of water to a boil. Line your steamer with parchment paper, that has been poked throughout with holes.
Then, place your dumplings on the steamer so that they are NOT touching and gently lower it into your pot or place it over your pot (if you’re using a bamboo steamer). Make sure to wrap the lid of your pot or bamboo steamer with a kitchen towel to catch any condensation. Steam for about 25 minutes. Serve with your favorite dipping sauce!
Boiling This Vegan Dumplings Recipe.
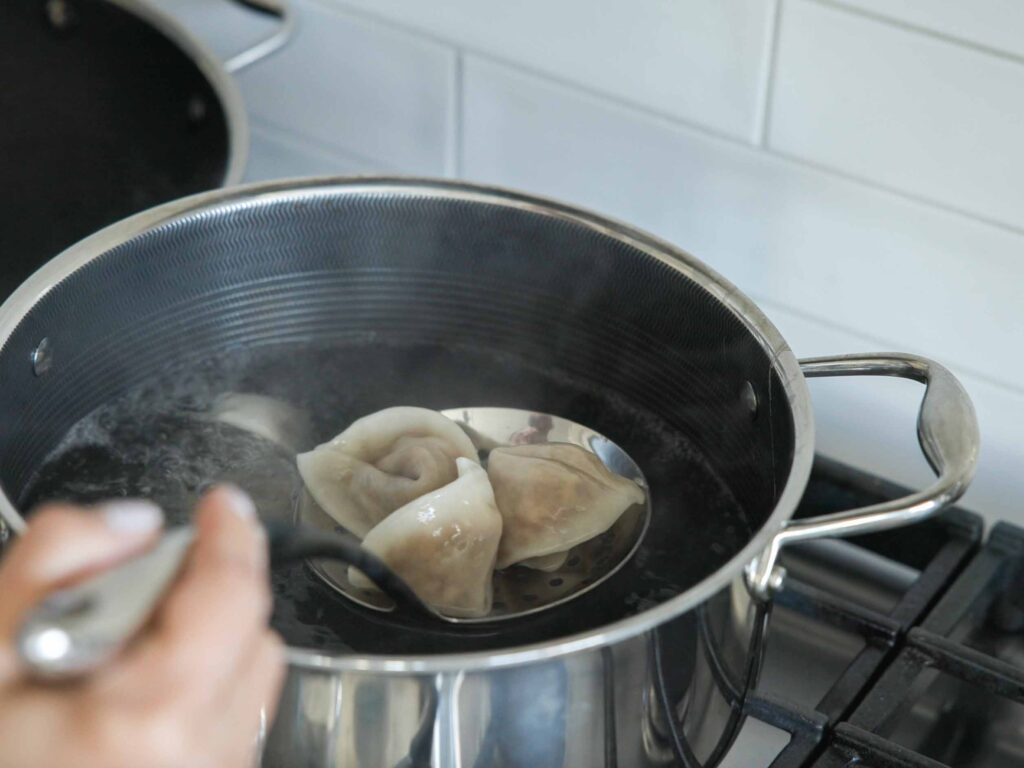
You can pretty much use any shape for boiling your vegan dumplings. Boiling this vegan dumplings recipe is as straight forward as it sounds! Simply bring a large pot of water to a boil and drop your dumplings in–gently, of course! Guard against overcrowding your pot–I usually cook about 8 to 10 at a time, even in my largest pot. You’ll know they’re done when they start floating to the surface, about 3 minutes. Fish them out using a slotted spoon and serve with your favorite dipping sauce!
How To Store Dumplings In This Vegan Dumplings Recipe.
The best thing about making these dumplings is you can make a LOT of them in advance, freeze them, and cook them up however you like weeks later.
First, place some plastic wrap over your dumplings while they’re still on the baking sheet lined with parchment paper. Place the entire baking sheet into your freezer. If necessary, gently transfer them onto a smaller baking sheet lined with parchment paper if your freezer is crowded.
Once they are completely frozen, you can transfer the dumplings into the storage container of your choice. Keep them frozen until you intend to cook with them.
Note: do not store your folded dumplings in the refrigerator. The moisture in the filling will seep into your wrappers and your beautifully folded dumplings will begin to lose their shape. You don’t want that!
Video: 100 Korean Dumplings
Frequently Asked Questions.
How are Korean dumplings different from other dumplings?
Korean dumplings, or mandu, are usually wrapped with dumpling wrappers that are made with wheat and rice flour (“chapssahl”), thus giving the exterior of the dumplings a chewier texture. In addition, the dumpling filling is often made using traditional Korean ingredients, like kimchi.
Can you make dumplings gluten-free?
While there are virtually no store-bought dumpling wrappers that are gluten-free, you can utilize rice paper of spring roll wrappers in lieu of traditional wheat-flour wrappers. You can also use gluten-free soy sauce to flavor your filling to keep your dumplings gluten-free.
Do Korean dumplings always contain meat?
While traditional Korean dumplings or mandu usually contain meat, vegetable dumplings or “yachae mandu” can be made with vegetables and tofu.
Recipe Card.
Homemade Vegan Dumplings Recipe – Kimchi Mandu
Ingredients
- 2 tbsp extra virgin olive oil
- 1 cup sliced shiitake mushrooms
- 2 tbsp soy sauce
- 1/4 cup chopped red bell pepper
- 1/2 cup chopped carrot
- 1/4 cup chopped onion
- 4 green onions, chopped
- 1 yukon potato, chopped
- 1/4 cup chopped zucchini
- 1 stalks celery, chopped
- 3 cloves garlic, minced
- 1 cup kimchi
- 1 tsp msg OR sea salt
- 1 tsp black pepper
- 1 cup cooked vermicelli
- 16 oz super firm or extra firm tofu
- 1 tbsp toasted sesame oil
- 40 – 50 dumpling wrappers
- Oil for frying
Instructions
- Add 1 tbsp of olive oil to large sauté pan over medium high heat. When the oil begins to shimmer (about 1 minute), add sliced mushrooms. Cook for about three minutes, until they begin to brown. Add 1 tbsp soy sauce. Cook for an additional 2 minutes. Set aside.
- Add 1 tbsp of olive oil to same pan and when oil begins to shimmer, add the remaining vegetables, including kimchi. Season with msg (or salt), black pepper, and remaining soy sauce. Cook for 3 minutes until liquid starts to collect. Reduce heat to medium and cook until liquid is completely gone (about 10 minutes). Make sure to stir regularly to avoid burning (though, a little char wouldn’t be amiss).
- Place all the veggies, along with cooked vermicelli into a food processor. Grind until you achieve a thick paste like in the video. Then add tofu using your hands or a potato masher. Add sesame oil. Season with more salt (the flavors SHOULD be aggressive—they will diminish during the cooking process), as necessary.
- Wrap according to your preferred method (see blog post for detailed folding instructions).
- To deep fry, bring oil temperature to 350° F. Place your dumplings in the hot oil (be sure not to overcrowd) and cook for about 3 minutes, until golden brown. Remove from oil and set side, preferably on a wire rack. Let them cool for at least one hour before frying them a second time and serving.
- To pan fry, add a little oil to your pan over medium-high heat. When the oil starts to shimmer, add your dumplings onto the pan. Allow them to cook for about 2 minutes, until the bottoms are browned. Add 2 tbsp of water to the pan and quickly cover with lid. Cook for an additional minute or two until the dumpling wrappers are cooked (begin to grow translucent).
- To steam, line your steamer with parchment paper poked with holes. Place your dumplings spaced apart so they are not touching on your steamer. Cover with a lid wrapped in a kitchen towel and steam for about 25 minutes, until your dumpling wrappers begin to grow translucent.
- To boil, add your dumplings to boiling water and cook until they begin to float to the surface, about 3 minutes.



I can’t wait to try these beautiful delectable dumplings!! This May we were blessed with a grandchild and i will soon have a couple of days to hang out with his Korean grandma. I hope to find a bit of time to share these lovely mandu with her and to stack some in my daughter’s and son-in-law’s freezer to make life a little easier for a quick and yummy meal.
I want you to know that your recipes AND incredible family history are so filling for my heart and soul and body! I know that the pendulum swings when we doubt our hopeful decisions, but from my corner of the world, I want you to know that you are so special to me and my growing family! Thank you, your mom, your grandma, your husband for all of the beauty that you have created and brought into this world! Thank you for sharing this bounty with us…much love to you all!
Can’t wait to try these! What is the folding technique if you use rice paper? My daughter is celiac and I try to avoid gluten as well.
These were amazing! We couldn’t stop eating them!
And I have a TON of kimchi in my fridge…oooh, I usually make a bunch of dumplings and spring rolls to go in the freezer for my boys to nosh on as a quick snack or meal. Can’t wait to try these!!! Thanks!
More time than I usually spend on a dish, but so worth it! Thank you for sharing your family’s recipe, it’s absolutely delicious (and doable, even for a kitchen novice like me)