Delicious Supplì Inspired Kimchi Fried Rice Balls.

Crunchy.
Spicy.
DELICIOUS!!
My late father-in-law loved supplí, a Roman street food that many people might mistake for arancini (more on that below). Basically, you take a very simple marinara risotto, shape it into small balls, coat them with some breadcrumbs, and deep fry them to perfection. You then serve them with the same marinara sauce you used to make the risotto. The results are addictive. You may recall the recipe I included for supplí in my first cookbook (for which I used Korean fried rice instead of risotto), but I wanted to take it up a notch and apply the same methodology to kimchi fried rice. And thus these kimchi fried rice balls were born!
So, without further ado, let’s get into it!
Disclaimer: Some of the links in this post may be affiliate links for products I use and love. If you make a purchase after clicking one of those links, I may earn a small affiliate commission, perhaps enough to buy some extra gochujang or gochugaru 🙂
What is Traditional Supplì?

Supplì is the Italianization of the French word “surprise.” “Surprise,” in turn, is shorthand for “croquettes en surprise,” which refers to croquettes that contain a surprise element in the filling. Hence, most people believe that supplì is an Italian take on a French classic. In case it’s your first time hearing the word “croquette” (I’m not French either!), it refers to a small, ball-shaped food made up of some starchy base (like rice or potatoes) that’s mixed with other things (like veggies, meat, and seafood), then coated with breadcrumbs and deep fried.
The Roman version of the croquette starts with a tomato based risotto that often contains mozzarella or some other kind of cheese. The original supplì was also made with meat. How are they different from their Southern cousin, arancini? Arancini are often smaller and shaped more like golf balls, while supplì are shaped like eggs. Moreover, arancini uses all different kinds of risotto and fillings, while supplì traditionally sticks with something pretty simple and tomato-based.
I’ve had supplì many times, both before and after I went vegan. My Aunt Gail (on Anthony’s side) once hosted a “rice ball party,” where we were all invited to partake in both the making and eating of all the delicious rice balls! It reminded me so much of kimjiang–when everyone comes together, rolls up their sleeves, and makes kimchi! These kimchi fried rice balls are not so difficult that you’ll require a team to make them, but it might be a fun excuse to invite friends, family, or even the kids to participate in cooking!


Key Ingredients and Notes on Substitutions for Kimchi fried rice balls Recipe.
Kimchi Fried Rice.

As I explain above, traditional supplì uses marinara risotto. For these kimchi fried rice balls, though, I use my own kimchi fried rice recipe, minus the tofu. Why minus the tofu? It’s harder to create uniform rice balls that don’t fall apart if your fried rice or risotto is overly chunky. So, not only do I nix the tofu, I also make sure to finely cut up the kimchi for my kimchi fried rice. Now, if you want to keep the tofu for these kimchi fried rice balls, you can absolutely do so, but I would recommend dicing them up very small.
And, of course, you can always use whatever sticky, creamy rice recipe you like for rice balls!
Flour or Starch.
Once the rice is shaped into balls, you’ll need to dredge your kimchi fried rice balls in a little flour or starch (potato starch or corn starch). It doesn’t really matter which you use–I’ve used both and every time, they turn out great!

JUST Egg or Plant Milk.
The kimchi fried rice balls are dipped in JUST Egg before they head to the breadcrumbs. If you don’t have JUST Egg, you can substitute with a thick plant milk, like Chobani’s Extra Creamy Oat Milk. Using a thinner plant milk, like almond milk, might make it a little harder to prevent the rice balls from falling apart.
Panko.

I prefer using panko in lieu of traditional Italian breadcrumbs for these kimchi fried rice balls. I find they come out lighter and more golden, while Italian breadcrumbs yield heavier and darker rice balls. You go with what you have and/or prefer! And, of course, use gluten-free breadcrumbs if you want to keep your kimchi fried rice balls gluten-free!
Vegetable Oil.
Like the traditional recipe for supplì, these kimchi fried rice balls will be deep fried. Hence, you will need a good amount of vegetable oil (I used canola oil). But if you’re leery of deep frying anything, I got you: simply spray them with a little cooking spray and stick them in an air-fryer at 410° F or bake them in the oven at 450° F. I’ve done it this way a few times and they taste fantastic!
Marinara Sauce.
No, I’m not saying we’re adding marinara to our kimchi fried rice! But, I absolutely love topping the kimchi fried rice balls with a little marinara sauce! It tastes AMAZING this way!! I used my own homemade red sauce, but feel free to use your favorite store-bought marinara or pizza sauce for these!
Tips for Making kimchi fried rice balls (READ BEFORE COOKING!!!).

Stick your fried rice in the fridge. Do not skip this step!! I know you want to save time by diving right into shaping the rice balls, but your kimchi fried rice balls will be much more difficult to shape if your fried rice doesn’t have time to cool. Not only that, they’ll be much more prone to fall apart when they go into the fryer. The kimchi fried rice needs time to congeal to facilitate shaping, dredging, and breading!
Use gloves. A pair of gloves is great for dredging these kimchi fried rice balls. Otherwise, your hands will get gunky really quickly and you’ll find yourself headed back and forth to the sink after every single rice ball!
Get Your Cooking Oil HOT! Do not try to fry these kimchi fried rice balls without first checking to make sure your oil is hot (~350° F). How to check if it’s hot enough? Drop in a fleck of a breadcrumb and if it instantly rises to the surface, you’re good. If you drop them in while the oil is at a lower temperature, the oil will seep into the rice balls, rendering them very greasy and heavy, instead of crunchy and light.

Don’t crowd the pan. Do not cook all your rice balls at once. Doing so will instantly lower the temperature of the oil and result in the greasy, heavy situation I refer to above. To ensure your kimchi fried rice balls remain light and golden, cook only a few at a time. Depending on how large your cooking pan is, that can mean anywhere from 2 to 4 rice balls at a time.
Monitor your oil temperature. The good news here is that the filling is fully cooked. So, you don’t need to keep the rice balls in the oil for a very long time. That said, to avoid burning your kimchi fried rice balls, keep an eye on that temperature. If you notice that your rice balls are cooking up too quickly (i.e., in seconds), reduce that temperature a smidgeon to facilitate a nice, even cook.
Step-by-Step Instructions for Making Kimchi Fried Rice Balls.

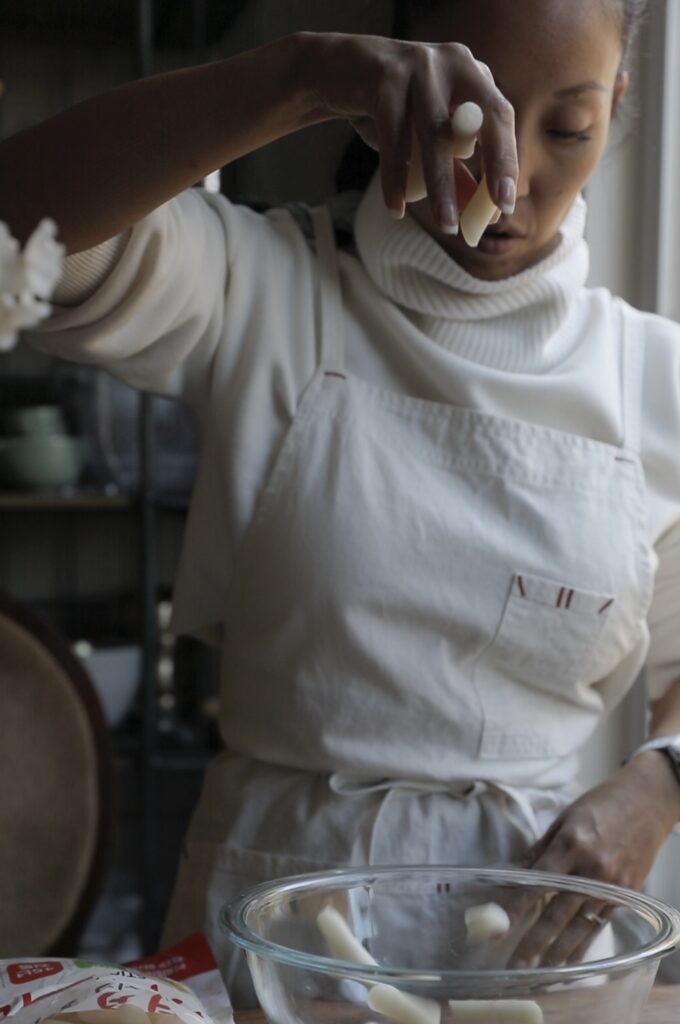
Shape cooled kimchi fried rice into oval shaped balls roughly the size of a very large egg. The rice balls can be shaped in advance and placed in an airtight container in the refrigerator for up to 3 days.


Create your dredging station: add flour or starch to one large bowl, JUST Egg to another, and panko to a third. Add 1 teaspoon of sea salt to your breadcrumbs and stir. Drop each rice ball into the flour. Stir the rice ball around to make sure its entire surface is evenly coated with flour then tap off any access. Gently place the ball into the bowl with JUST Egg. Again, stir the ball around until its entire surface is covered in the mixture.
Finally, add the ball to the bowl with breadcrumbs. Pack the panko into the rice ball to make sure it adheres to the rice ball. Repeat for remaining rice balls. This step can be done up to 24 hours in advance and the rice balls can be placed in an airtight container in the refrigerator before frying.


Bring a large and deep pot of oil to around 350° F (see tips above on how to check). Gently drop your rice balls into the oil and cook for one minute, before flipping them and cooking another minute. The rice balls should be a golden brown–not too dark, but not too light. Remove from oil and allow them to drain on a wire rack or paper towel. Serve with marinara sauce and enjoy!


Frequently Asked Questions.
What is the difference between supplì and arancini?
The Roman version of the croquette starts with a tomato based risotto that often contains mozzarella or some other kind of cheese. The original supplì was also made with meat. How are they different from their Southern cousin, arancini? Arancini are often smaller and shaped more like golf balls, while supplì are shaped like eggs. Moreover, arancini uses all different kinds of risotto and fillings, while supplì traditionally sticks with something pretty simple and tomato-based.
Can I make these kimchi fried rice balls gluten-free?
Yes! Just make sure to prepare the kimchi fried rice using gluten-free ingredients and use potato starch or corn starch, along with gluten-free panko, for the dredge.
Is there a reduced-oil option for these kimchi fried rice balls?
Yup! In lieu of deep frying these kimchi fried rice balls, you can spray them with a little cooking spray and cook them in an air-fryer at 410° F or bake them in the oven at 450° F. Cook times will vary depending on what you use, but start checking on them at the 10 minute mark.
Want More Great Italian Inspired Recipes?
I got you. Check out the following:

 7")

Recipe Card.

Kimchi Fried Rice Balls
Ingredients
- 3 cups kimchi fried rice (cooled in the fridge for at least 1 hour)
- 1 1/2 cup flour (or potato starch or corn starch)
- 1 cup JUST Egg (or thick plant milk)
- 2 cups panko
- 1 tsp sea salt
- vegetable oil for frying
- 1 cup marinara sauce
Instructions
- Shape cooled kimchi fried rice into oval shaped balls roughly the size of a very large egg. The rice balls can be shaped in advance and placed in an airtight container in the refrigerator for up to 3 days.
- Create your dredging station: add flour or starch to one large bowl, JUST Egg to another, and panko to a third. Add 1 teaspoon of sea salt to your breadcrumbs and stir. Drop each rice ball into the flour. Stir the rice ball around to make sure its entire surface is evenly coated with flour then tap off any access. Gently place the ball into the bowl with JUST Egg. Again, stir the ball around until its entire surface is covered in the mixture.Finally, add the ball to the bowl with breadcrumbs. Pack the panko into the rice ball to make sure it adheres to the rice ball. Repeat for remaining rice balls. This step can be done up to 24 hours in advance and the rice balls can be placed in an airtight container in the refrigerator before frying.
- Bring a large and deep pot of oil to around 350° F (see tips above on how to check). Gently drop your rice balls into the oil and cook for one minute, before flipping them and cooking another minute. The rice balls should be a golden brown–not too dark, but not too light. Remove from oil and allow them to drain on a wire rack or paper towel. Serve with marinara sauce and enjoy!
Did you like this recipe? If so, please leave a rating and share it!

Do you have a favorite marinara you serve with these? My husband is making these this weekend while I’m making your mom’s Japchae veggie noodles dish.
A friend of mine used to bring this as part of her lunch back in high school, and it brings back so many great memories. I’ll definitely have to make this for the upcoming weekend. The recipe uses just a few ingredients, and the marinara sauce for dipping sounds so interesting. I can’t wait to try it-yum! Thanks for the recipe xx