Roasted Garlic and Potato Bread.
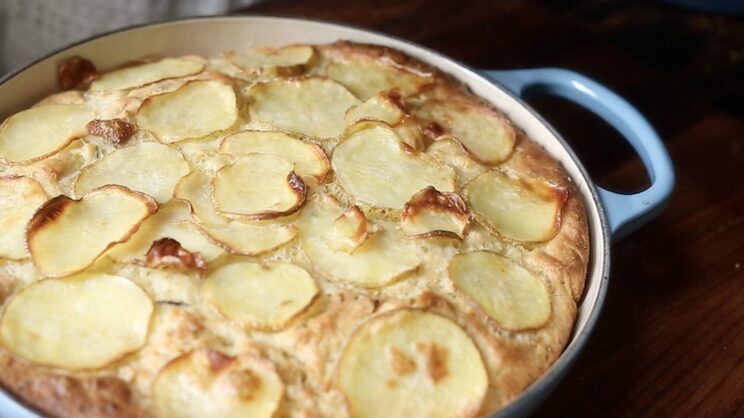
My love of all things potato is well documented. It was thus only a matter of time before I decided I should add potatoes not just on top of my bread, but inside of it. What resulted was the softest bread I’ve ever eaten–basically garlic mashed potatoes in bread form. I mean, who wouldn’t be up for THAT?
Ok, so you all know that I am not a fan of hard, crusty, bread with lots of air pockets and chew. My mother-in-law LOVES the kind of bread that makes your jaw sore afterwards (very popular in Rome). I like the kind of bread that’s pillowy and soft, that doesn’t quickly bounce back when you press your thumb into its soft fleshy interior. To some, that might mean the “ratio” is off or that my proof times are miscalculated. The dude with the scary blue eyes on The Great British Baking Show might scoff at my “bake,” but my parents and friends have declared this bread to be among the best they’ve ever eaten. I’ll take that to the bank every day of the week, including today (Sunday).
So, without further ado (don’t worry, I used to think it was “adieu” too and I went to a top 5 law school), here are the details:
First, Is Your Yeast Alive?
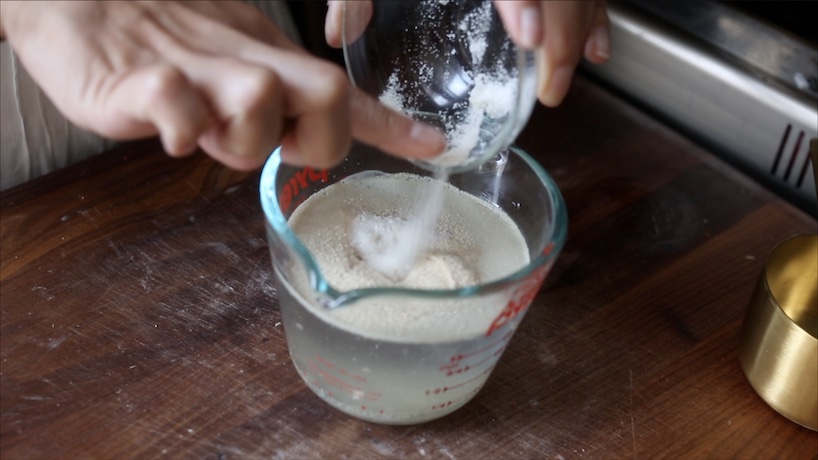
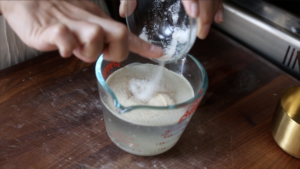
I am a fan of using active dry yeast whenever possible, which means I like to proof my yeast by adding it to warm water and a little sugar. “Warm” means about 110 to 115° F, or, for those of you who don’t have a handy dandy thermometer, just hot enough where you don’t want to run the water over your hand for too long, but not hot enough where you go running for an ice cube.
Why does it need to be warm? Well, the whole point of “proofing your yeast” is to prove that your yeast is still “alive.” Dead yeast results in dead bread. Live yeast results in poofy beautiful bread. Cold water will often kill your yeast. Too hot water will also kill your yeast. You want to create the perfect little ecosphere for your yeasty friends (hence, the sugar, their “food”). You’ll know your yeast is live and kickin’ when the mixture starts to bubble and foam after about 5 to 10 minutes.
The Best Kind of Flour for Bread.
I am not a bread expert. I am not a baking expert. I am, however, a massive bread and baked good eater. And accordingly, I am willing to undertake a little research here and there to maximize my eating experience. In that vein, I had some friends over for dinner (one of my last dinner parties before the pandemic) and they were going on and on about the benefits of using European milled artisanal flour, particularly French flour.
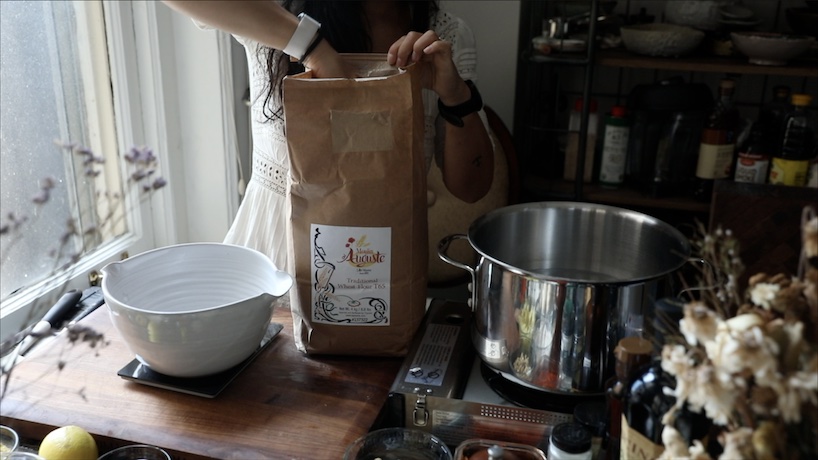
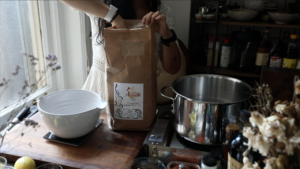
In the United States, I’ve generally dealt with three different kinds of white flour: all purpose, bread, and pastry flour. That’s about it. In France (and many other European countries), the different grades of flour are categorized at a much more granular level, measured by its refinement. Here, I am using T65, which means that it’s been refined less. The higher the number, the less processed the flour is and more protein it contains. According to my albeit minimal research, T65 is a good flour for bread making, while T45 would (a softer, more processed, less protein-filled flour) would be good for cakes and biscuits.
A word of caution on baking with artisanal flours–the amount of water you will need to add can vary pretty significantly depending on the kind and age of your flour. If your flour has been sitting in your pantry for months and months (or years and years, as would be the case for my mom), you may need more water. If you’re using fancy French flour like I did, you will likely need less. As such, as with all bread making, it’s less about measurements, and more about feel. I know, that’s not what you want to hear, but some truths are like that.
If you don’t have access to French artisinal flours (mine took 3 flipping months to get to my house), then fear not. A good old American (or otherwise local) bread flour will do ya good here.
Did You Really Just Add Mashed Potatoes To Your Dough?
Yes. I did it.
I added boiled mashed potatoes to my dough.
And it didn’t suck.
So basically, the recipe here will look very familiar to those of you who’ve tried my easy peasy focaccia recipe, because this is basically the same recipe with mashed potatoes and a little more water. As with my focaccia recipe, I add a s***-ton of fresh garlic, really good extra virgin olive oil (do not skimp on this stuff–it makes a difference), some dried herbs, and salt. And then, I added a heaping amount of mashed potatoes.
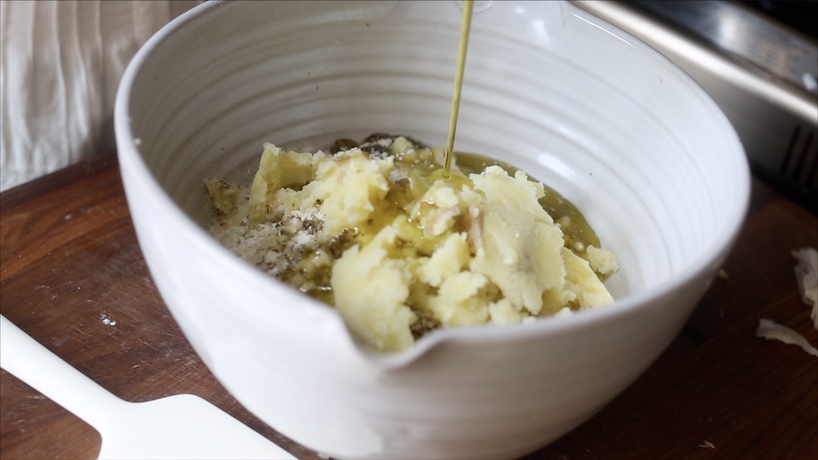
Now, here’s the thing with adding mashed potatoes: they add yet another curve ball to the whole “water to flour” ratio. Your potatoes could be really dry (because they, like your flour, have been sitting in your pantry for months). You could decide to bake them instead of boiling them. You could use a russet instead of a Yukon. All of these things will effect the level of moisture you are adding to your dough when those spuds cascade into your bowl. Therefore, as I’ve said before, the feel of your dough will matter much more than a scrupulous attention to measurements.
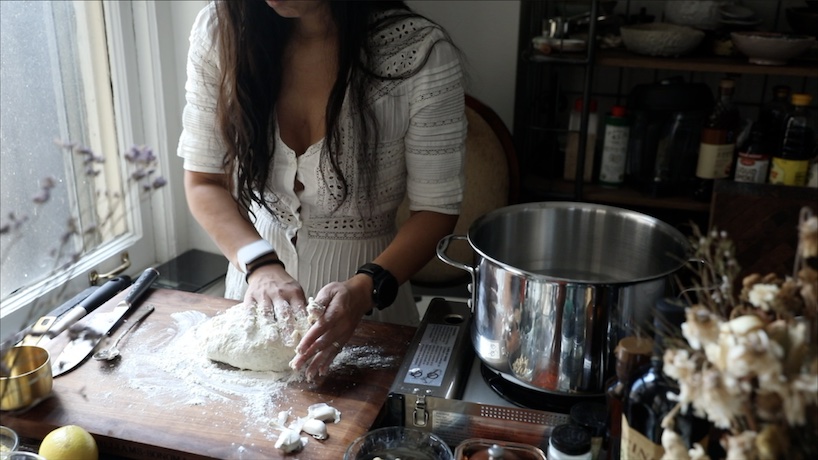
So, How Should The Dough Feel?
Sticky. And rough.
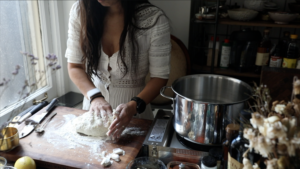
This is NOT going to be that gorgeous smooth dough ball that you are so proud of you want to take a picture of it and hang it up on your parents’ fridge. This is going to be the dough ball that’s dimpled and pockmarked, the one you can’t wait to cover with your striped kitchen towel, with the hope that it will, like the proverbial ugly duckling, transform into that beautiful swan (it will). Here, the fact that I used French flour made my dough wetter than I anticipated, so I ended having to flour my surface very generously. It stuck to my fingers a lot, but the more I kept kneading, the better it got. You should resist the urge to add more flour unless you are dealing with something that’s more like the consistency of cement than a rough dough, as it is meant to be extremely tacky.
You’ll stick this back in your bowl and place it somewhere warm (78° F to be specific, if you can) for about 60 to 75 minutes–however long it takes to double in size. For bread nerds out there, I use a proofing box to take the guess work out of this part of the equation. My husband BLASTS the AC during summer and the last time I tried to proof my dough underneath a mound of blankets, someone sat on it.
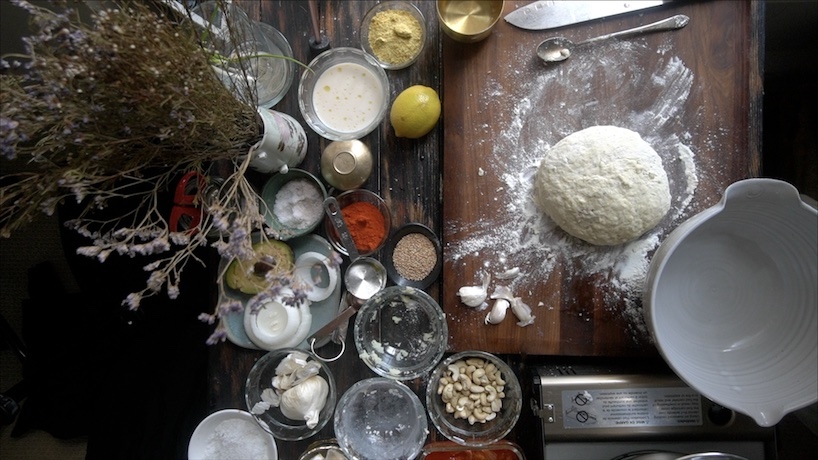
The Second Proof.
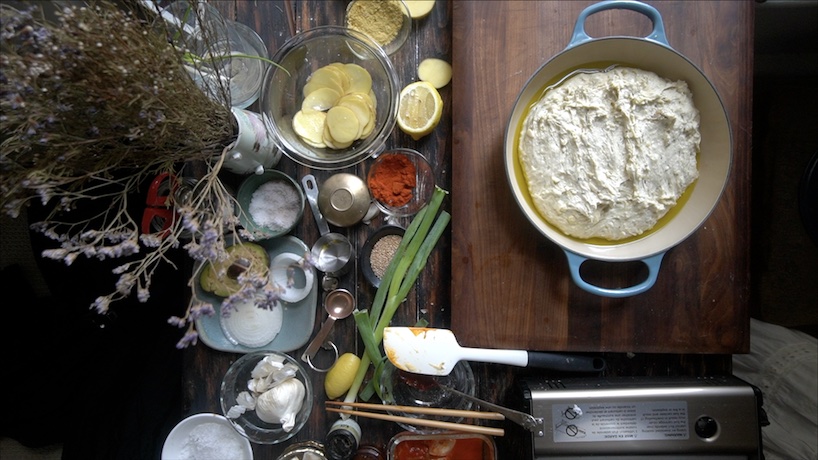
Once the dough has doubled in size, you’re going to add some more of your favorite olive oil into whatever it is you’re using to back the bread. I used this gorgeous Le Creuset cast iron. Not only is it absolutely stunning (look at that color!!), but it comes with a lid, which is quite convenient since you will need to cover it for the second proof and we almost never finish the entire bread in one sitting (this is a bald faced lie).
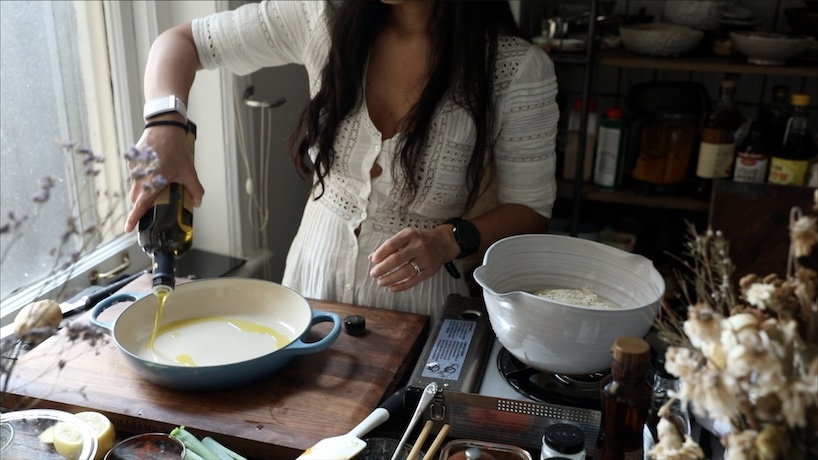
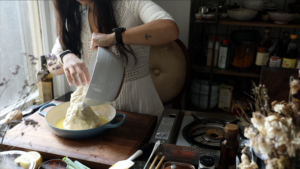
Then, dump your dough into the pan and spread it out a bit with your fingers so they stretch towards the edge of your pan. Cover the pan with your lid (or whatever you have) and let it proof for another 45 minutes or so, until it has once again poofed up in size.
The Potato Chip Topping.
No, I don’t literally add potato chips to the top of the bread.
But, I sort of do?
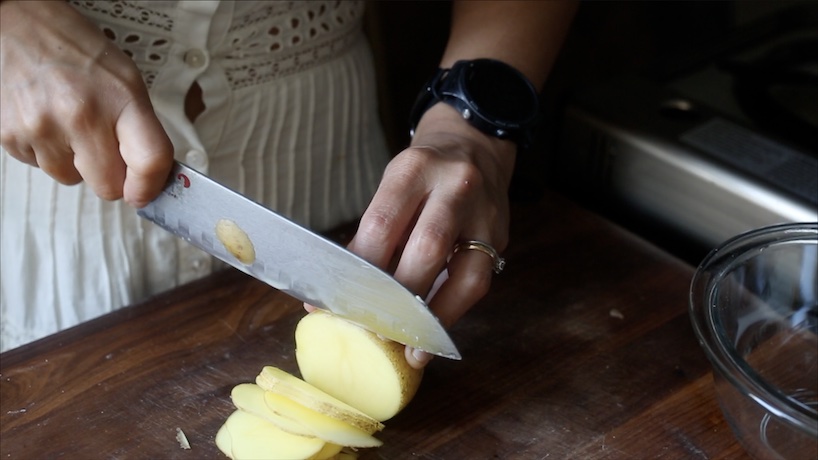
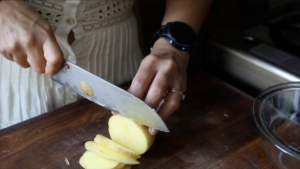
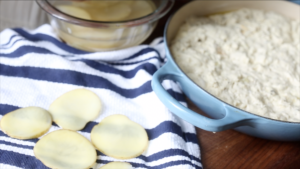
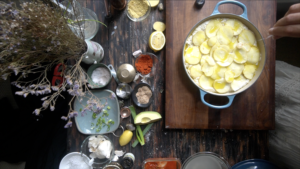
So, while the dough is proofing a second time, I slice up a Yukon gold potato very thinly. Why thinly? Because the thicker they are, not only will they take longer to cook, they will also make it harder for your bread to cook (because they will essentially block the heat). If you’re not good at slicing thin potato slices, perhaps look into using a mandolin (with a glove, please). I add a little salt to these and stick them in cold water, to assist with removing excess starch.
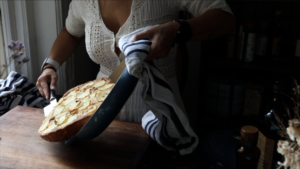
Once my dough is finished proofing a second time, I dry them off by giving them a thorough treatment with my kitchen towel.
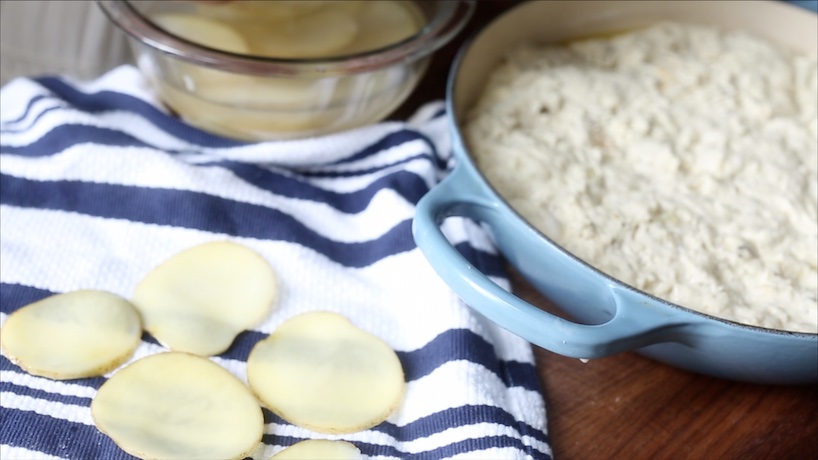
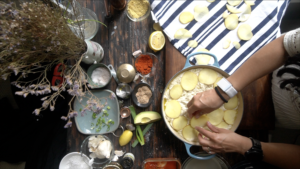
I then arrange them–in one layer–on top of my dough. If you make the topping too thick and dense, you will likely end up with raw potatoes or raw dough or both.
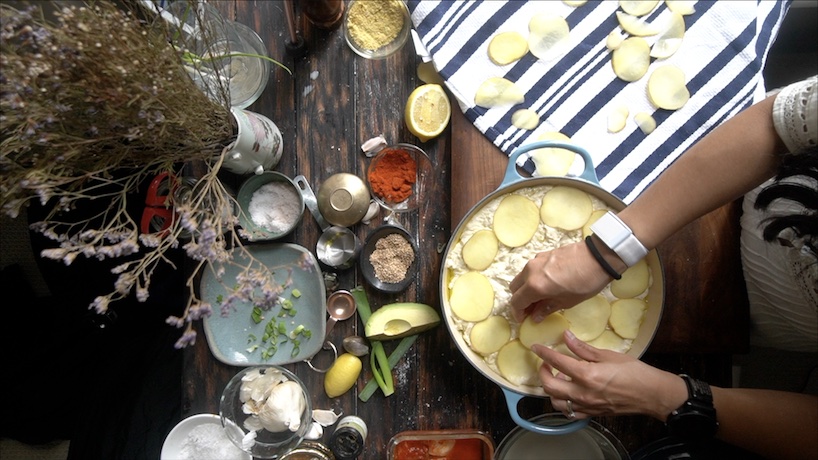
Drizzle the whole thing with a little more extra virgin olive oil and some good quality sea salt (table salt is not a good idea here).
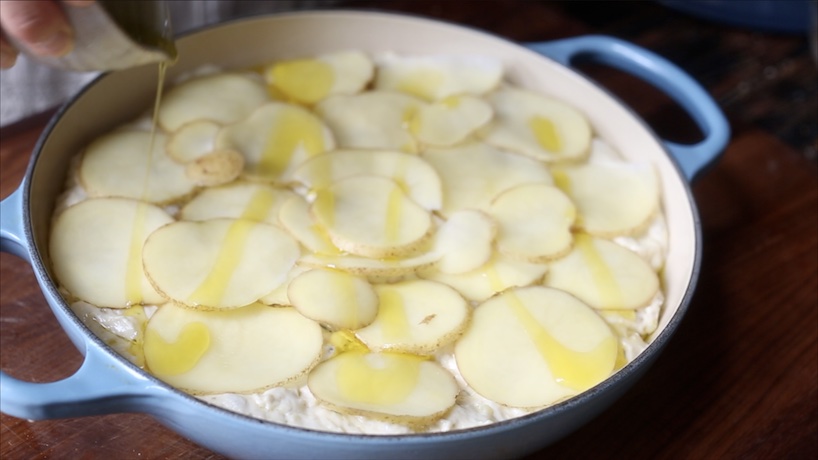
Then, stick it an oven preheated to 400° F for about 35 to 37 minutes, until the edges of the potatoes are crisp and golden brown.
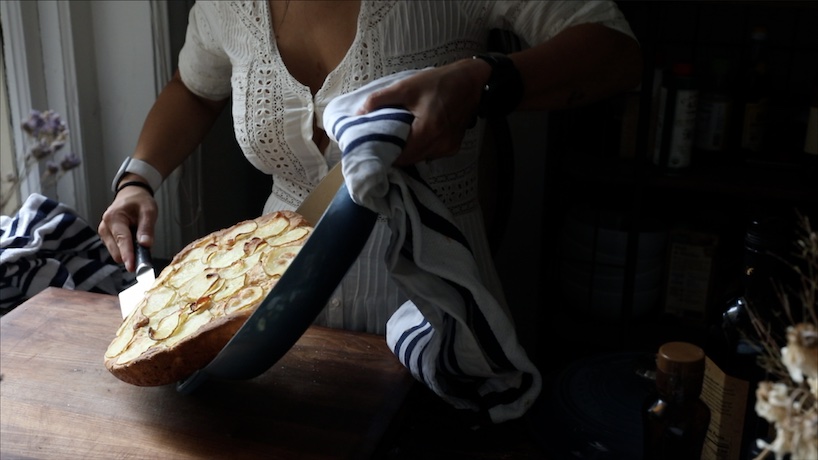
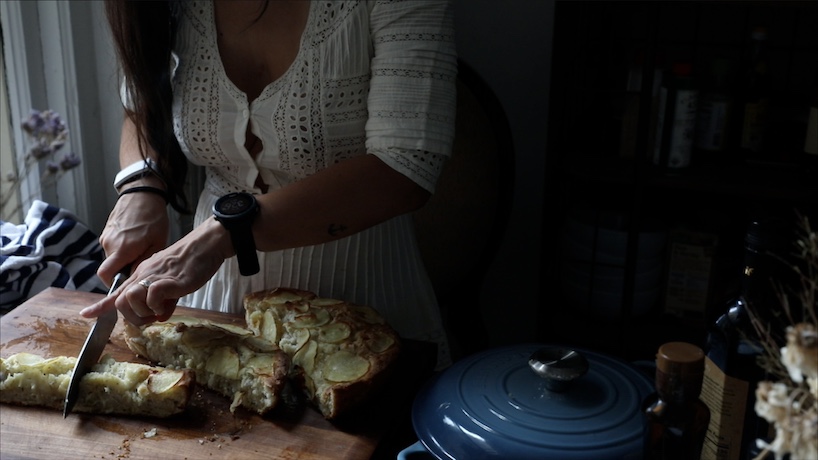
I’m not going to lie: you will be hard pressed to not eat all the bread in one sitting.
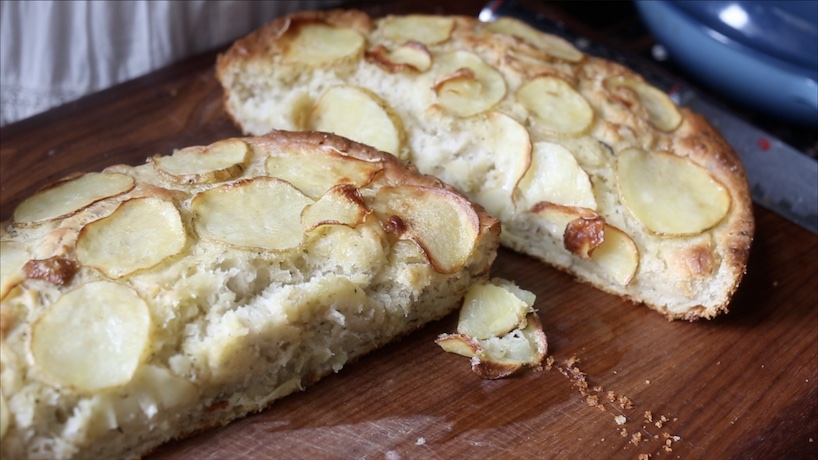
Quick Tips For Making Potato Bread:
- Proof your yeast in warm water to ensure that it is alive before you spend 3 hours of your life trying to bake a dead bread. If your yeast mixture doesn’t foam in 10 minutes, you need to go buy not-dead yeast.
- Try experimenting with different kinds of flour for your bread, recognizing that it’s more about how your dough feels than following strict measurements when baking the perfect bread.
- Use really good extra virgin olive oil for this recipe–the kind you’d use for a salad dressing. The flavor will directly impact the taste of your bread.
- Slice the potatoes very thinly, to ensure they will cook properly when baked in the oven.
- Avoid using table salt to top the bread, as it will impart a funky flavor.
Recipe Card.
Roasted Garlic Potato Bread
Ingredients
- 1 tbsp sugar
- 2 1/4 tsp active dry yeast
- 2 1/2 cups all purpose flour
- 3/4 cup mashed boiled potatoes
- 6 cloves garlic, minced
- 1 tbsp dried Italian seasoning
- 2 tsp sea salt (plus more for topping)
- 1/2 cup extra virgin olive oil (plus more for topping)
- 1 Yukon gold potato, thinly sliced
Instructions
- Add sugar and yeast to 1 1/8 cup of very warm water. Set it aside until it begins to foam (about 10 minutes). If it doesn't foam, that means that your yeast is dead and you will need to get new yeast. This step is called "proofing your yeast."
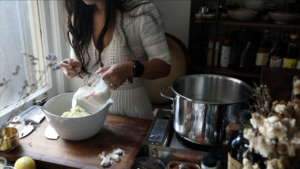
- Add your flour, mashed potatoes, garlic, Italian seasoning, 2 teaspoons of salt, and 1/4 cup of extra virgin olive oil into a large bowl.
- Using a large spoon, begin mixing the contents until a very rough dough forms, about 2 minutes.
- Flour your working surface with up to 2 tablespoons of flour (use as little as you can get away with). Empty the contents of your bowl onto your surface and begin kneading the dough by folding a section into the middle, pressing it with the heel of your hand, rotating the dough 45°, and repeating (watch video below). Knead for about 5 minutes and form the dough into a rough ball.
- Place the dough ball back into the bowl (which you should have cleaned) and stick the bowl in a fairly warm place (78° F if you're using a bread box) until your dough doubles in size, between 60 to 75 minutes (this is your first "proof").
- Slice a Yukon gold potato into thin slices. Place the slices into a bowl with some salt and cold water.
- Add 1/4 cup of extra virgin olive oil to a baking pan 9 x 13 inch baking pan OR a round pan with a 13-inch diameter (as pictured above).
- Place the dough into the pan (it will be sticky). Cover the pan and place it back in that warm spot you proofed it the first time for another 45 minutes (this is your second "proof").
- Preheat your oven to 400°F.
- Once the dough has finished proofing a second time, remove the potato slices from water and pat them dry, as thoroughly as possible, with a kitchen towel.
- Arrange the potato slices in one layer over the dough.
- Drizzle a little more olive oil (or none–it's up to you) over the potatoes and sprinkle generously with sea salt.
- Place the dough into the oven and bake for approximately 35 minutes, until the potatoes are golden brown.





So yummy! This bread has an amazing texture and flavor! I have baked a lot of bread prior to this recipe and none have been as pillowy as this one. Contrasting nicely with the crispy crust that forms. Yes the dough is very sticky but having fast short movements when handling helps significantly. I added oregano to the top prior to baking and took the flavor to the next level. I baked for 35 minutes in a 13×9 Pyrex glass baking dish and turned out perfectly. OMG and the flavor is just wonderful. With the garlic and Italian seasoning working so well together. I craved this bread the moment I saw her video and was able to make it a couple weeks later. So worth the wait. Thank you so much Joanne, your recipes are just amazing! And the way you tell stories is simply beautiful.
Hi what cheese did you use on your Instagram video of a similar potato dish you made? Thank you!
I use chao!
My husband’s grandmother used to make the best dinner rolls and I was surprised to find out she put leftover mashed potatoes in them. Her family came to the US from Czechoslovakia and she was an amazing cook/baker. She didn’t have a “recipe” so we had to write down what she added as we made the rolls so I could learn. In honor of my husband and Grandma Agnes, I want to make your version with my granddaughters! Thank you for this recipe.
In the Czech republik or Slovakia it is common to put potato into bread. I heard it gives the dough better structure. We also make potato dumplings.