Homemade Soy Milk
I started wondering what my own homemade soy milk would taste like. And then, how hard it would be to make it. And it turns out, it’s really not that hard at all and it’s ABSOLUTELY FREAKING AMAZINGLY MIND-BLOWINGLY DELICIOUS. For this recipe, I tweaked one that was provided by the legendary Maangchi to come up with my own slightly sweeter version.
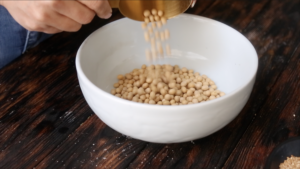
You start out with dried soybeans. It turns out that this is the hardest part of this recipe. I couldn’t find it at the regular grocery store, so I ended up having to go to my local Korean grocery store. I looked for one that said non-GMO and organic (while I’m not a stickler for this stuff in general, I highly recommend this when you’re dealing with soy in the United States) and got straight to business.
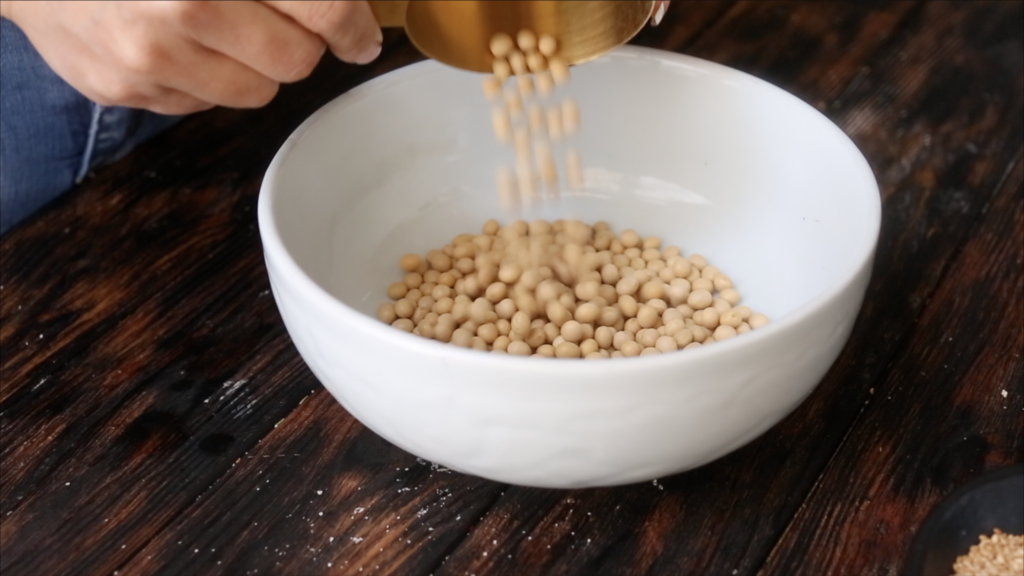
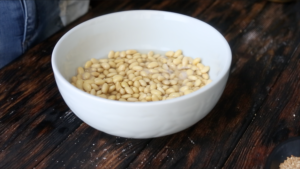
Now, these soybeans need to be soaked for about 24 hours before you can do anything. I used filtered water for all the water in this recipe, to make sure that the soybean flavor wouldn’t be drowned out by any natural flavors in the tap water (which is what I use for generally anything else).
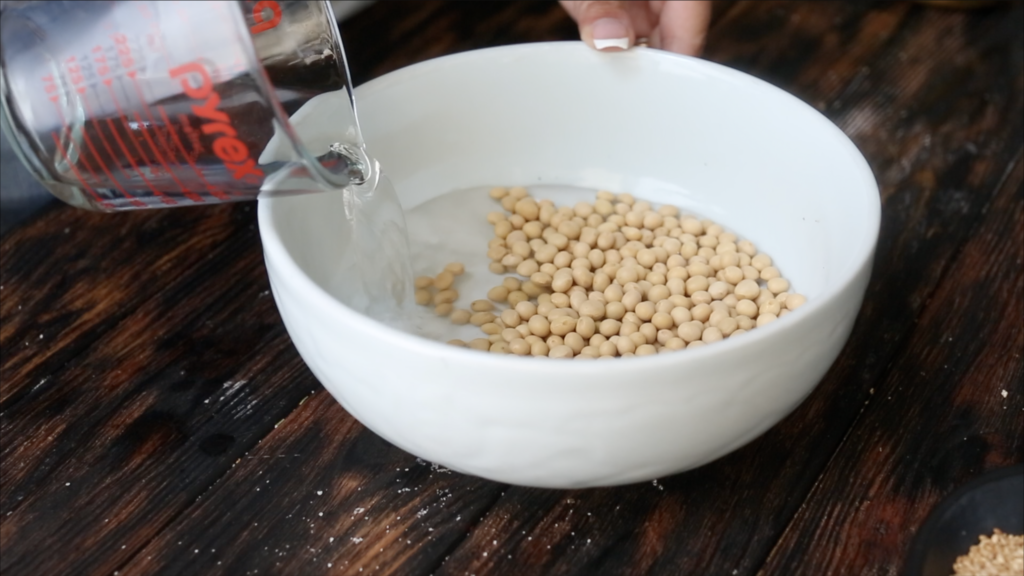
After you soak the beans for about 24 hours, they will not be soft. I thought they would be super tender, but they are actually quite hard. However, they will soak up nearly all of the liquid. If you find at any point during the 24 hours that they are no longer completely submerged, just add another 1/2 cup of filtered water.
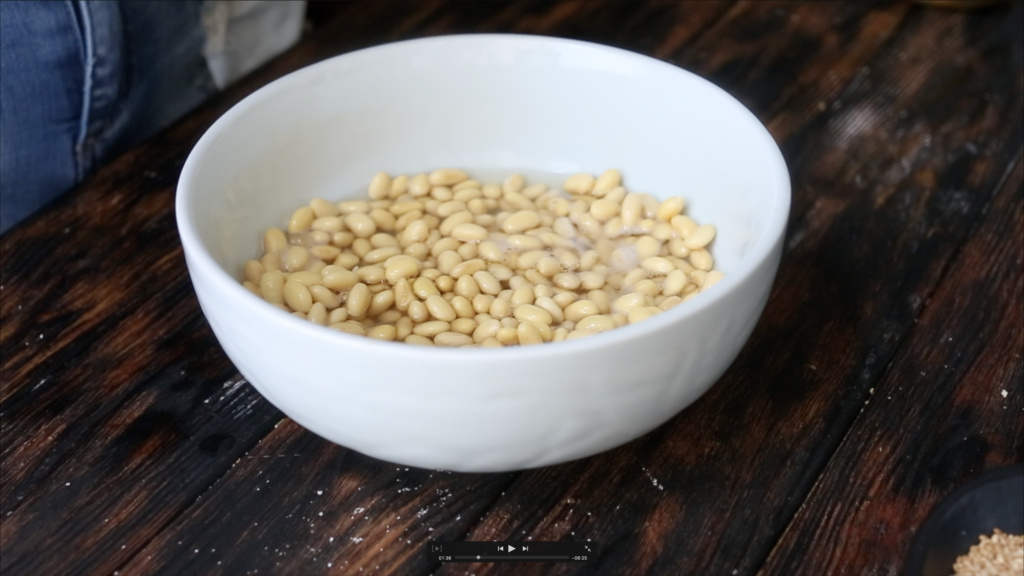
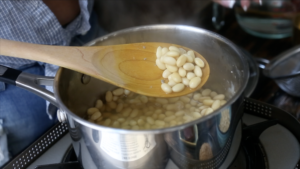
Drain any excess water and throw the beans into a medium sized pot. Add 2 cups of filtered water and bring it to a boil. Then reduce the heat and let the beans cook with the pot uncovered for about 12 to 15 minutes. Cover the pot with a lid and cook for an additional 2 to 3 minutes. At this point, you should still have some liquid left over in the pot and your beans will be softer (though still not tender).
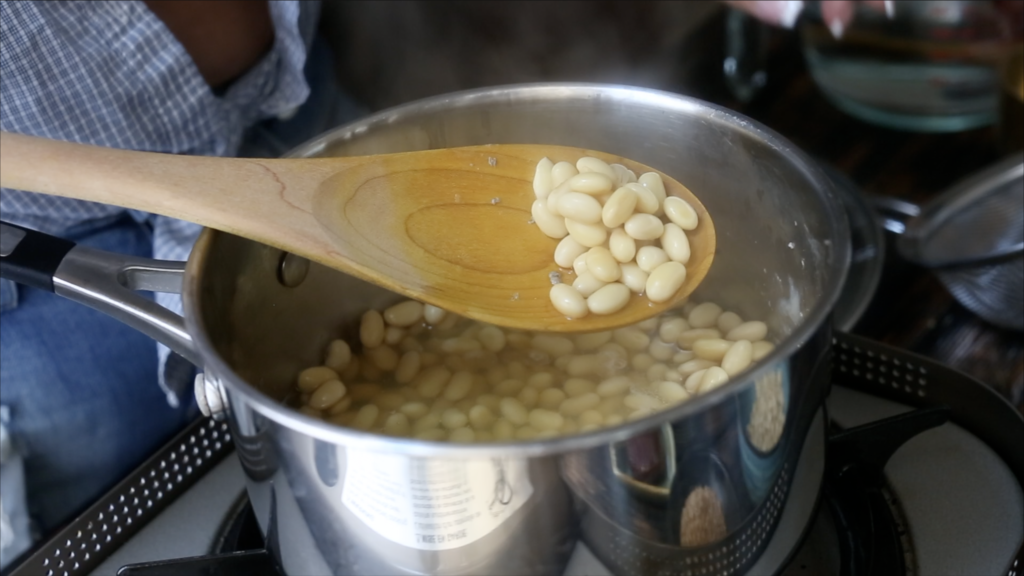
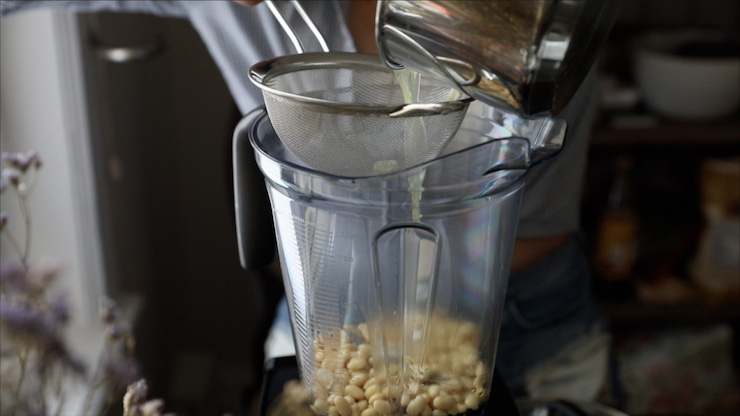
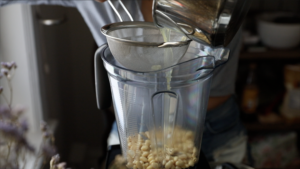
Now, you’ll notice little bits of gray stuff hanging out in the water or on your spoon (like you can see in the picture above). In order to ensure that none of it ended up in my soy milk (or as little of it as possible, at least), I used a strainer to scoop my soybeans and place them in the blender. I also used a strainer when I added some of the cooking liquid to my blender.
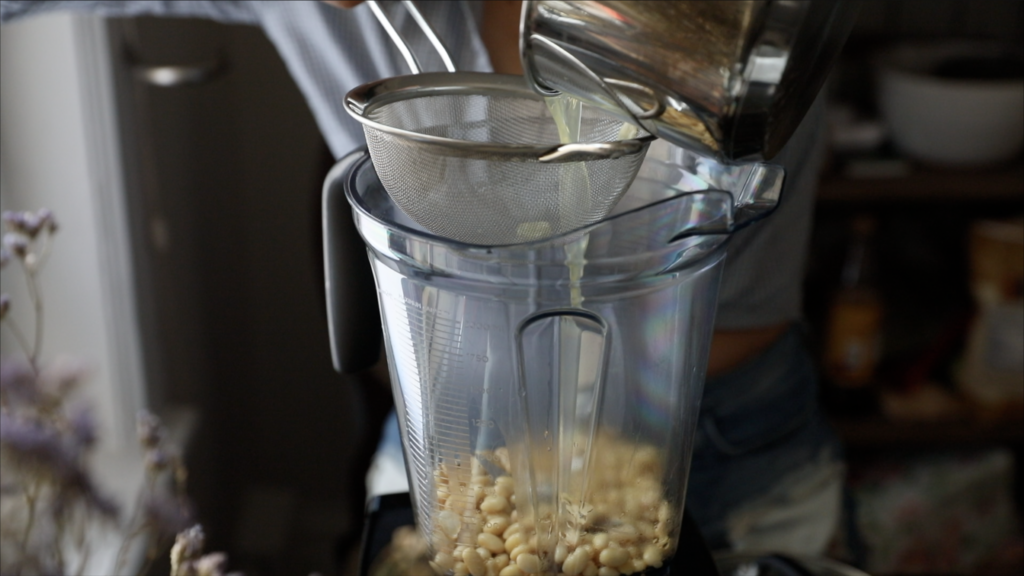
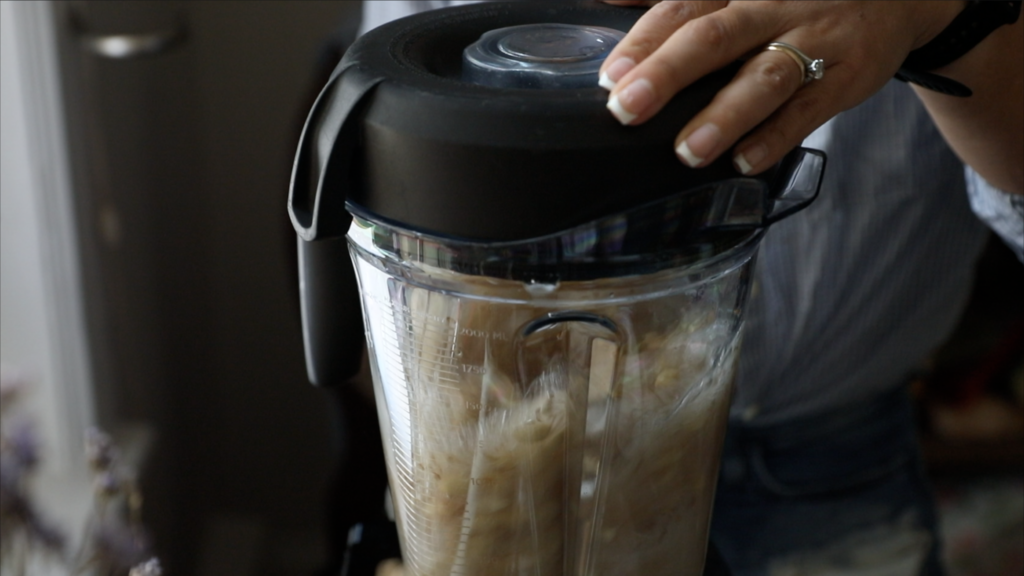
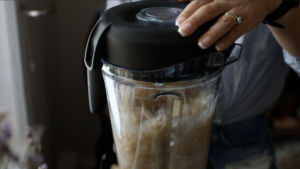
This is when you add things to really make this milk indulgent and tasty, while not full of stuff you don’t recognize. Taking a leaf out of Maangchi’s book, I added pine nuts (wonderful fatty flavor) and toasted sesame seeds, and then also added a pinch of salt and a couple dates for natural sweetness. Then I blended the whole thing up until creamy and frothy.
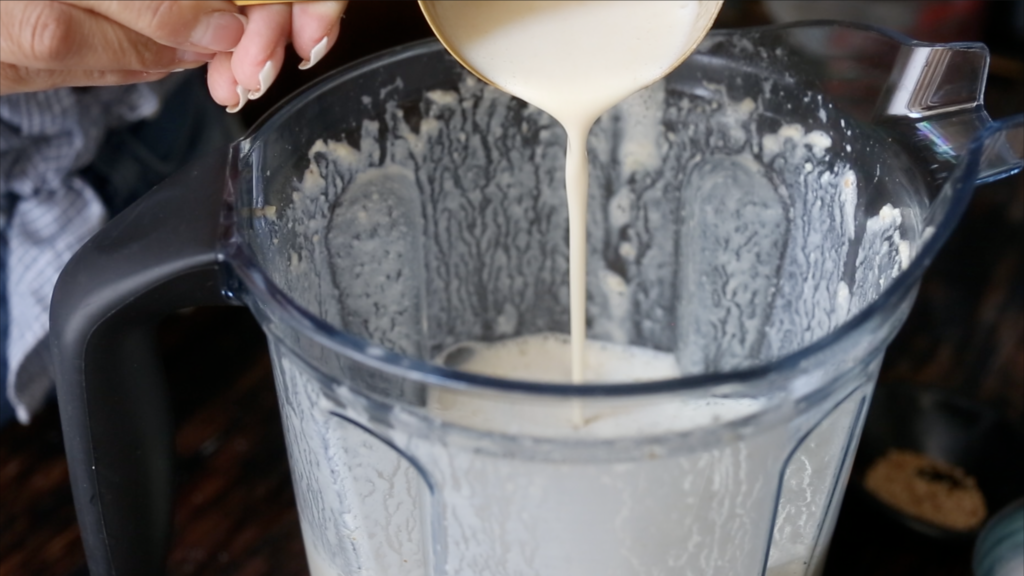
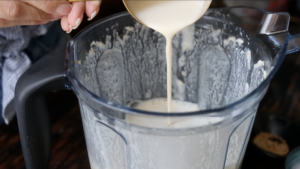
All in all, it could not have been an easier thing to make and the results were absolutely MARVELOUS. It is TRULY THE BEST SOY MILK YOU WILL EVER DRINK!!! It was thick, creamy, and bursting with flavor. And the best part is, you know EXACTLY WHAT WENT INTO IT!!
So, I know that soy has gotten a bad reputation these days. And that’s so sad, because there is so much research out there that busts all the myths about soy in our food. Bottom line, unless you’re allergic to soy, soy is not the evil food that people seem to make it out to be. However, what is questionable, in my mind, is what’s been done to soy in the United States, to make it as cheaply as possible to feed livestock (and sometimes humans) and serve as filler for processed foods (so they can charge us more for less).
Why do I say all these things? Because I recently took a look at what all goes into my store bought organic soy milk and was surprised to find that it had all sorts of things in it that I didn’t recognize. Like who knew that tapioca starch was added to milk?
QUICK TIPS FOR YOUR HOMEMADE SOY MILK
- Try and use non-GMO and organic dried soybeans for your homemade soy milk. A visit to your Korean grocery store will have the best options, but you can also order these online.
- Use filtered water to ensure that there aren’t any residual flavors in your water that will compete with the flavor of the soybeans.
- Utilize a strainer or slotted spoon to avoid adding any of the grey “scum” that is created when boiling the soybeans.
- Use a high powered blender to achieve the smoothest consistency for your homemade soy milk.
Recipe Card

Homemade Soy Milk
Equipment
- blender
- strainer
Ingredients
- 1/2 cup dried soybeans
- 1/4 cup pine nuts
- 2 tbsp toasted sesame seeds
- 1/4 tsp sea salt
- 2 medjool dates
Instructions
- Soak the dried soybeans overnight in 2 cups of filtered water.
- After soaking for 24 hours, most of the liquid will be gone. Drain any excess water.
- Place the soybeans in a medium pot over medium high heat, together with 2 cups of filtered water.
- Bring the water to a boil and then let it simmer for approximately 15 minutes, uncovered.
- Cover the pot and cook for an additional 2 or 3 minutes. At this point, the soybeans will be softer, but not tender.
- Using a slotted spoon or a strainer, add the soybeans only to a blender (without any liquid). Then, add about 1/2 cup of the cooking liquid into the blender, as well, through a strainer.
- Add the pine nuts, sesame seeds, salt, and dates (make sure to seed them), together with 2 1/2 cups filtered water.
- Blend at medium speed for 1 minute and then raise to high speed until completely smooth and frothy (about 6 to 7 minutes, depending on your blender).




I made this and it’s delicious! Thanks!
That’s awesome, Paul! So glad!!
Would immersion blender be enough to use?
I think it would be very hard with an immersion blender since I don’t subsequently strain the milk. If you want to strain the milk, you can probably use an immersion blender, but then you miss out on some of the nutrients!
Yea, tried that yesterday (before I read your comment) and it’s delicious but there are small pieces of the soybeans. For cooking purposes I don’t really mind, but otherwise straining is needed. Thank you 🙂
Are the 108 kcal for the recipe or per cup? Easy to make and very good.
Hi, would immersion blender be enough for this?
This looks so yummy! How long will this last in the fridge?
Mine lasted about a week before I used it all. I would say leave it in the fridge for a week and then freeze anything leftover. Thanks!