Perfect Cream Cheese & Strawberry Pink Mochi Recipe.
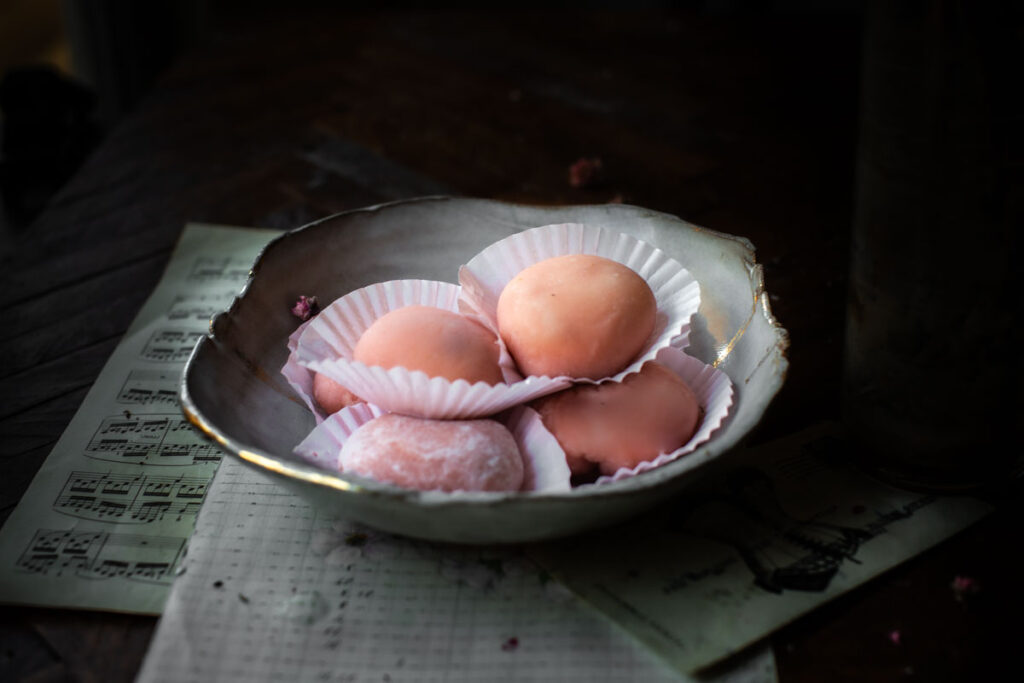
Soft. Decadent. Pink.
This pink mochi recipe is the stuff of pink dreams! Not only is this the perfect summer dessert, it’s easy to make and, according to my husband, “absolutely delicious”!
Whether this is your first time making your own mochi or you’re a mochi expert, this pink mochi recipe will definitely be one you return to, especially when you want to impress!
So, without further ado, let’s get into it!
Disclaimer: Some of the links in this post may be affiliate links for products I use and love. If you make a purchase after clicking one of those links, I may earn a small affiliate commission, perhaps enough to buy some extra gochujang or gochugaru 🙂
What Is Mochi?
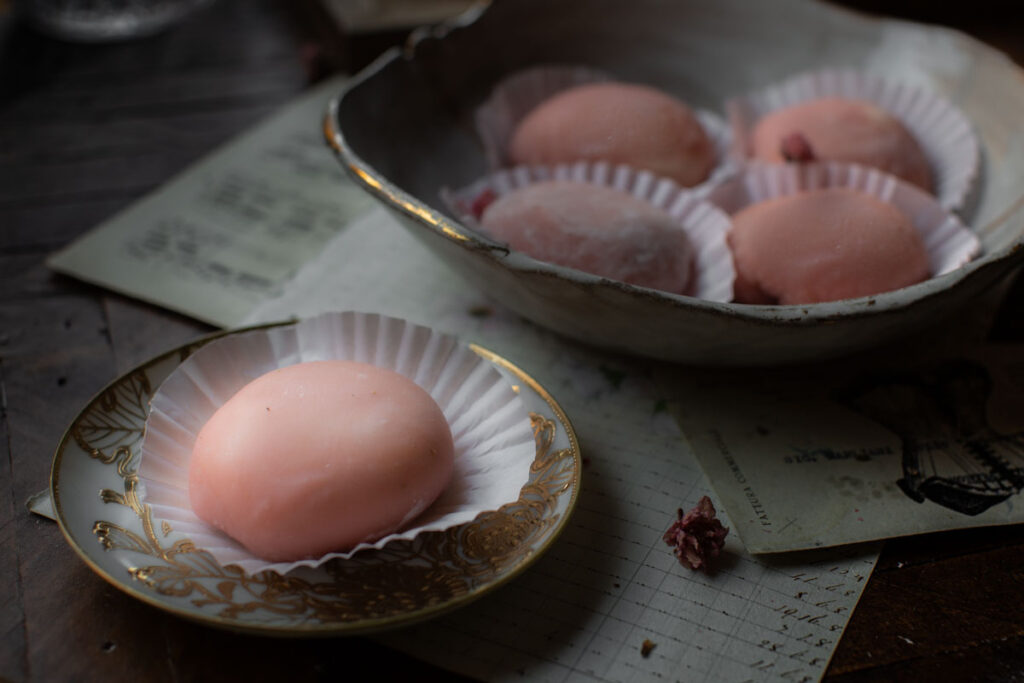
Very simply, mochi is a particular kind of Japanese rice cake made out of mochigome (もち米) or a short-grain glutinous rice flour (sometimes referred to as “mochi rice”). As far as rice cakes go, they are one of the more soft rice cakes (which is probably why they are among my FAVORITES). If you’ve never had mochi or any kind of rice cake before (I have a steamed rice cake recipe in my cookbook!), think gnocchi–pillowy morsels that can be both tender and chewy.
Traditionally, mochi is made from the rice itself, which is steamed and beaten to create a glutinous dough that is then shaped, molded, and, in this case, stuffed!
Mochi has been around since at least the 6th century (possibly earlier) and it is an important part of both Japanese cuisine and culture. While it can be enjoyed year round, mochi is a staple of Japanese holidays, including the Japanese New Year.
There isn’t just one kind of mochi. There are many different types of mochi, in fact, though the most popular variety (or traditional version) comes stuffed with red bean paste. Stuffed mochi is sometimes referred to as “daifuku mochi” or “big bellied mochi” (how much do I LOVE that name!). But mochi can be served on its own, without being stuffed with anything at all. Mochi can also be shaped into smaller or larger pieces, depending on its intended use. Other varieties include mochi stuffed with white bean paste, fruit, or ice cream. Some mochi is actually used as a component of a mochi dessert like mochi cake (think a traditionally baked cake with mochi added to it).
What is Pink Mochi?
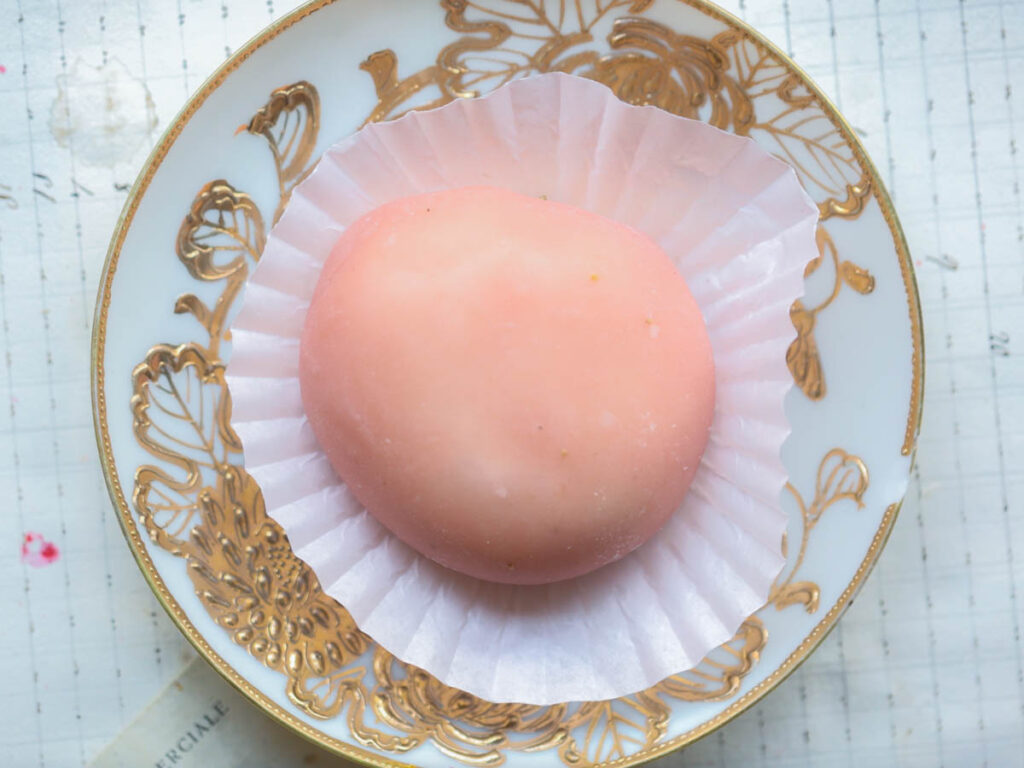
Pink mochi originates from a traditional variety of mochi called “sakura mochi” or “cherry blossom mochi.” Dating back to the early 1700s, these pink Japanese confections were often served during the cherry blossom season and the annual Hinamatsuri celebration, a holiday that celebrates girls (sometimes referred to as “Girls Day”–I heartily endorse the existence of this holiday, btw). They were traditionally made with a pink glutinous rice, stuffed with red bean paste, and wrapped in pickled cherry blossom leaves.
How do you achieve the light pink color? I’ve seen lots of different ways, but most modern recipes rely on beet root juice (for natural coloring) or food coloring.
Special Equipment For Making Pink Mochi.
There isn’t a lot of special equipment necessary to make this pink mochi, but there are a few things that will make your life a lot easier. Mochi making is, after all, a fairly sticky process, so read on and prepare a few of these things in advance so that your pink mochi turns out perfectly:
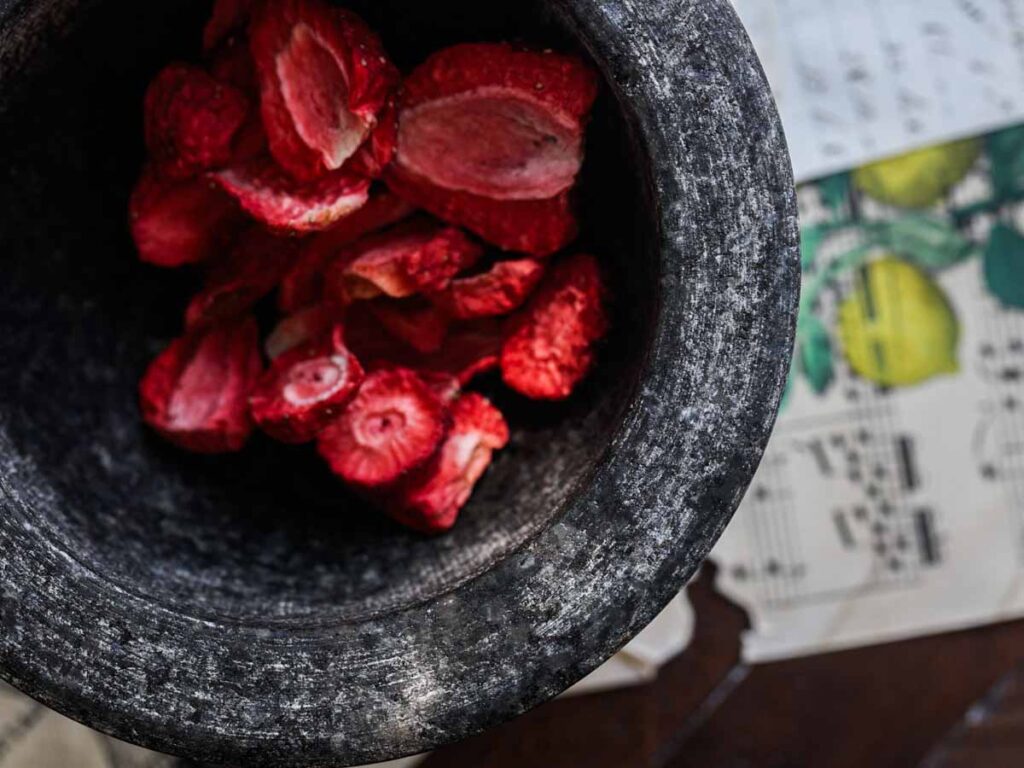
- Mortar and Pestle. This recipe calls for ground freeze-dried strawberry for both color and flavor. I like using a mortar and pestle for this because I then use the pestle to help beat the mochi dough. 🙂 But if you don’t have a mortar and pestle, you can also just use a food processor to grind the freeze-dried strawberry as finely as possible.
- Mesh Sieve. I use a mesh sieve to make sure that I don’t have uneven chunks of freeze-dried strawberry in my mochi dough. If you don’t mind have a few irregular chunks of strawberry in your dough, then you don’t need a seive!
- Miniature Rolling Pin. It is not easy to roll your mochi pieces out to wrap around the filling without a mini-rolling pin. But it’s not the end of the world if you don’t have one–you can always use a regular sized rolling pin and the palms of your hands. It’ll just take longer!
- Mochi Molds. If you haven’t made mochi before, you may want to pick up mochi molds that will help with shaping your pink mochi. Otherwise, I just use a very small, round bowl to help me achieve the lovely, round shape. I’ve even seen some people use a small ladle!
- Small Muffin Liners. Mochi can get really sticky, even with a ton of potato starch. Therefore, serving them in paper muffin liners dusted with a little potato starch will make everyone’s life easier!
Key Ingredients And Notes On Substitutions For Pink Mochi.
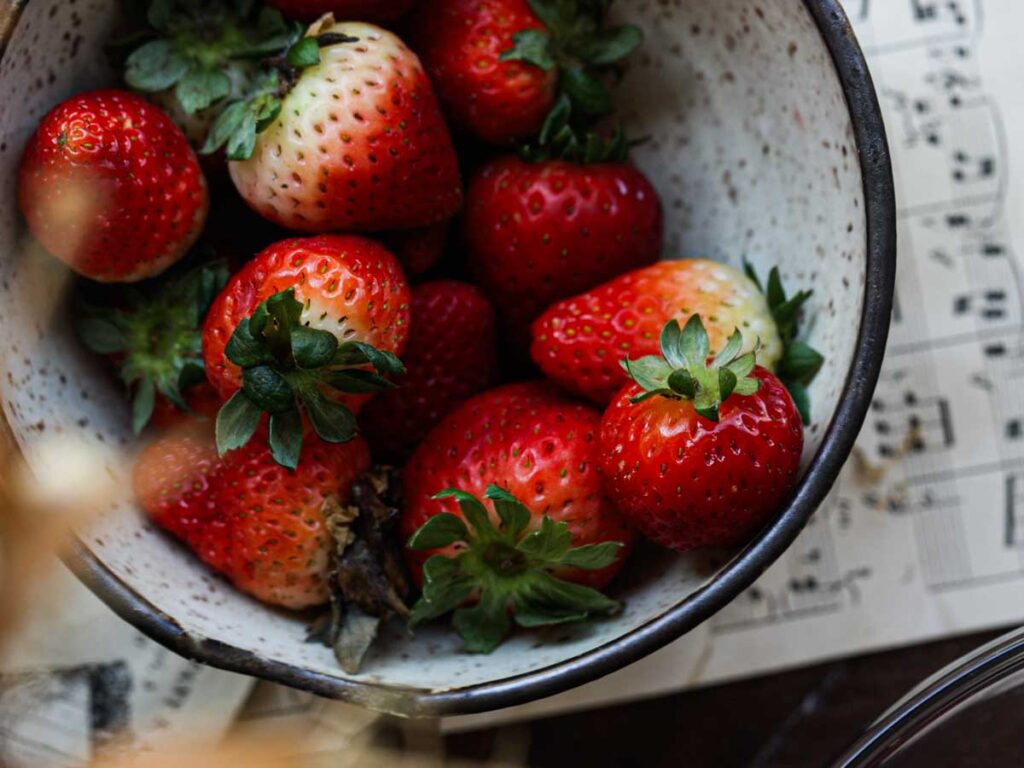
The following are a list of the main ingredients for making this pink mochi and recommendations on substitutions:
- Sweet White Rice Flour. The most important ingredient for this pink mochi recipe will be the sweet white rice flour, also known as glutinous white rice flour. There is no good substitute for this ingredient. Do not try substituting with brown rice flour. Do not try substituting with plain white rice flour. Your packaging must have the words “glutinous” or “sweet white”–otherwise, this recipe will not work. Can you make pink mochi with the rice itself? Yes. But that recipe is a lot more complicated and this recipe is for someone who wants an easier way to make this delightful sweet pink treat.
- Freeze Dried Strawberries. This pink mochi recipe calls for freeze-dried strawberries for both color and flavor. If you can’t find freeze-dried strawberries, you can also use freeze-dried raspberries. You can also use beet root powder if you prefer something without the tartness of berries. I would not try using just dried strawberries for this recipe. They will be too chewy and sticky to incorporate into the mochi dough.
- Beet Root Juice OR Food Coloring. Either beet root juice or food coloring can be utilized to enhance the color of your pink mochi, as using only the freeze dried strawberries will provide just the slightest hint of pink. If you prefer a pale, pale pink mochi, then you can, of course, ditch these altogether!
- Potato Starch. I like using potato starch when I’m kneading my dough and to dust at the end, to keep the mochi from sticking to everything. You an also use corn starch.
- Vegan Cream Cheese. This pink mochi recipe is stuffed with cream cheese! So grab your favorite brand of vegan cream cheese. If you don’t have vegan cream cheese, then you can also use a very stiff vegan sour cream (I like Tofutti for that).
- Vegan Whipped Cream. In order to mellow out the cream cheese, I like to blend it with a vegan whipped cream. If you can’t get your hands on a good vegan whipped cream, I would just replace it with a vegan sour cream or your favorite vegan yogurt.
- Strawberries. This recipe calls for fresh strawberries to make a delicious and beautiful strawberry jam. You can, however, substitute with frozen strawberries, though you may need to increase your cooking time before it properly thickens. You can also use fresh raspberries if you don’t have strawberries on hand.
How To Make Pink Mochi.
The Fillings.
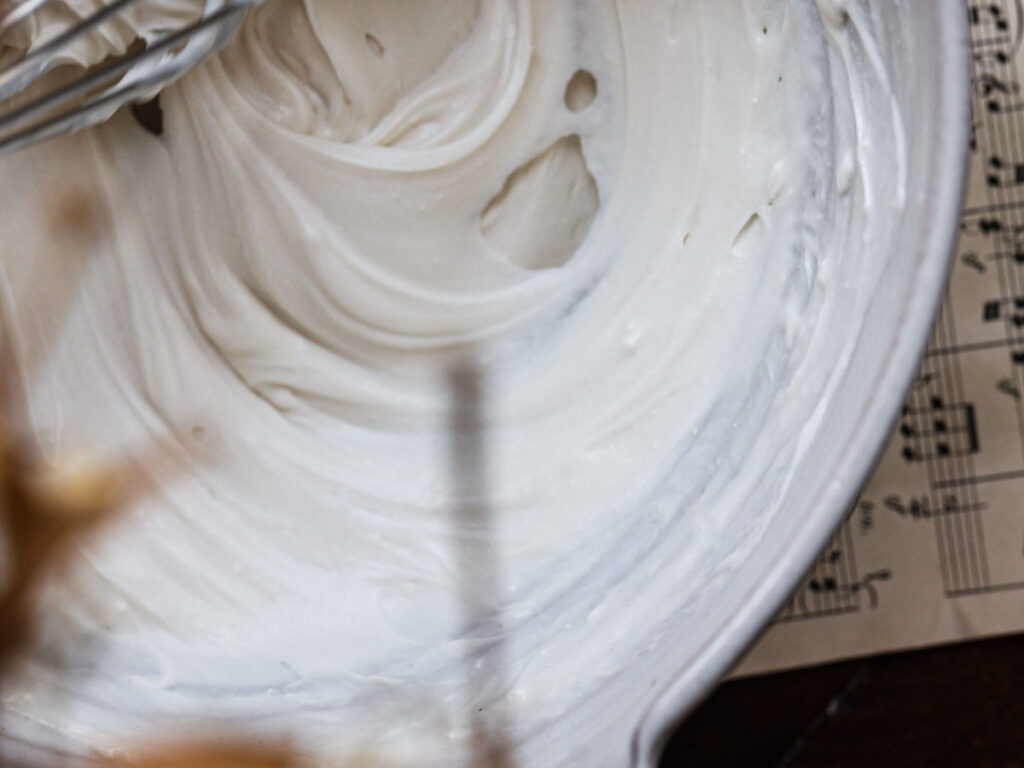
First, make the fillings so that you can have those ready when it’s time to shape and stuff your pink mochi. Begin with sweet cream cheese filling by whisking the softened cream cheese with your vegan whipped cream and sugar. If you’re planning on using a piping bag, I would get that baby ready to rock and roll. Otherwise, you can set this aside in the fridge.
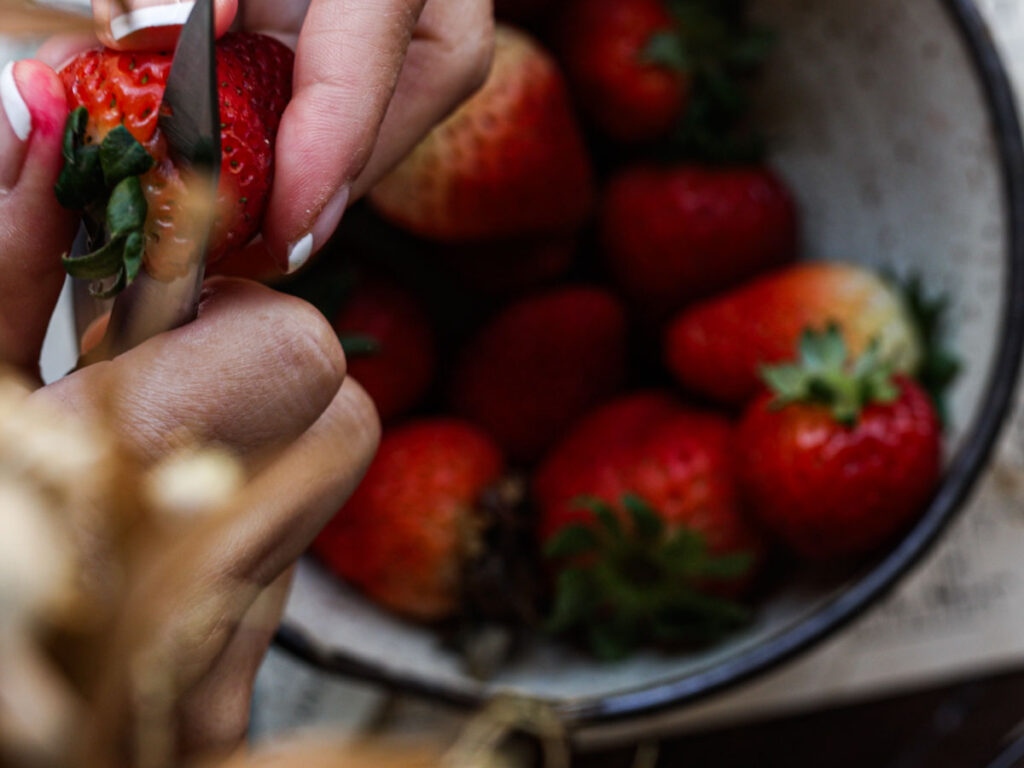
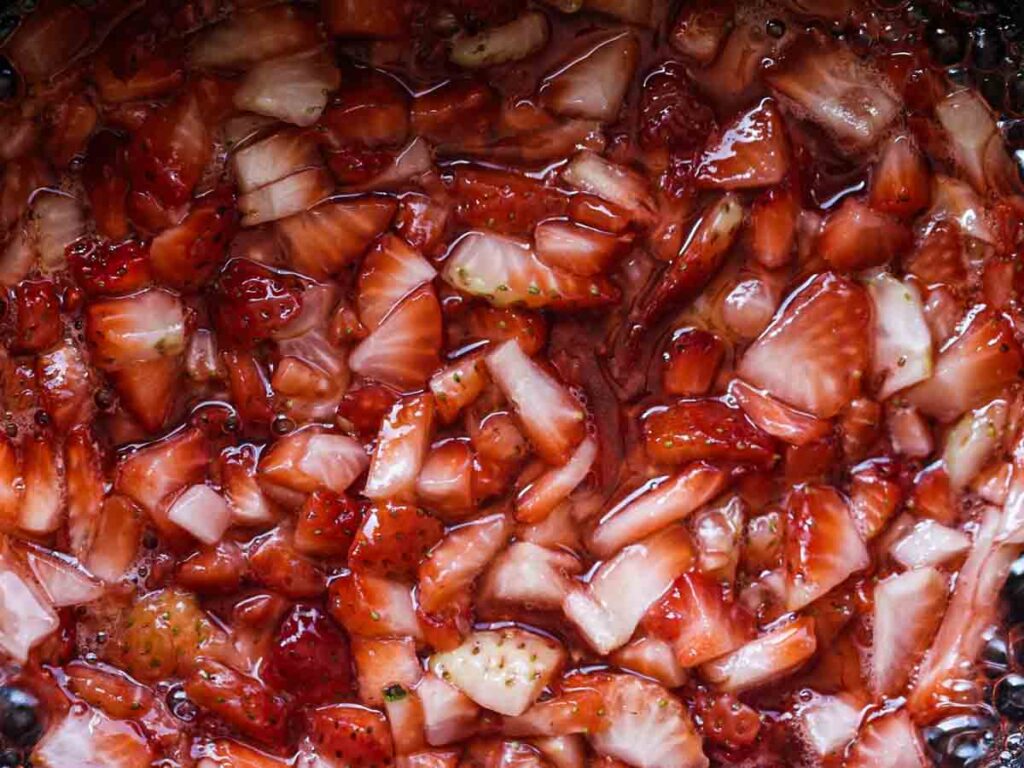
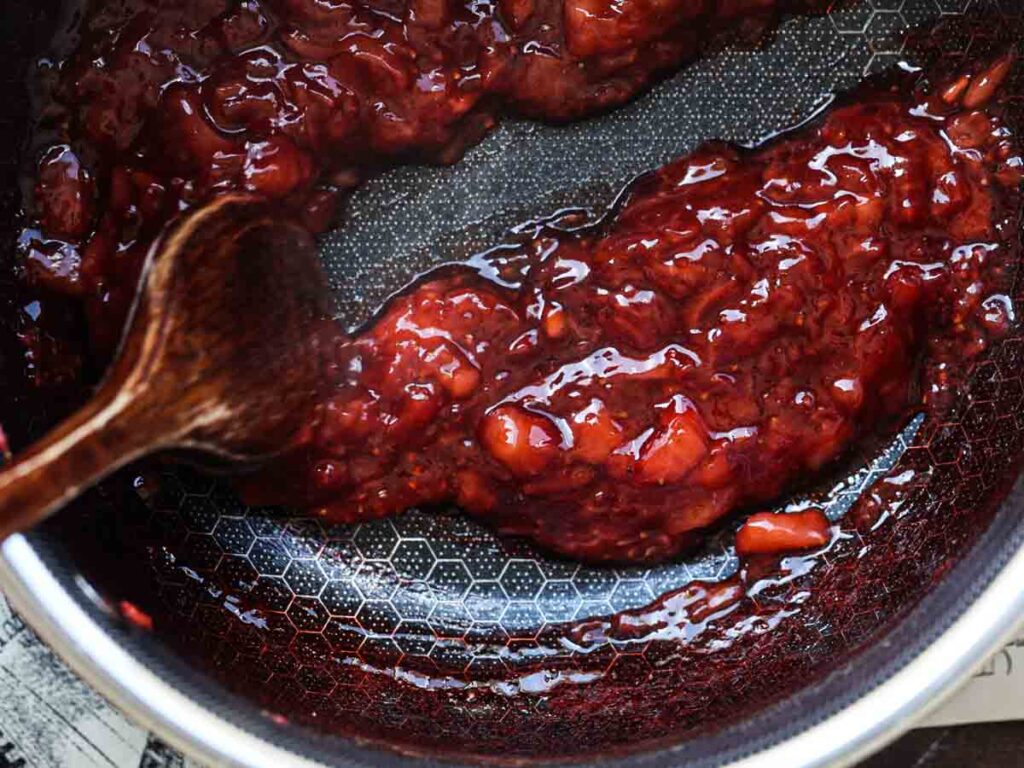
Next, make the strawberry jam by adding your cut strawberries, sugar, and lemon juice into a small pot over medium high heat. Continue stirring until it thickens into a gravy like consistency (ewwww…gravy and strawberries…? You get what I mean!). This can take anywhere from 5 to 15 minutes, depending on how juicy your strawberries are, especially if you’re using frozen strawberries. You’ll know it’s ready when you administer the “spoon test”–simply glide your spoon along the bottom of your pot and if it parts your jam like the Red Sea, you’re good! Let this cool so you don’t burn yourself before placing it in a piping bag or simply placing in the fridge with your sweetened cream cheese.
The Pink Mochi.
Make the pink mochi batter.
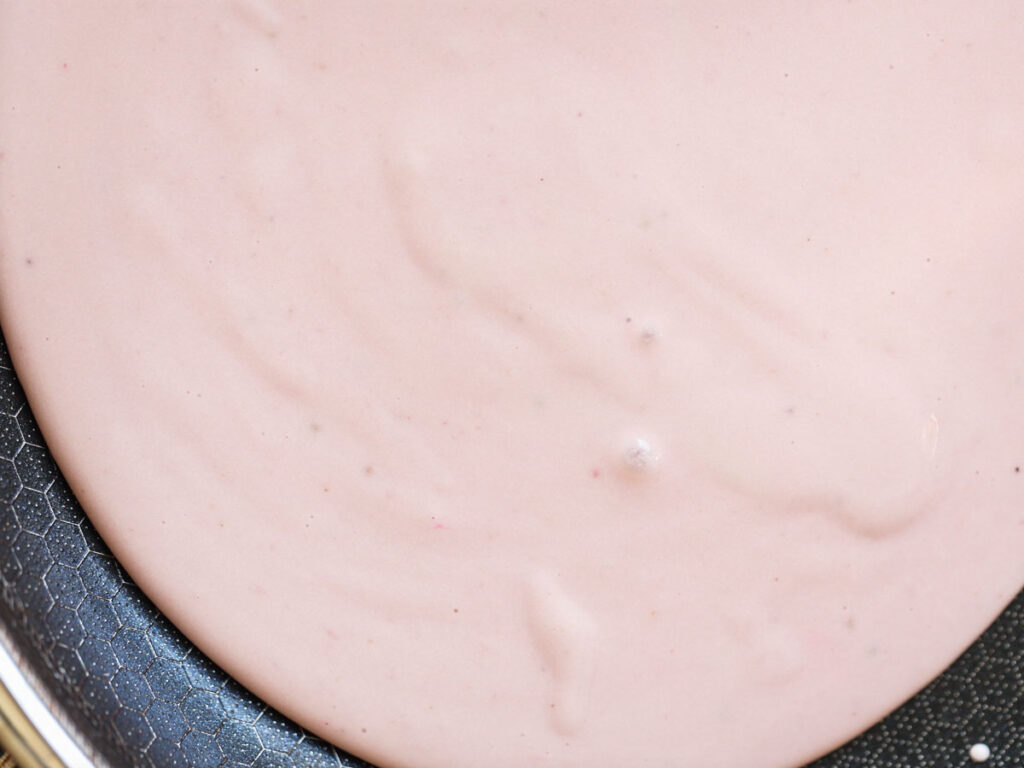
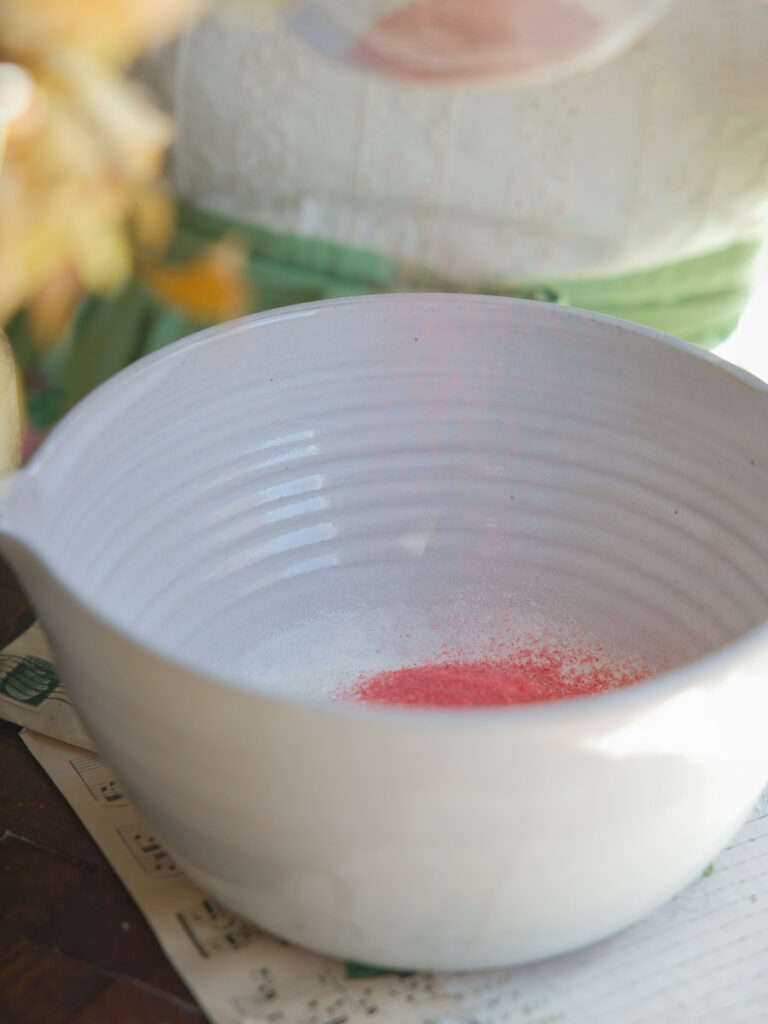
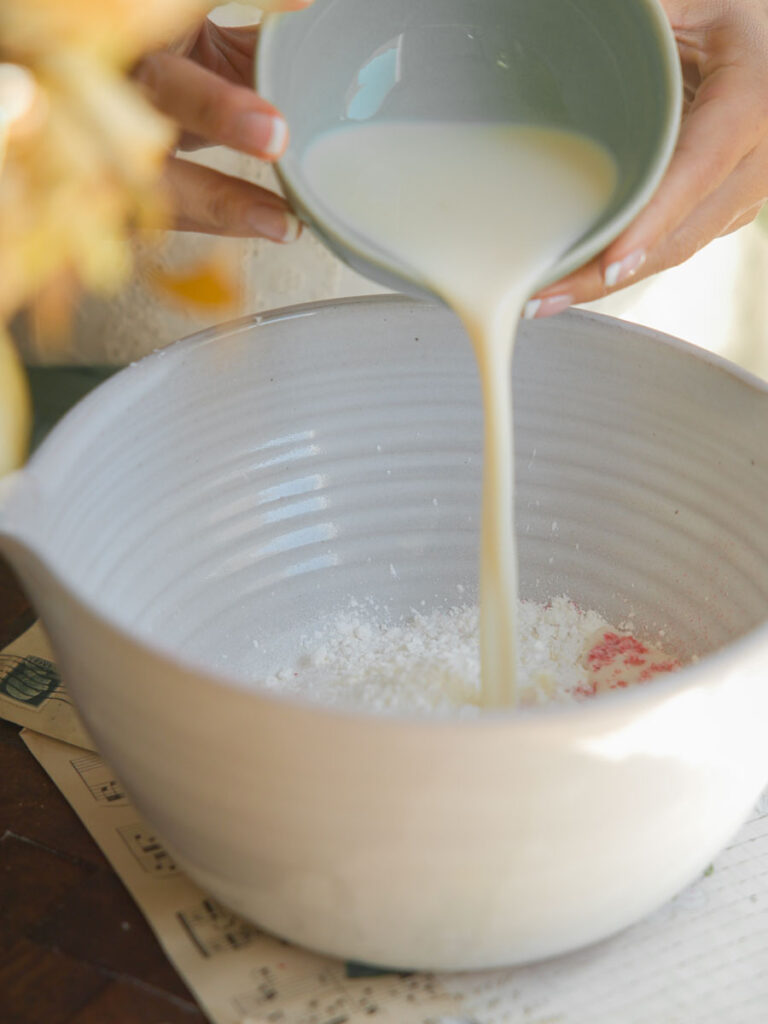
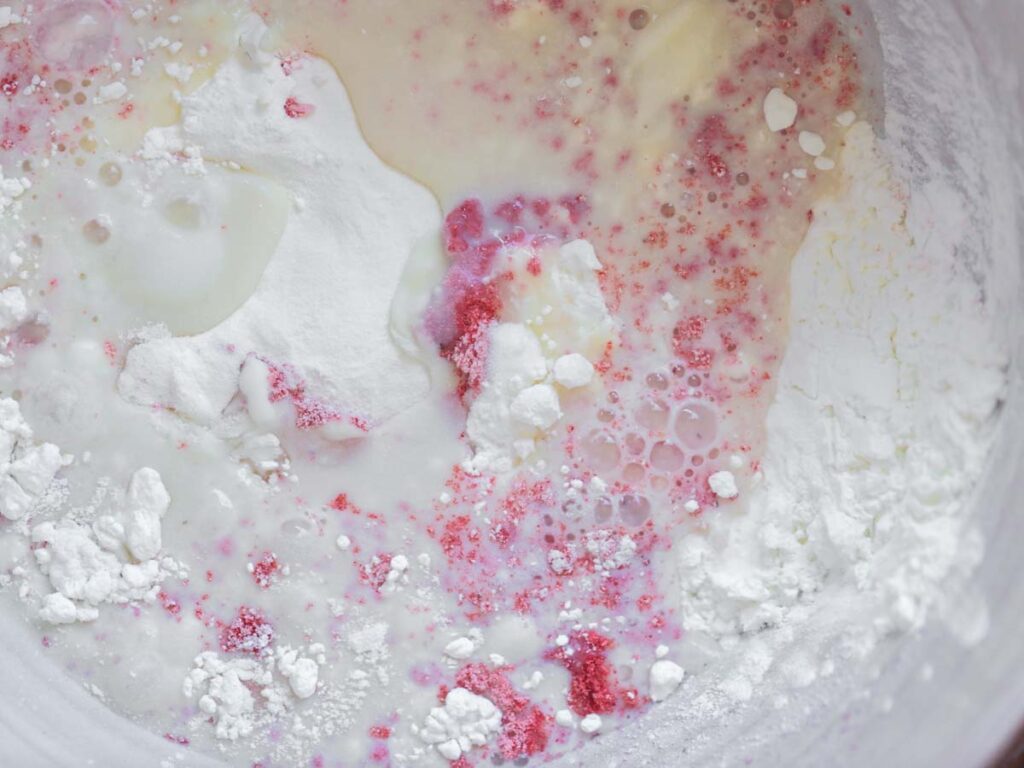
To make your pink mochi, begin by whisking together the sweet white rice flour, ground freeze-dried strawberries, sugar, and a pinch of salt. To this, add your plant milk and continue whisking until you get a very thick batter. Your batter will look a very pale, pale pink. If you want it to be a shade or two pinker, add 1 teaspoon of beet root juice or 1 toothpick worth of pink food coloring. You don’t want it to be too pink, so as to look unnatural.
Knead the pink mochi dough.
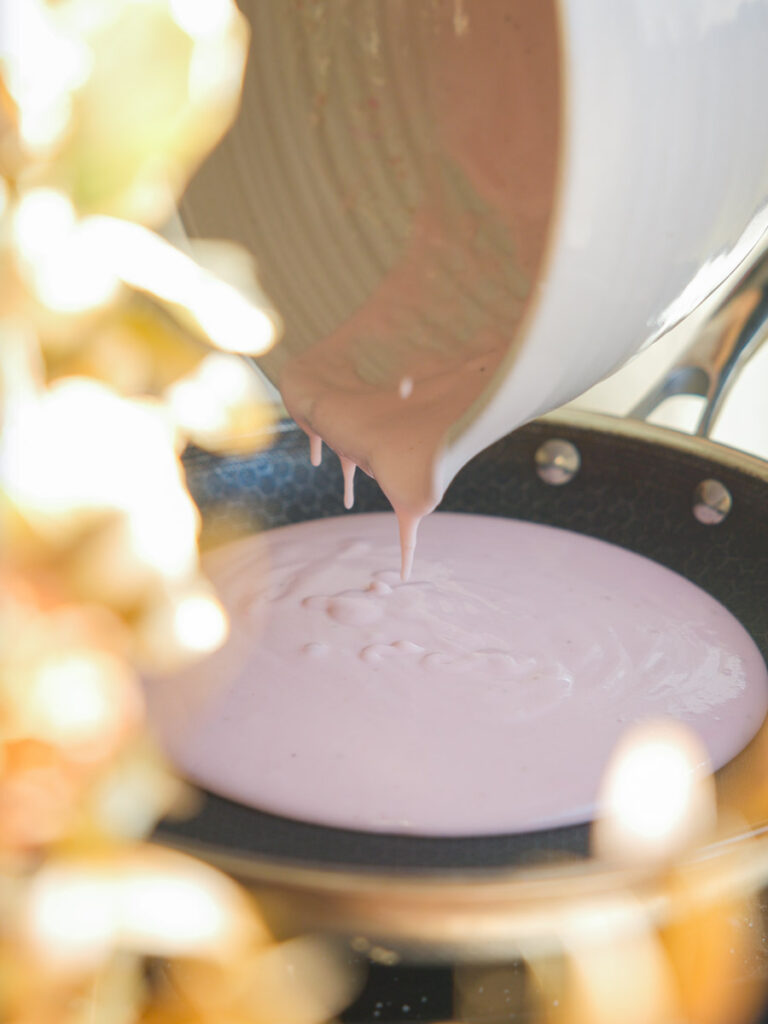
Pour the batter into a medium sized pan over low heat. Keep stirring the batter with a wooden spoon over low heat until it thickens into a scraggly dough. This should take about 2 minutes. Remove the dough onto a surface already dusted with potato starch.
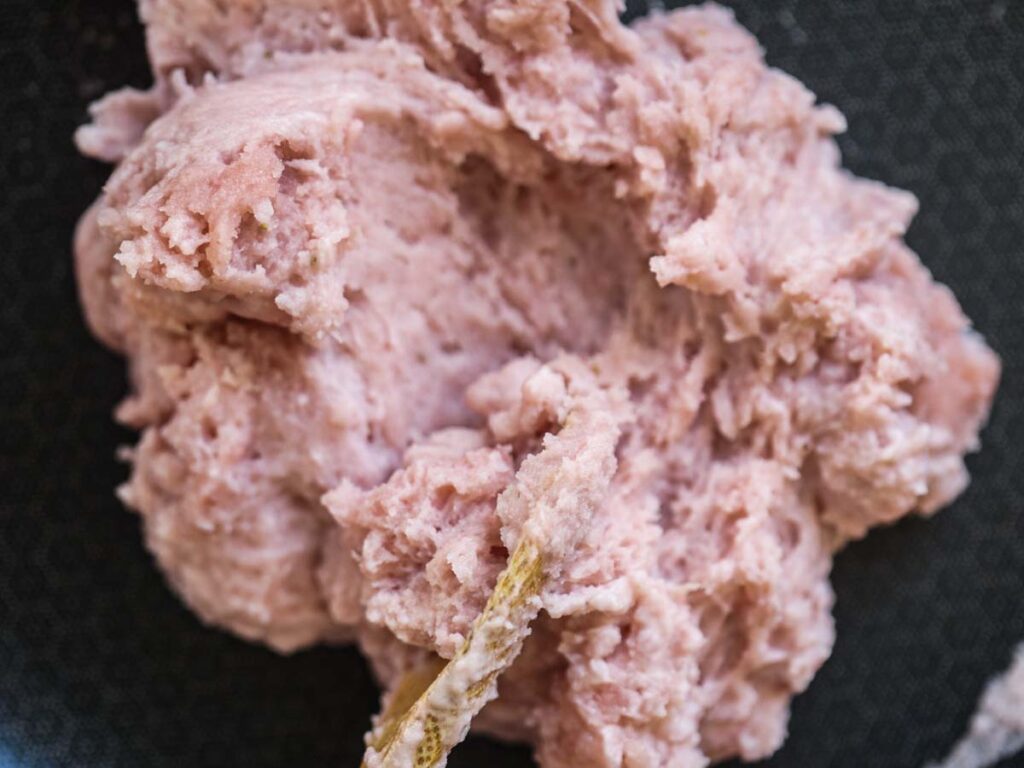
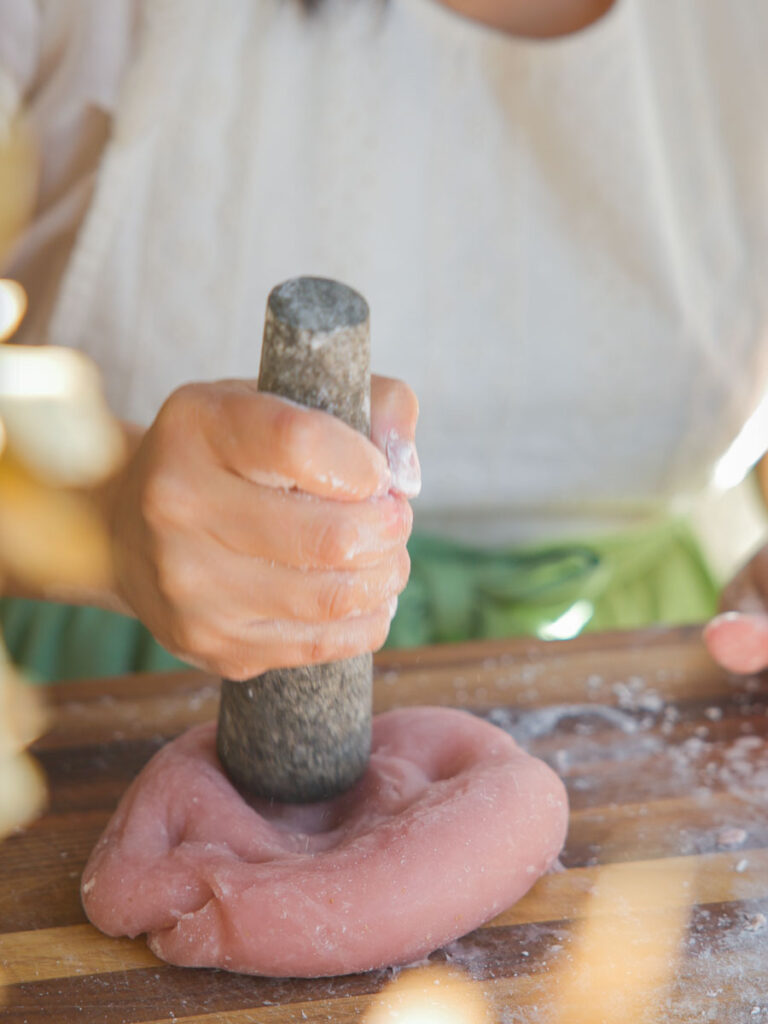
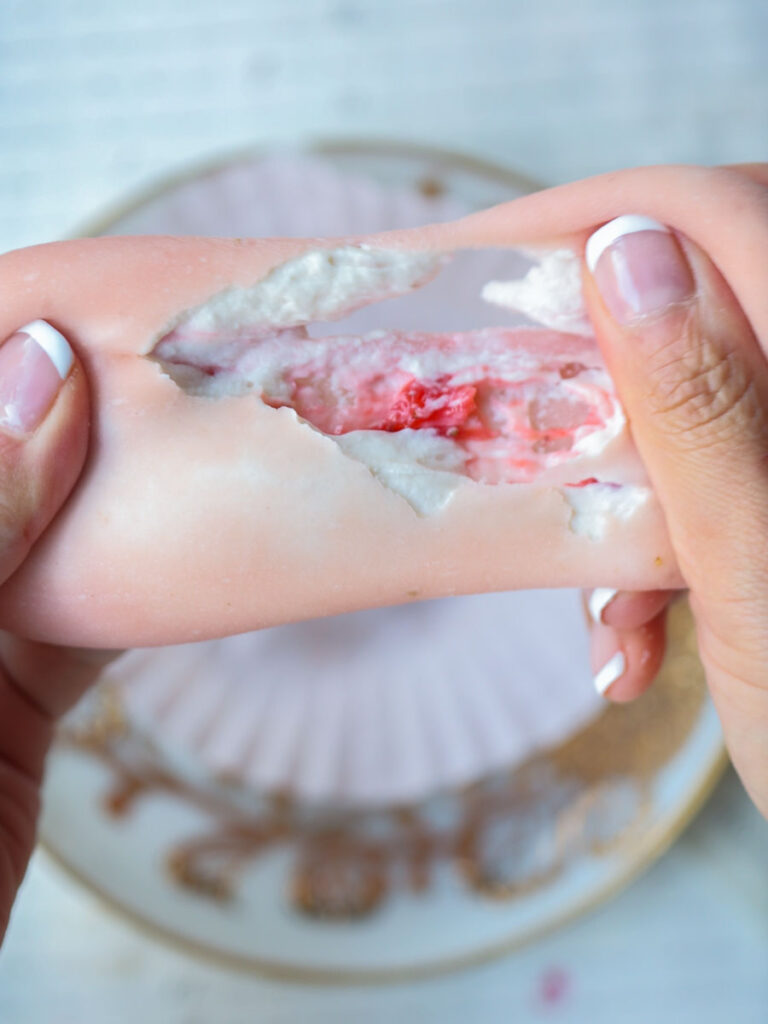
Once the dough is cool enough to handle, begin kneading the dough, stretching and folding it for several minutes. Every few minutes, use your pestle or a rolling pin to give the dough a few good thwacks. Continue kneading and thwacking your mochi until you are able to stretch it for at least a foot long without breaking. This can take up to 15 minutes.

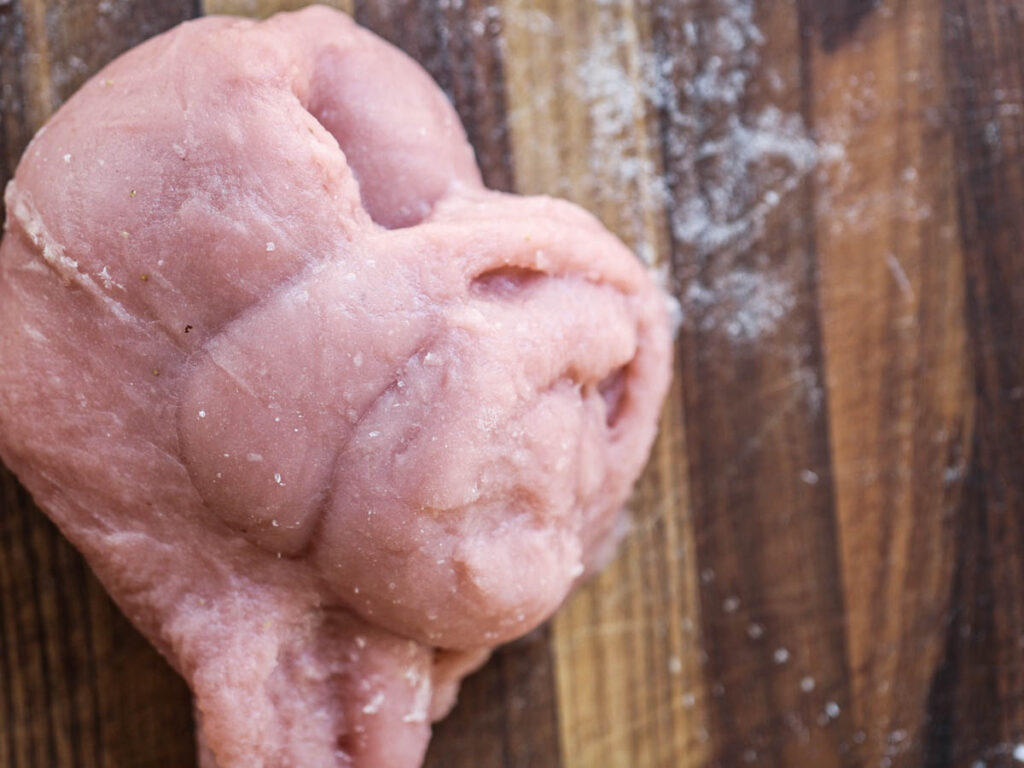

Shape and stuff your pink mochi.
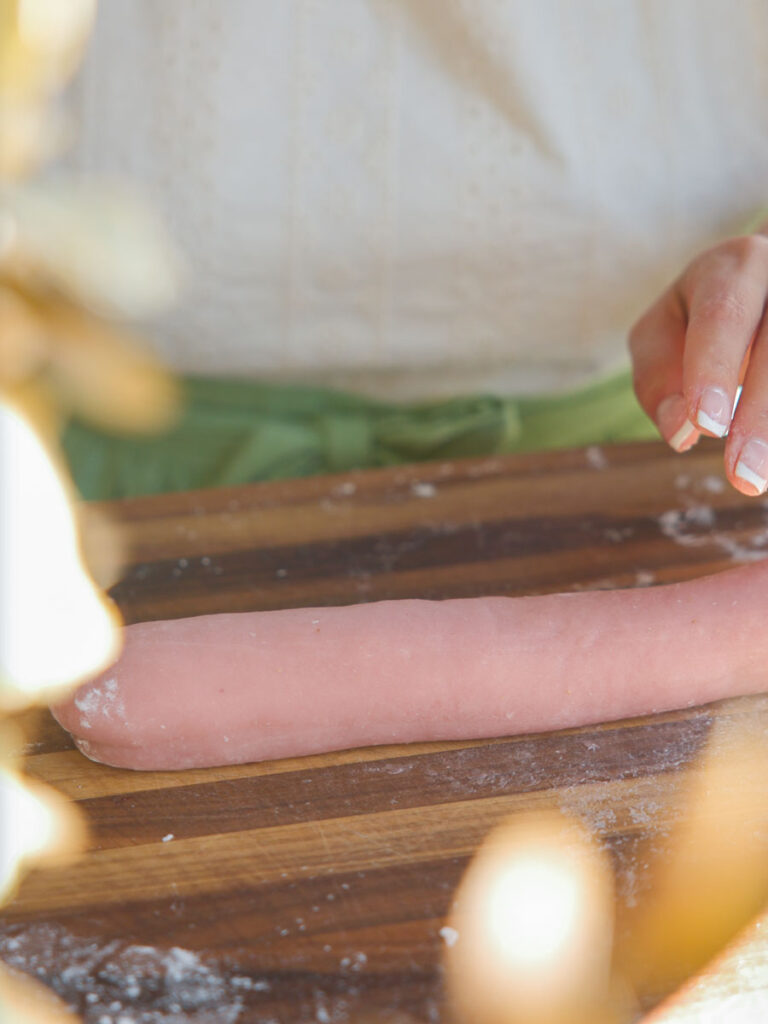
Once you’ve kneaded your pink mochi, create two cylinders of mochi dough, about 1 1/2 inches thick. These will each be between 6 to 8 inches long. Create 1-inch wide pieces of mochi dough.
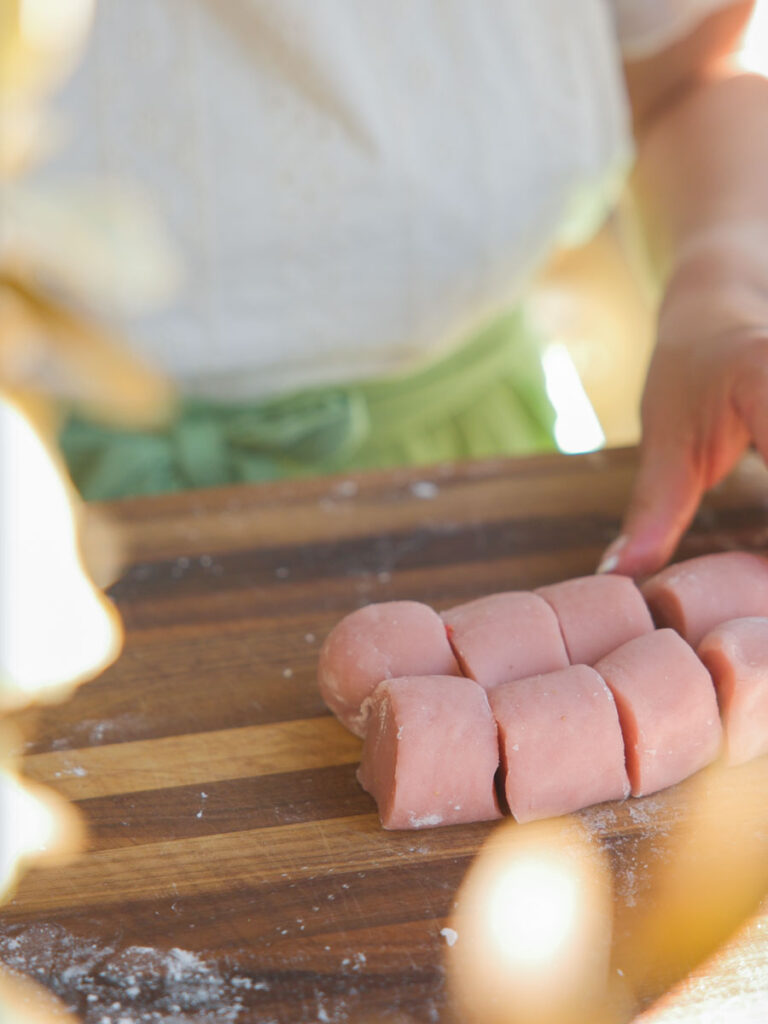
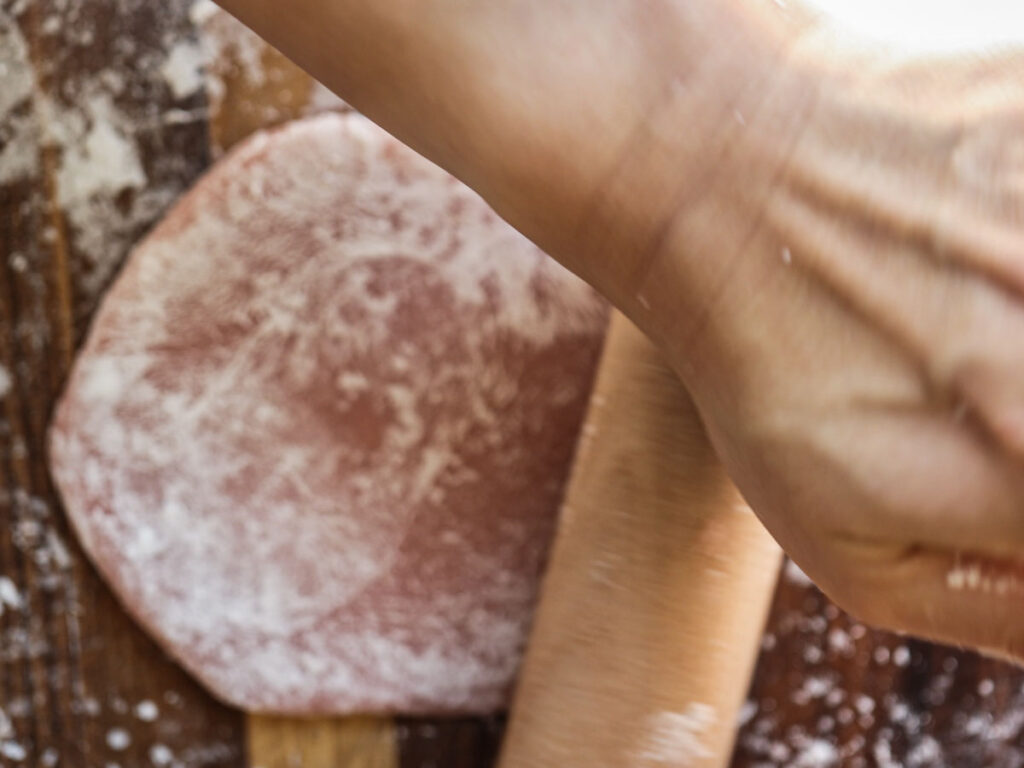
Working with one piece at a time (while the unused mochi remains under plastic wrap or otherwise protected from getting hard), using your mini rolling pin and the flats of your hand to create a disc that is about 3 inches across in diameter and no less than 1/8-inch thick in the center, with the outer edges being thinner than the middle of the disc.
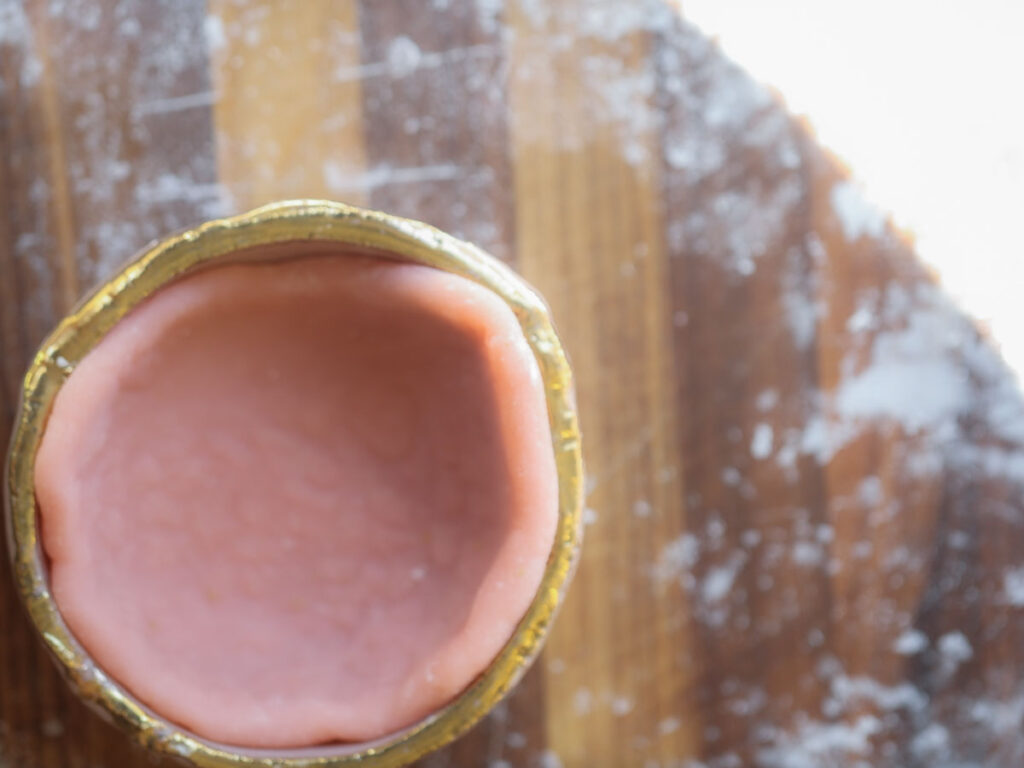
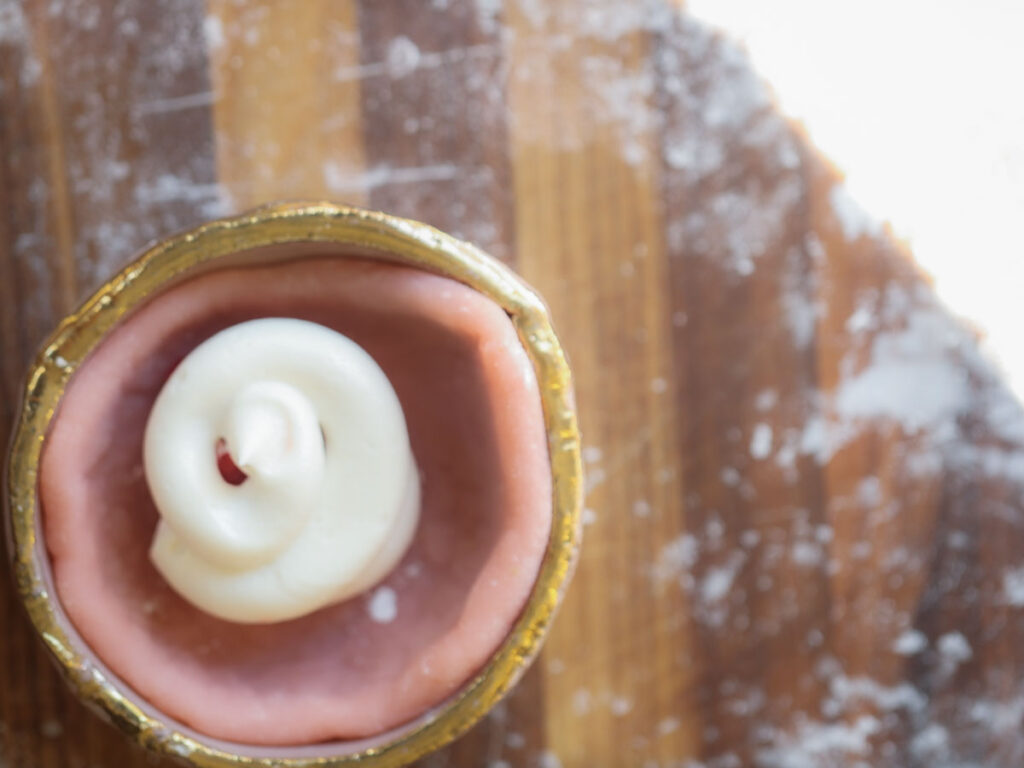
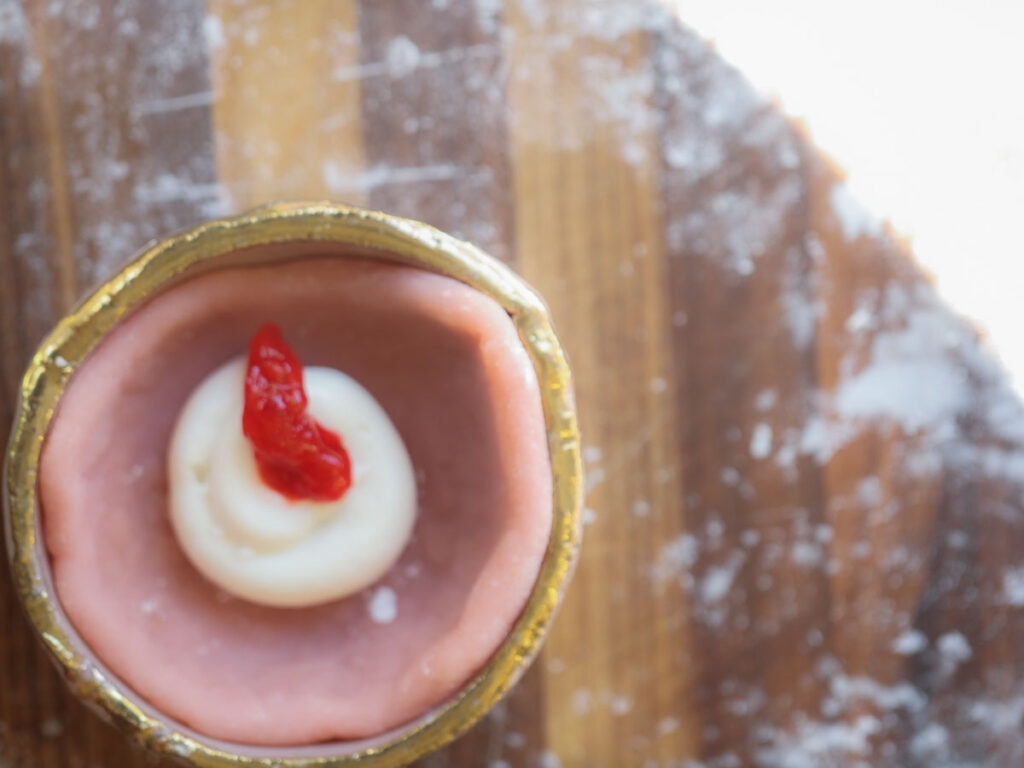
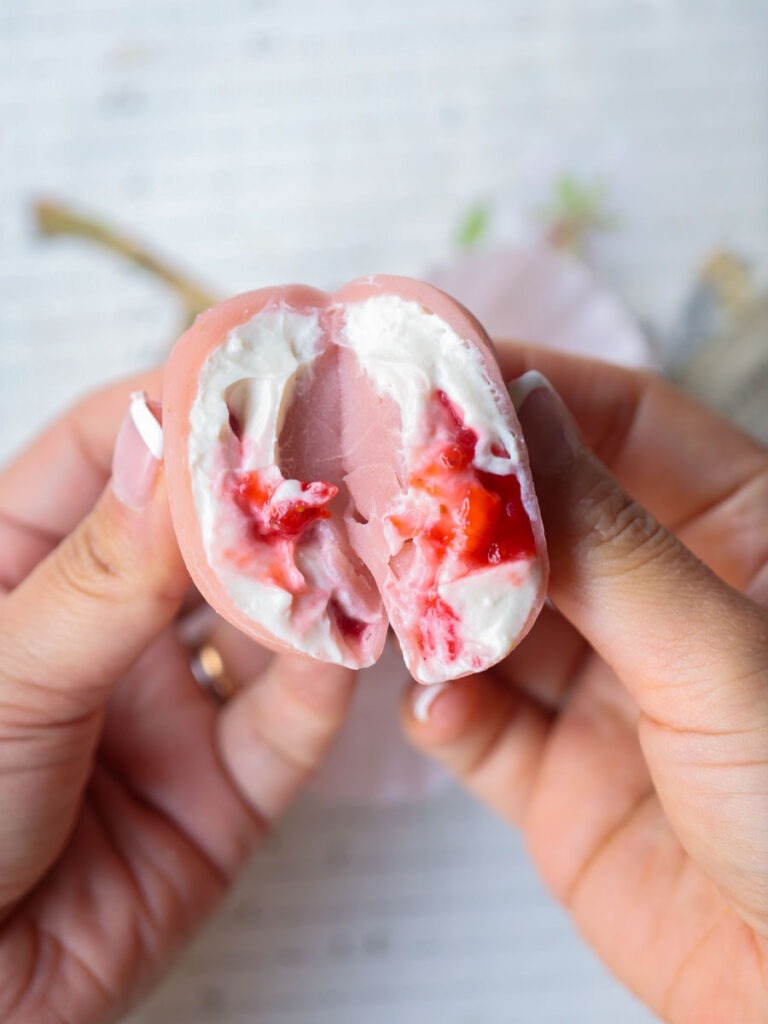
Gently place your mochi disc in your mochi mold, your small bowl, your ladle (!). Add 1/2 tablespoon of your sweetened cream cheese, followed by 1 teaspoon of strawberry jam, followed by another 1/2 tablespoon of cream cheese. Then, while the mochi is still inside the mold, pull a few of the edges, pinch, and seal them. You can then pull the mochi out of its mold and finish pinching and sealing the mochi so that it is completely closed.
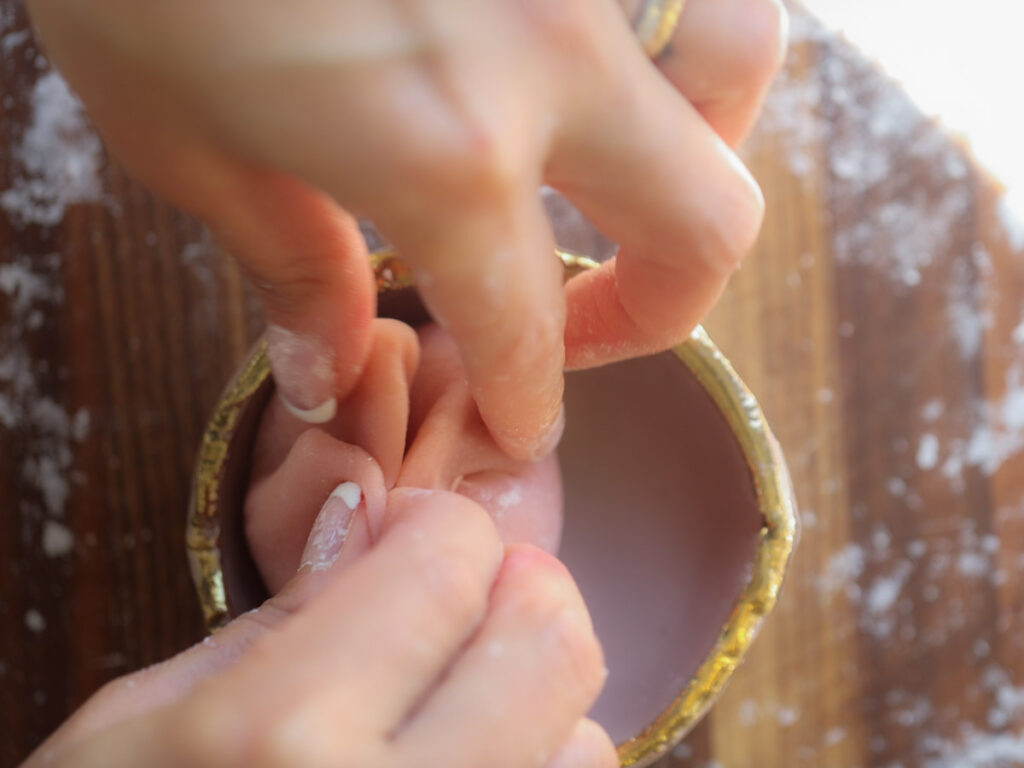
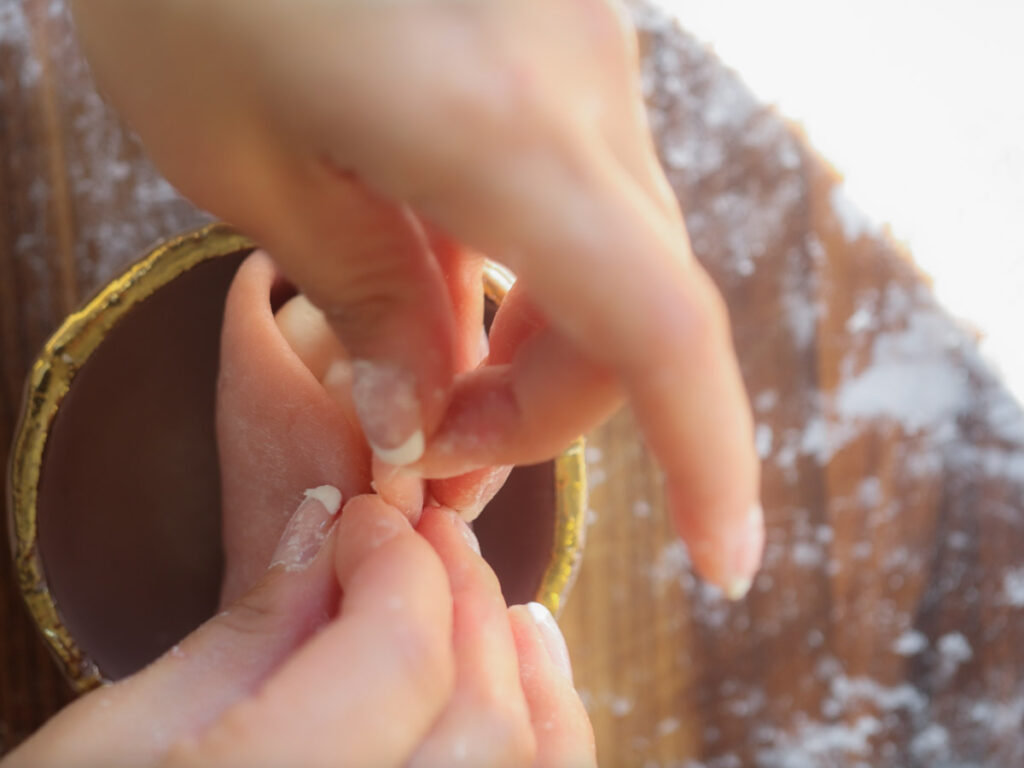

Place the mochi seal side down on a small muffin liner dusted with a little potato starch (to prevent sticking).
Fun Ideas for Your Pink Mochi.
Now that you’ve mastered making your pink mochi, the sky’s the limit in terms of what you can do with it!
- Plain. Honestly, pink mochi, by itself, is delicious. I often end up eating a good chunk of my “dough” before realizing I don’t have a lot left to stuff them! Simply shape them into large, oval balls and serve them as is. They’re so pretty!
- Fruit. Instead of stuffing them with jams or cream cheese, stuff your pink mochi with actual strawberries or raspberries!
- Red Bean Paste. Pay homage to the classic sakura mochi by stuffing your pink mochi with red bean paste!
- Chocolate ganache. Make your pink mochi extra decadent by stuffing them with chocolate ganache. Yum!
Frequently Asked Questions.
Can I store my pink mochi in the fridge?
In general, mochi should be eaten in 1 to 2 days, as it will otherwise grow quite hard. While you can place them in the fridge, they will permanently lose their soft, supple texture. You can also freeze your pink mochi, but they should be thawed in the fridge for a few hours before they are enjoyed.
Is mochi naturally vegan?
The traditional recipe for mochi is typically vegan–it’s just steamed rice, usually stuffed with red bean paste. More modern versions of mochi, however, are stuffed with non vegan ingredients like whipped cream and ice cream. You can, however, substitute with dairy-free versions to keep your mochi vegan.
Is mochi naturally gluten-free?
The traditional recipe for mochi is naturally gluten-free, since it consists of rice, sugar, and red bean paste.
Recipe Card.
Perfect Cream Cheese and Strawberry Pink Mochi.
Equipment
- 1 mortar and pestle
- 1 mesh sieve
- 1 mini rolling pin
- 1 mochi mold
- 12 small muffin liners
Ingredients
Sweetened Cream Cheese Filling.
- 1 cup vegan cream cheese, softened
- 1/4 cup vegan whipped cream
- 2 tbsp organic cane sugar
Strawberry Filling.
- 1 cup small diced strawberries
- 2 tbsp organic cane sugar
- 1 tbsp lemon juice
Pink Mochi.
- 1/2 cup freeze dried strawberries
- 1 1/2 cup sweet white rice flour
- 1/4 cup organic cane sugar
- 1/4 tsp sea salt
- 1 1/4 cup plant milk
- 1 tsp beetroot juice OR 1 toothpick of pink food coloring (optional)
- 1 cup potato starch
Instructions
Cream Cheese Filling.
- Mix together all the ingredients and place in piping bag or set aside in the fridge.
Strawberry Filling.
- Place the strawberries, sugar, and lemon juice in a small pot over medium-low heat. Continue stirring until the liquid has thickened and a wooden spoon slid through the middle parts the sauce.
- Place in piping bag or set aside in the fridge.
Pink Mochi.
- Grind the freeze-dried strawberries using a mortar and pestle. If you don't have one of these, you can use a food processor or a coffee grinder. Using a mesh sieve, add your ground strawberries to a large bowl.
- Next, add your sweet white rice flour, sugar, and sea salt and whisk all the ingredients until well combined. Pour in plant milk, add food coloring or beetroot juice, and whisk until smooth.
- Pour your pink mochi batter into a medium sized pan over low heat. Continue mixing the batter with a wooden spoon or spatula until a scraggly dough forms–about 2 minutes. Remove from heat and place on a work surface dusted with potato starch.
- When cool enough to handle, begin kneading (with your hands) and beating (with a pestle) the pink mochi dough until the dough is relatively smooth and you are able to stretch it for at least a foot long without tearing.
- Shape your pink mochi dough into a long cylindrical log, roughly 1 1/2 inch thick. Cut the log in half, giving you two shorter logs. Cut those into 1-inch wide pieces. You should have about 12 pieces. Work with one piece at a time, while the remaining pieces are under plastic wrap or otherwise protected from growing hard and puckered.
- Use your rolling pin and the flats of your hand to roll each piece of mochi into a round disc, approximately 3 inches in diameter and about 1/8" thick in the center. Try and make the edges of your disc a bit thinner than the center. Then place your disc into a mochi mold, small bowl, or a small soup ladle.
- Add 1 tbsp cream cheese filling, 1 tsp strawberry filling, and 1 tbsp cream cheese filling. Do NOT add too much–there should be plenty of space around the filling (refer to photos in blog post). Adding too much will make closing your mochi infinitely harder and messier!
- Pull two edges of your mochi up and pinch them closed. Pull remaining edges of your mochi up and around the filling, pinching and sealing them closed. Flip the mochi ball seal side down and place on a small muffin liner, dusted with potato starch.
- Serve immediately, as exposure to air will make them grow hard!
Questions & Comments
July 3, 2024
Be the First to Comment